Lawn replacement planning is the coordinated process of removing a failing lawn, correcting grade and soil, and installing new sod or seed with a clear watering and care schedule. In Mississauga, a well-planned approach accelerates establishment, reduces water use, and keeps curb appeal consistent. This lawn replacement planning guide shows you how HR Greenroots Landscaping gets it done right.
By HR Greenroots Landscaping — Mississauga landscape design-build team. Last updated: 2026-06-28
At a Glance: Your Lawn Replacement Plan
A successful lawn replacement plan defines scope, fixes grade, restores 4–6 inches of quality topsoil, chooses sod or seed, and schedules irrigation and aftercare. In Mississauga, target late spring to early fall windows, protect edges near interlocking, and keep traffic light for 2–3 weeks while roots set.
This quick overview orients you before diving into details. Use it as a checklist you can scan on installation day or when coordinating crews and deliveries.
- Assess: Identify problem zones, drainage, shade, and traffic patterns.
- Plan: Choose sod or seed, define timelines, and align materials and tools.
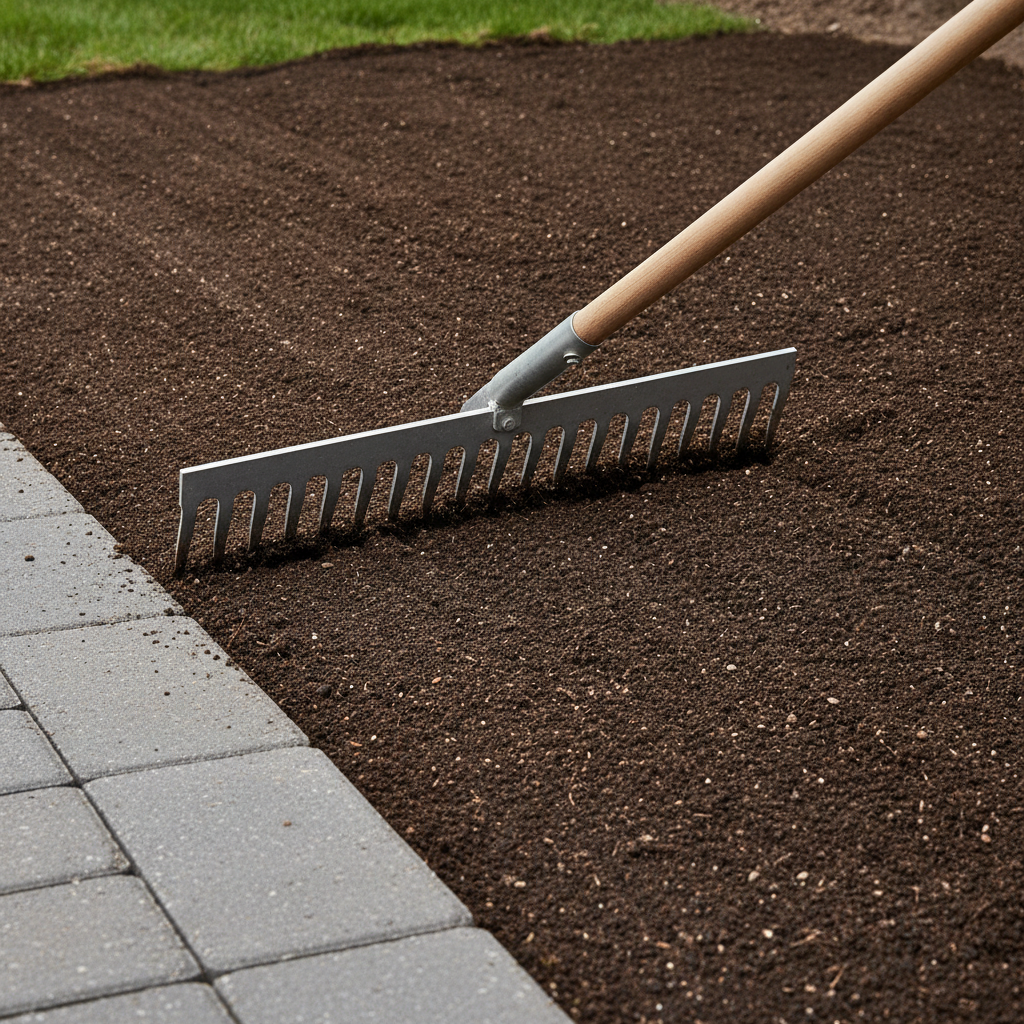
- Prepare: Remove old turf, set 2–5% surface slope away from the home, and amend soil.
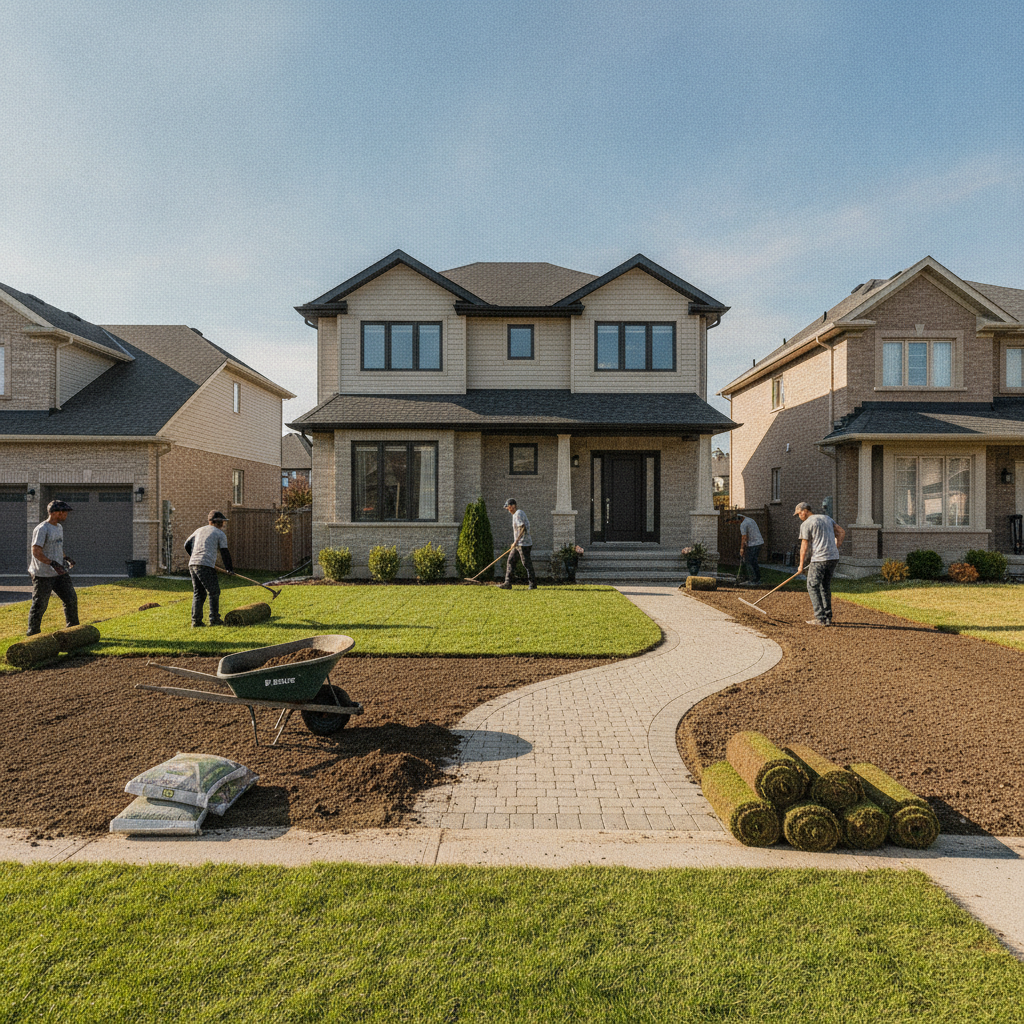
- Install: Lay sod within hours of delivery or seed with proper coverage.
- Water: Keep the topsoil consistently moist; avoid puddling.
- Protect: Restrict foot traffic and mowing until roots knit in (about 2–3 weeks).
What Is Lawn Replacement?
Lawn replacement is the planned removal of a worn or patchy lawn and the re-establishment of healthy turf. The process includes turf removal, grading, soil rebuilding, and new sod or seed installation with a defined watering and aftercare plan to lock in fast, even growth.
Homeowners often try quick fixes, but lasting results come from sequencing each step. When we handle sod installation in Mississauga, we align timing, base prep, and irrigation so the lawn looks intentional on day one and practical long after.
- Clear definition: Replace failing turf; rebuild the foundation; re-establish cover.
- Common triggers: Thin grass, compaction, weeds outpacing turf, or grade issues.
- Outputs: Uniform surface, clean edges at walkways, and predictable maintenance needs.
For a deeper primer on the decision, see our internal take on Mississauga lawn replacement options and how climate windows shape outcomes.
Why Planning Your Replacement Matters
Planning compresses timelines, reduces water waste, and limits rework. With a defined sequence—assessment, grading, soil building, installation, and aftercare—you get even establishment, cleaner edges, and fewer callbacks or do-overs.
Here’s the thing: lawn problems rarely have one cause. Shade, traffic, and drainage interact. A plan turns guesswork into a checklist you can execute in a weekend with the right preparation, or over two short site visits for larger areas.
- Faster establishment: New sod typically knits in 2–3 weeks when soil and moisture are right.
- Water control: Defined watering windows (short, frequent cycles early) avoid runoff.
- Edge integrity: Protects interlocking and pavers with clean transitions and proper heights.
- Seasonal fit: Aligns with Mississauga’s late spring and early fall sweet spots.
We’ve found that a single missed step (like skipping a low spot fix) often shows up later as puddling or yellowing. Planning eliminates those surprises.
How Lawn Replacement Works: Step-by-Step
Follow a clear sequence: diagnose site issues, strip old turf, set a 2–5% surface slope, restore 4–6 inches of topsoil, install sod or seed, and water on a strict schedule. Keep traffic off for 2–3 weeks and make the first mow when the turf reaches about 3 inches.
Use this 12-step process to stay organized. It’s the same structure we use across Mississauga projects to keep timelines tight and results consistent.
- Site walkthrough: Map thin areas, downspouts, shade, and traffic lanes; flag utilities.
- Set the plan: Window, crew size, materials, disposal, and irrigation method (hose vs. system).
- Turf removal: Sod cutter or scalping; remove thatch and roots so soil sits at the right height.
- Rough grading: Aim for a 2–5% fall away from the home; eliminate depressions that hold water.
- Amend soil: Target 4–6 inches of quality topsoil; blend compost where structure is poor.
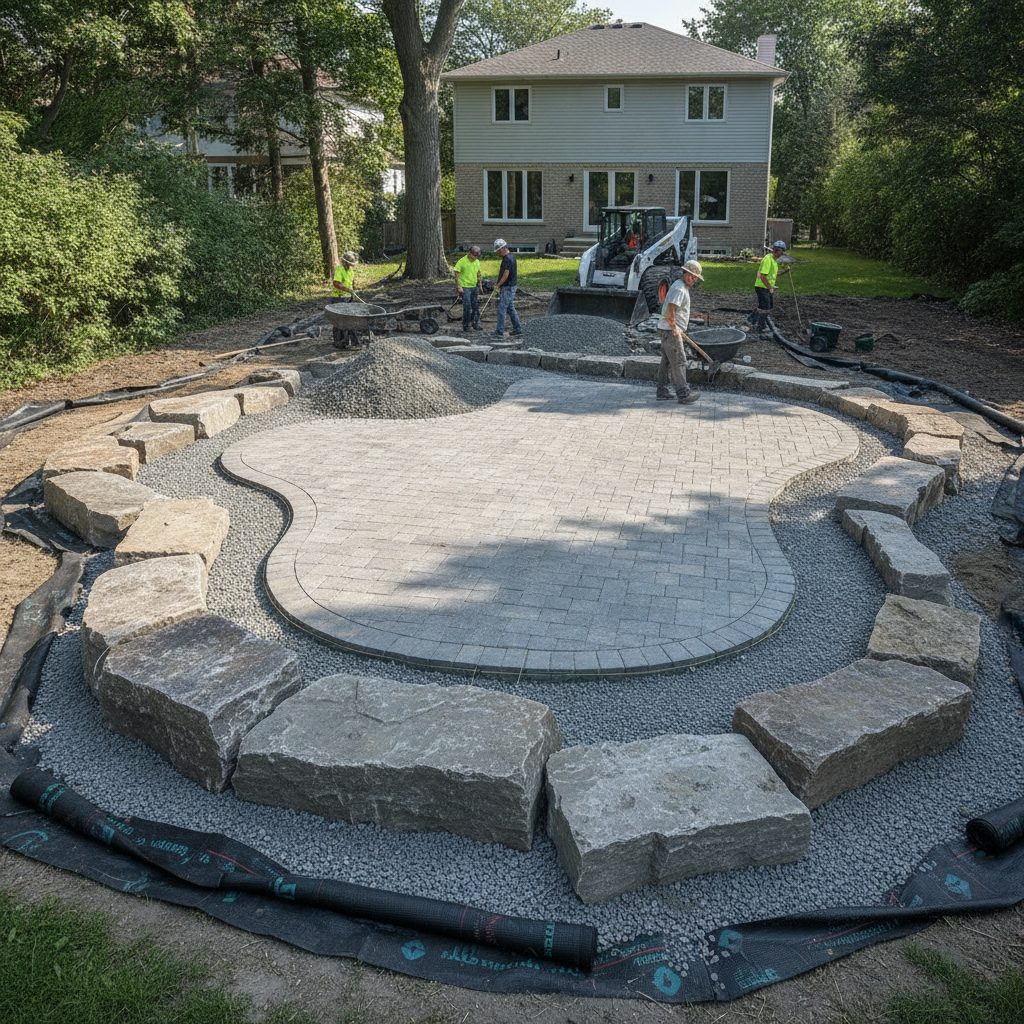
- Edge control: Set finished grade to meet interlocking pavers without lips or trip points.
- Fine grading: Rake to a smooth, uniform surface; knock down ridges; remove stones.
- Soil settling mist: Light pre-wet helps fine-tune final surface without over-saturating.
- Install:
- Sod: Lay tight joints; stagger seams; roll within minutes of laying each zone.
- Seed: Calibrated spread; light rake-in; straw mat or blanket where erosion is possible.
- Initial soak: Light, frequent cycles keep the top 1 inch moist for 7–10 days.
- Traffic control: Keep off surfaces; add temporary planks for one-time access if needed.
- First mow: When turf reaches ~3 inches; remove only one-third of blade height.
For timing nuance by season, review our notes on best time for sod in Mississauga and Ontario-wide sod installation timing.
Methods and Approaches (Sod, Seed, and Alternatives)
Choose sod for instant coverage, seed for flexibility and variety, or alternatives like microclover for lower inputs. Match method to site conditions, timeline, and maintenance goals, and protect transitions at patios, walkways, and driveways to keep edges crisp.
Most Mississauga homeowners pick sod to stabilize quickly, especially near high-use entries and along new interlocking. Seed shines in large, lower-traffic zones where patience and watering access are strong.
- Sod: Immediate green, quick erosion control, usable in 2–3 weeks with proper irrigation.
- Seed: Lower material waste, high species choice, 2–4 weeks to germinate depending on mix.
- Hybrid: Sod near entries; seed in back corners; blends result and budget with smart staging.
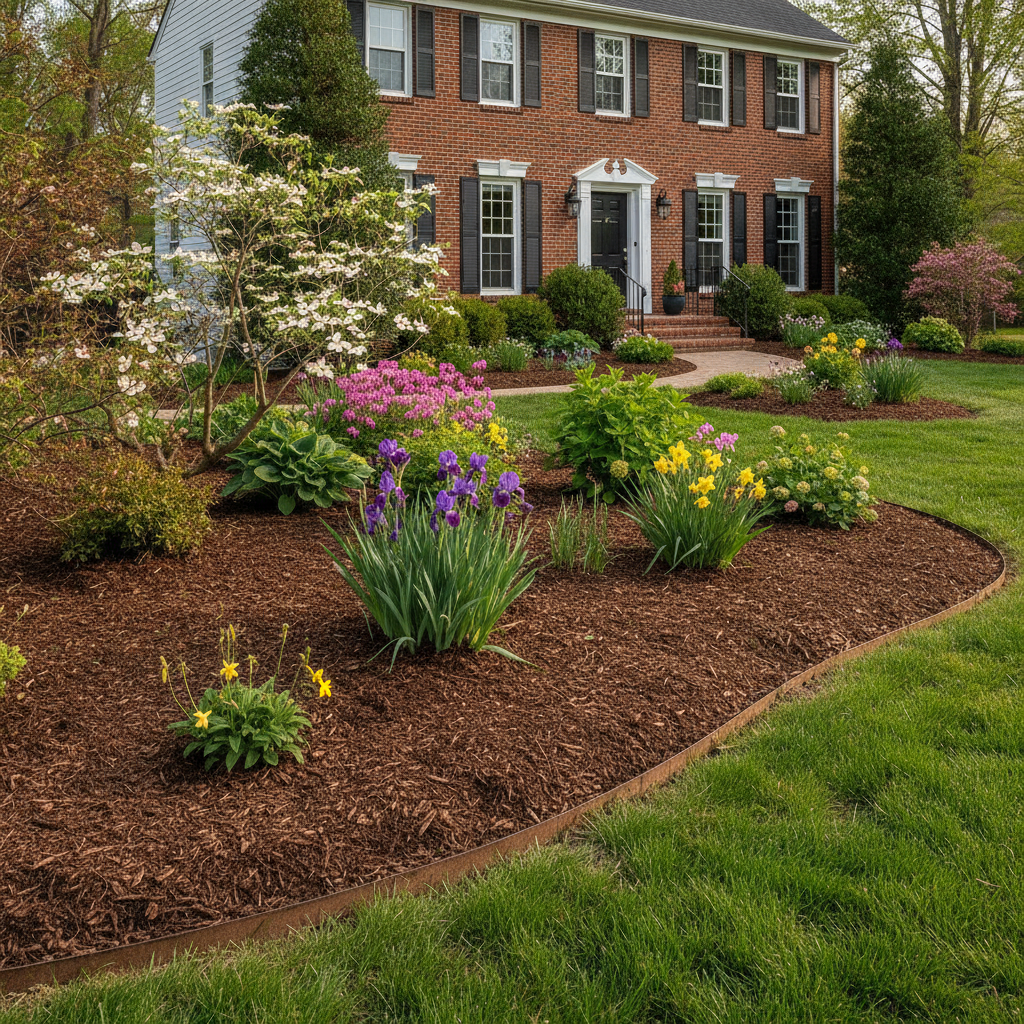
- Alternatives: Microclover or native groundcovers reduce mowing and fertilization needs.
Use this quick comparison to align on priorities before you order materials.
Option Speed to Cover Watering Intensity (First 2 Weeks) Traffic Readiness Notes Sod Instant High early; reduce after roots knit Light use ~2–3 weeks Great near entries, slopes, and along pavers Seed 7–21 days to germinate Frequent light cycles; don’t wash seed Delay traffic 3–4 weeks Best when irrigation access is reliable Microclover Moderate Moderate after establishment Light use 3–4 weeks Lower fertilizer needs; distinct lookFor method-specific tips, our internal explainer on lawn replacement methods expands on blends that work well across the GTA.
Best Practices for Mississauga Lawns
Prioritize drainage, soil depth, and clean edge control. Aim for a 2–5% slope away from structures, restore 4–6 inches of good topsoil, and meet interlocking pavers at the correct finished height. Water early mornings, avoid puddling, and keep blades at roughly 3 inches.
These are the construction details that make the difference between a fast-fading lawn and one that really sticks the landing.
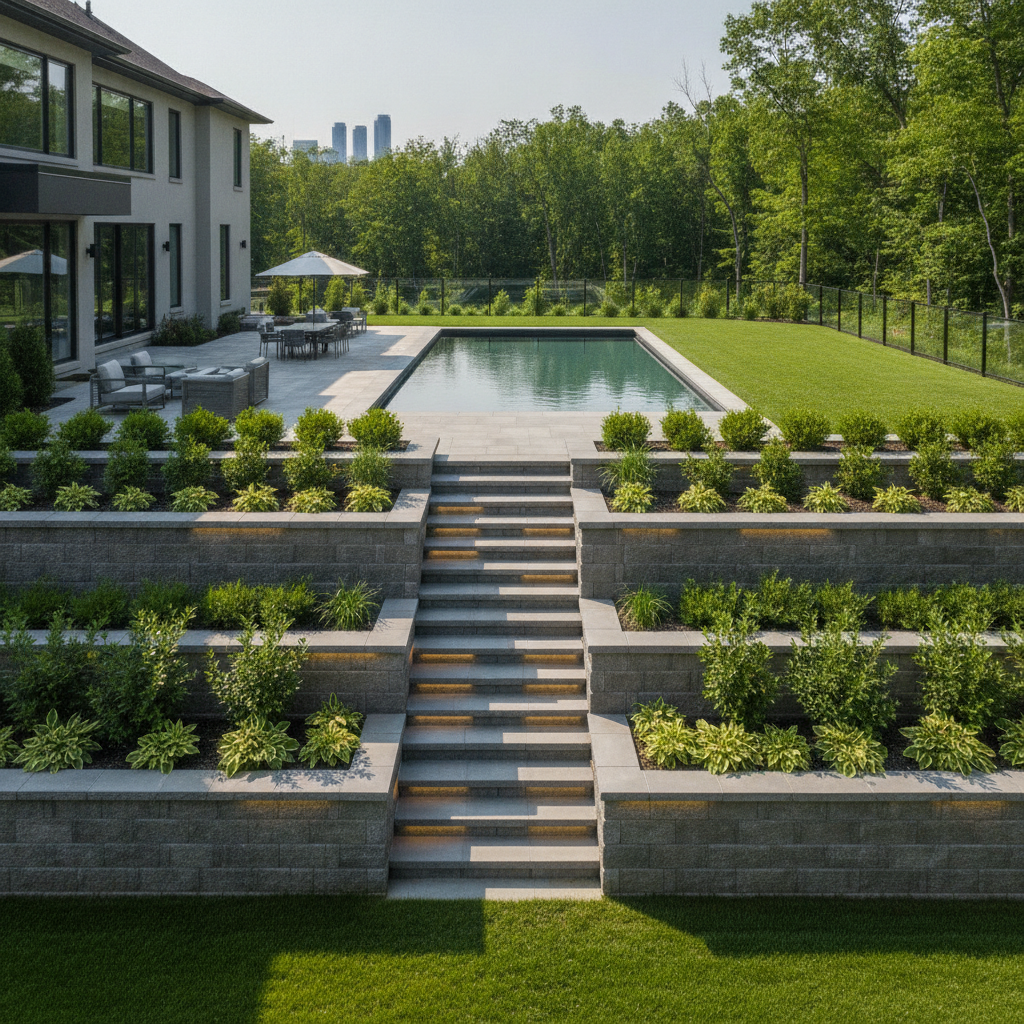
- Drainage first: Downspout extensions and subtle regrading prevent saturated root zones.
- Soil structure: Blend compost into sandy or compacted soils to hold moisture evenly.
- Edge transitions: Where lawn meets interlocking, set the grade to avoid mower scalping.
- Watering rhythm: Short, frequent cycles early; shift to deeper, less frequent as roots grow.
- Mowing height: About 3 inches supports deeper roots and shade over soil.
Local considerations for Mississauga
- Plan staging to avoid peak traffic near Saigon Park weekends; protect new sod with temporary barriers.
- Time installs around late-spring and early-fall windows; summers are fine with strict irrigation oversight.
- For homes near Lambton College rentals, factor heavier foot traffic and use sod with tight seam rolling.
Want a seasonal lens? Our seasonal maintenance planning guide explains how to adjust mowing, irrigation, and feeding over the year.
Tools, Materials, and a Simple Timeline
Gather the right tools—sod cutter, rakes, wheelbarrows, roller, and hoses—before you start. Stage topsoil and sod or seed the same day you install. Use a tight two-week watering cadence, then taper. New sod typically allows a cautious first mow once it reaches ~3 inches.
We like to stage gear where logistics are easiest and the driveway remains usable. Here’s a practical kit and timeline you can follow.
Tools and materials
- Sod cutter or shovel set; landscape and garden rakes.
- Topsoil (target 4–6 inches overall), compost for structure, and seed or sod.
- Starter fertilizer if desired, hand spreader (for seed), and straw mat for erosion-prone spots.
- Lawn roller for sod, utility knife for seams, and plywood for temporary access.
- Hoses with sprinklers or an irrigation controller capable of short cycles.
Simple establishment timeline
Phase Window What to Watch Prep & grading 1–2 days Final heights at walkways; 2–5% slope away from home Install sod/seed Same day Sod rolled; seed lightly raked-in and protected Week 1 Days 1–7 Keep top 1 inch moist; avoid puddling/runoff Week 2 Days 8–14 Reduce frequency; increase depth of watering Week 3+ Days 15–21 Light use ok; first mow at ~3 inchesNeed help scoping tools and logistics? Our Mississauga sod installation overview outlines how we stage crews and materials so work flows without bottlenecks.
Free planning check-in: If you want a quick second set of eyes on grading, soil depth, or staging, request an on-site planning assessment with our Mississauga team. We’ll right-size the sequence so your lawn establishes cleanly the first time.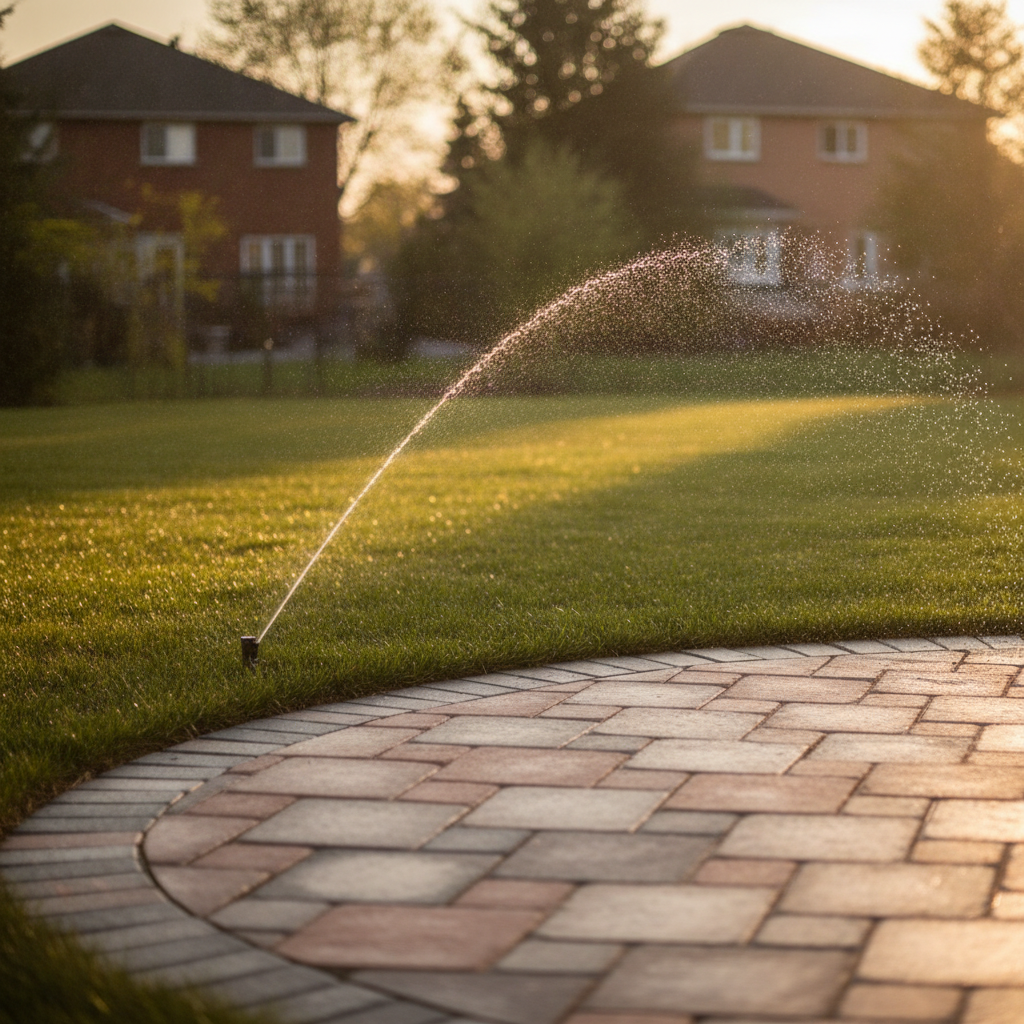
Mini Case Studies and Field Examples
Real sites prove the plan. Tight sequencing—grade, soil, install, water—prevents callbacks. These Mississauga examples show how sod near entries, hybrid zones in large yards, and drainage fixes by patios deliver fast, stable results.
We share short, anonymized snapshots that mirror common scenarios we handle in Mississauga and across the GTA.
- Front entry reset + paver edge: A compact lot with a new interlocking walkway needed crisp turf height. We removed thatch, restored 5 inches of topsoil, set finished grade to the paver edge, and laid sod in staggered seams. The entry was photo-ready immediately and mowing stayed smooth.
- Backyard hybrid approach: Large rear yard near Saigon Park with partial shade. We installed sod along the patio and seeded the back corners. An irrigation schedule with short pulses held moisture without washing seed. The yard reached usable coverage in three weeks.
- Drainage tune-up by a deck: Downspouts created soggy turf beside a new deck. We regraded for a subtle 3% fall, added compost for structure, and sodded. Puddling stopped, and the owner could mow at ~3 inches by week three.
- Rental-ready refresh: Near Lambton College, heavier foot traffic demanded stronger early stability. We chose sod across the full front yard, rolled seams tight, and set up temporary barriers for 14 days. Wear patterns never developed.
To compare more finishing options around patios and walkways, explore our notes on replacement options and matching edges to interlocking.
Frequently Asked Questions
Homeowners ask about timing, watering, traffic, and mowing. In short: schedule in late spring or early fall, keep the top inch moist without puddling, protect new turf for 2–3 weeks, and mow at around 3 inches with a sharp blade.
When is the best time to replace a lawn in Mississauga?
Late spring and early fall offer ideal temperatures and moisture. Summer installs succeed with strict irrigation management. Winter freeze-thaw makes establishment unreliable, so schedule outside that window when possible.
How much topsoil do I need for a healthy restart?
Aim for 4–6 inches of quality topsoil across the lawn area. Blend compost to improve structure where soils are sandy or compacted. Uniform depth reduces dry spots and keeps mowing heights consistent across edges and open runs.
How often should I water new sod?
Use short, frequent cycles for the first 7–10 days to keep the top inch moist. Then reduce frequency and increase depth so roots chase water downward. Avoid puddling and runoff, which can lift seams or starve roots of oxygen.
When can I mow for the first time?
Make the first mow when the grass reaches about 3 inches and the sod resists a gentle tug. Use a sharp blade and remove only one-third of the blade height. Keep turns wide to avoid shearing seams in the early weeks.
Related Planning Topics in This Cluster
Lawn replacement is part of a broader planning toolkit. If you’re refreshing edges, drainage, and access, coordinate adjacent projects—like paver walkways or mulch refreshes—so your site finishes as one cohesive upgrade.
For installation windows, see Mississauga sod timing. For edge transitions and base prep, review our methods overview. To keep the new lawn tidy through the seasons, use our seasonal maintenance planning checklist.
Key Takeaways
Success comes from sequencing: fix grade, rebuild soil, choose the right method, and lock in irrigation and protection. Aim for 4–6 inches of topsoil, a 2–5% slope, tight sod seams or calibrated seeding, and low traffic for 2–3 weeks while roots set.
- Plan in late spring or early fall for faster establishment and fewer headaches.
- Protect edges where lawn meets interlocking to keep mowing smooth and safe.
- Water precisely—short and frequent early, then deeper and less often.
- Target a first mow around 3 inches with a sharp blade and light passes.
Conclusion: Next Steps for a Smooth Lawn Reset
Define your window, confirm soil depth and slope, and commit to a two-week watering plan. Whether you choose sod for instant coverage or seed for flexibility, clean edges and consistent aftercare make the upgrade last.
Ready to put your plan in motion? If you want hands-on help with grading, edge control, and sod installation in Mississauga, our team can scope, stage, and deliver a cohesive reset that looks sharp from day one—and stays practical after.
For broader context on how full-site planning supports lawn results, see our Mississauga-focused notes on landscaping services, a deeper design-build overview, and seasonal sod installation timing.