Walkway pavers layout ideas are the design patterns, borders, and alignment choices that organize paving stones into a safe, attractive path. The best layouts in Mississauga balance curb appeal with drainage, freeze–thaw durability, and easy maintenance. HR Greenroots Landscaping plans layouts with strong base prep, grading, and edge control for paths that stay crisp.
By HR Greenroots Landscaping • Last updated: 2026-06-23
At a Glance
This guide shows you how to choose and plan paver walkway layouts that look clean, drain well, and hold up through Ontario winters. You’ll see pattern options, borders, curves, base specs, tools, and step-by-step planning backed by HR Greenroots Landscaping’s design–build experience in Mississauga and the GTA.
Use this section as your quick-start map. Then jump to the parts you need most.
- What you’ll learn: pattern basics, border rules, slope and drainage, winter-smart details, and a planning workflow that prevents rework.
- Who it’s for: Mississauga homeowners and property managers planning new interlocking walkways or refreshing tired paths.
- Why trust us: HR Greenroots delivers end-to-end design, installation, and maintenance across Mississauga and the GTA with an emphasis on strong base preparation and clean edge control.
- What is a paver walkway layout?
- Why layout matters in Mississauga
- How planning a layout works
- Types and pattern ideas
- Best practices and details
- Tools and resources
- Mini case examples
- FAQ
- Key takeaways and next steps
What Is a Paver Walkway Layout?
A paver walkway layout is the deliberate arrangement of pavers—pattern, joint direction, borders, and curves—planned alongside base depth, slope, and edges. A good layout aligns with traffic flow, sheds water, and simplifies snow clearing, so the path looks intentional and stays stable over time.
Think of layout as both the visual pattern and the build blueprint. Pattern choice is only half the story—base structure, water management, and edging complete it. Our team in Mississauga treats layouts as a coordination exercise between design, materials, and site conditions.
Key components of a complete layout
- Pattern geometry: running bond, herringbone, basketweave, modular/random, stack bond.
- Joint direction: which way the lines run relative to doors, curbs, and views.
- Border strategy: soldier or sailor courses, color/size contrasts, and mitered corners.
- Base structure: compacted aggregate depth, geotextile as needed, and leveled bedding sand.
- Drainage slope: typically 1–2% away from buildings and hard edges.
- Edge restraints: anchored plastic/metal or concrete curbs to lock the field.
Here’s the thing: a walkway is a circulation tool first, a design feature second. When those two work together, day-to-day use gets easier—fewer puddles, cleaner snow removal, and edges that don’t creep out of line.
Why Layout Matters in Mississauga
Layout affects safety, drainage, and winter durability. In Mississauga’s freeze–thaw cycles, correct slope, base depth, and joint orientation reduce heaving and icing. Choose patterns that resist shifting, add borders for containment, and plan widths that fit real foot traffic and maintenance.
Mississauga winters bring repeated thaw–freeze swings. Without a well-graded base and consistent joint lines, meltwater can refreeze and lift pavers. In our experience, walkways built with a compacted aggregate base, 1–2% slope, and polymeric-jointed pavers stay flatter and cleaner season after season.
Functional reasons layout drives performance
- Drainage control: directing water away from foundations protects basements and keeps joints drier.
- Snow clearing: straight, consistent joints are easier to shovel without catching edges.
- Edge stability: borders resist lateral movement on curves, steps, and driveway tie-ins.
- Trip safety: aligned cuts at thresholds reduce lip edges at doors and steps.
Design choices also affect day-to-day comfort. For example, a 42–48 inch path lets two people pass easily; a 36 inch service walk feels tight near landscaping. We right-size widths to actual use, not just code minimums.
How Walkway Layout Planning Works
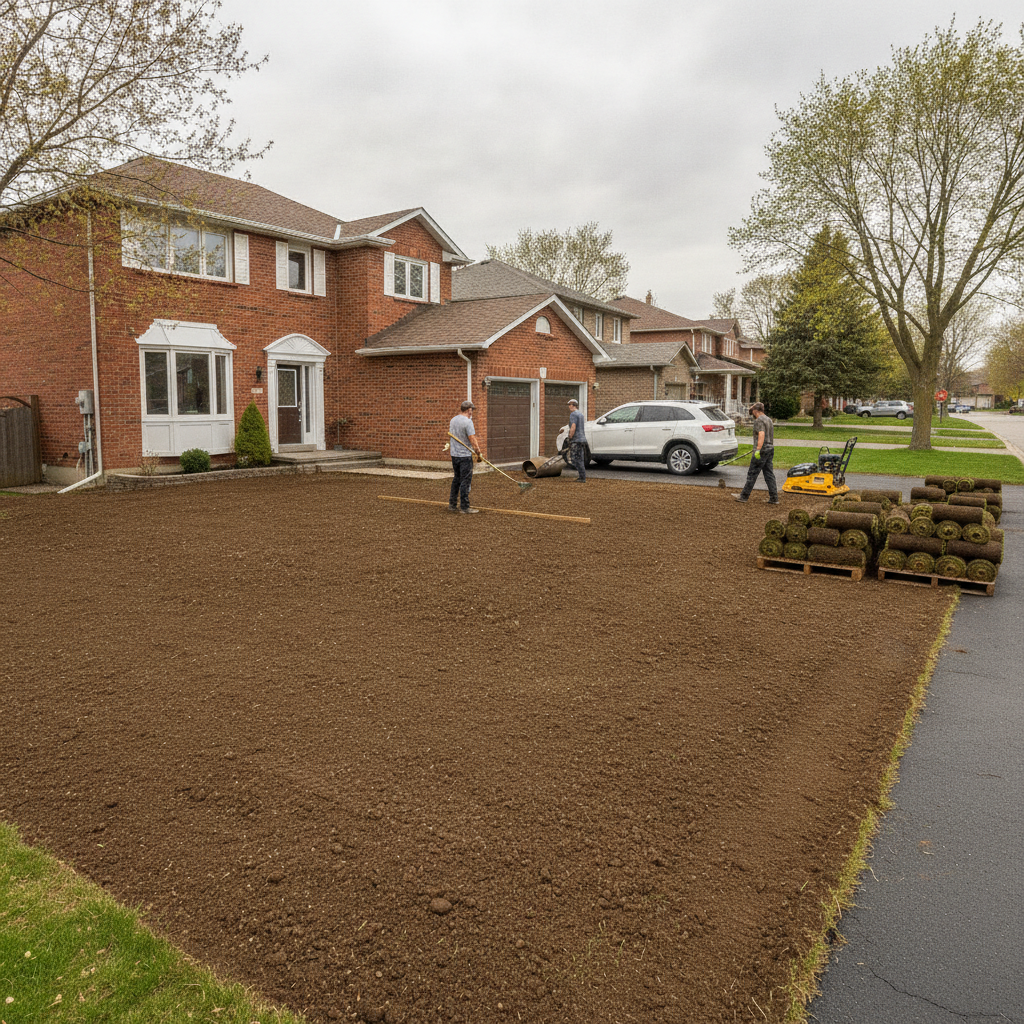
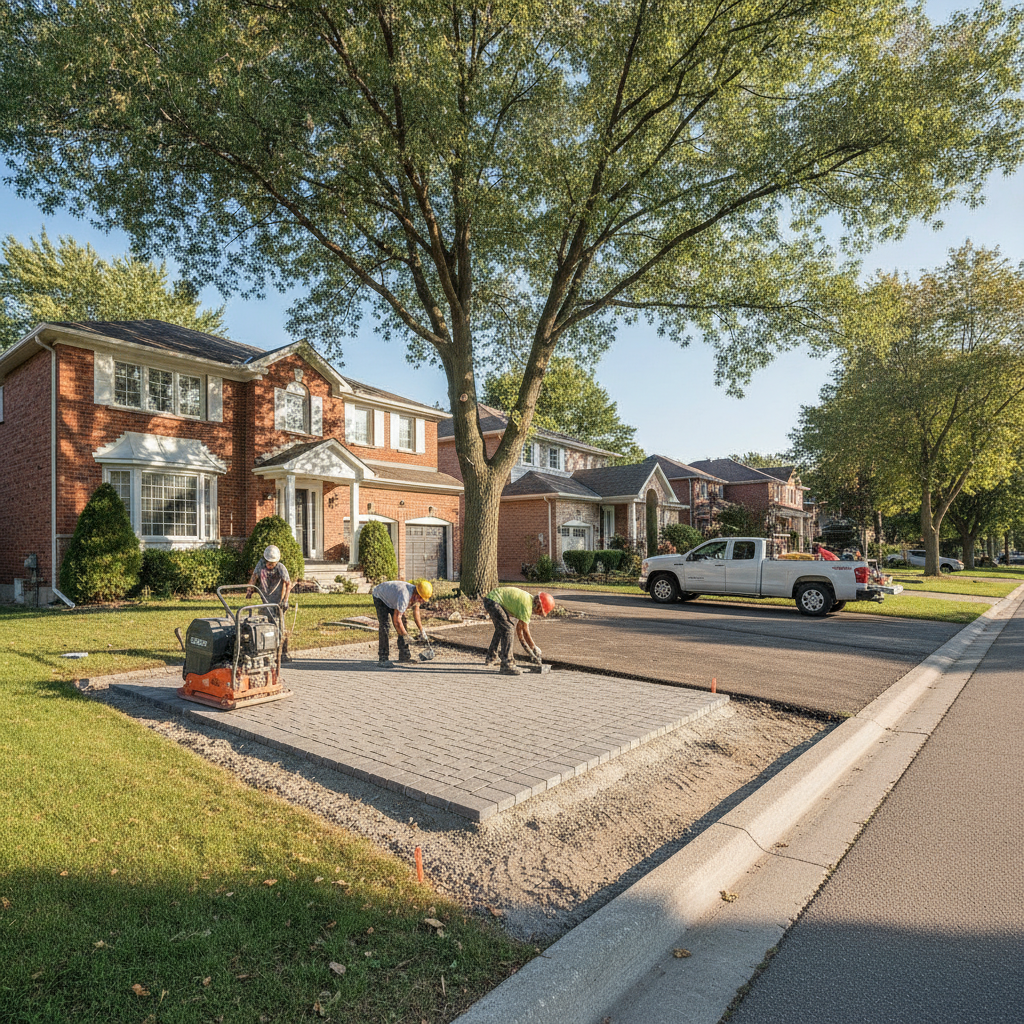
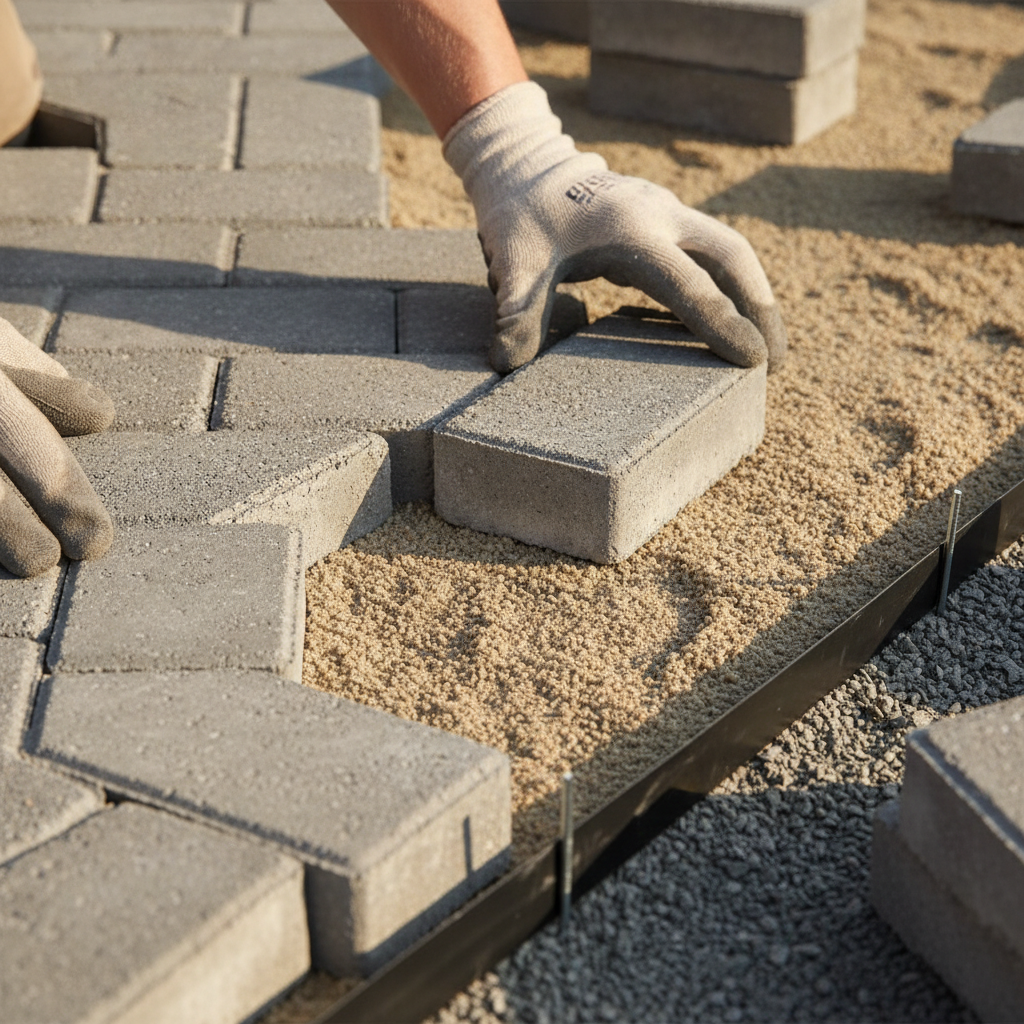
A reliable workflow starts with site assessment and ends with a locked-in surface: measure widths, set slope lines, excavate and compact base, screed bedding sand, place the field pattern, cut and set borders, then activate polymeric sand. Each step protects alignment and drainage.
Planning is where rework is avoided. We break the process into measurable steps and use control lines so the pattern never drifts. Here’s the practical sequence we follow on Mississauga projects.
Step-by-step workflow
- Assess the site: Map high/low points, downspouts, and door thresholds. Establish target elevation to prevent water toward the house.
- Define circulation: Note entry points, driveway ties, gates, and utility clearances. Choose a width that fits real use (often 42–48 inches for main walks).
- Set slope: Snap string lines at 1–2% fall away from structures. Confirm landing points at curbs or plant beds.
- Excavate: Remove soil to base and bedding depths. In freeze–thaw conditions, deeper base in soft soils improves stability.
- Base preparation: Install geotextile if soils are clayey, then compact graded aggregate in lifts to design depth. True and level to slope.
- Bedding layer: Screed 1 inch of angular bedding sand using pipes/rails. Don’t overwork the surface.
- Lay the field: Start from straight control edges, keep joints consistent, and check squareness every few courses.
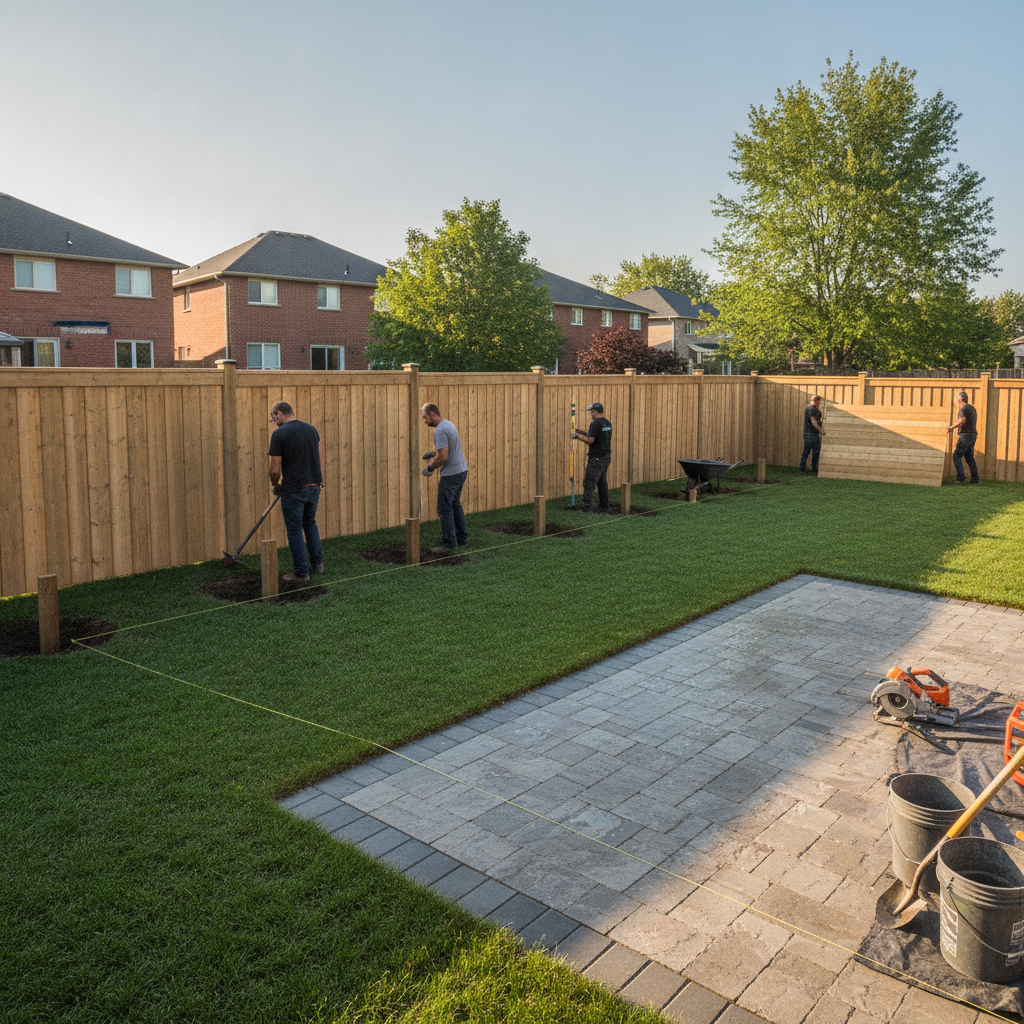
- Cut and set borders: Dry-fit, then cut with a saw for tight miters. Install edge restraints secured into the base.
- Compact and joint: Plate-compact with a pad, sweep in polymeric sand, compact again, and activate per product directions.
For a deeper dive into substrate performance, see our guidance on paver base preparation. Good compaction and clean edge control underpin every long-lasting walkway we build.
Mississauga-friendly specs (typical ranges)
- Slope: 1–2% away from structures; increase near planters to resist splash-back.
- Base: Compacted aggregate in lifts; deeper sections for soft soils or vehicle crossings.
- Bedding: About 1 inch of angular bedding sand, screeded on rails for flatness.
- Joints: Polymeric sand for lock-up; re-sweep if joints settle after first weeks.
- Edges: Anchored restraints or concrete curbing to prevent creep, especially on curves.
Pro tip: align the pattern so water flows across joints rather than tracking down them. Cross-joint flow tends to shed faster and reduce ice streaks along the path.
Types/Methods/Approaches: Pattern and Layout Ideas
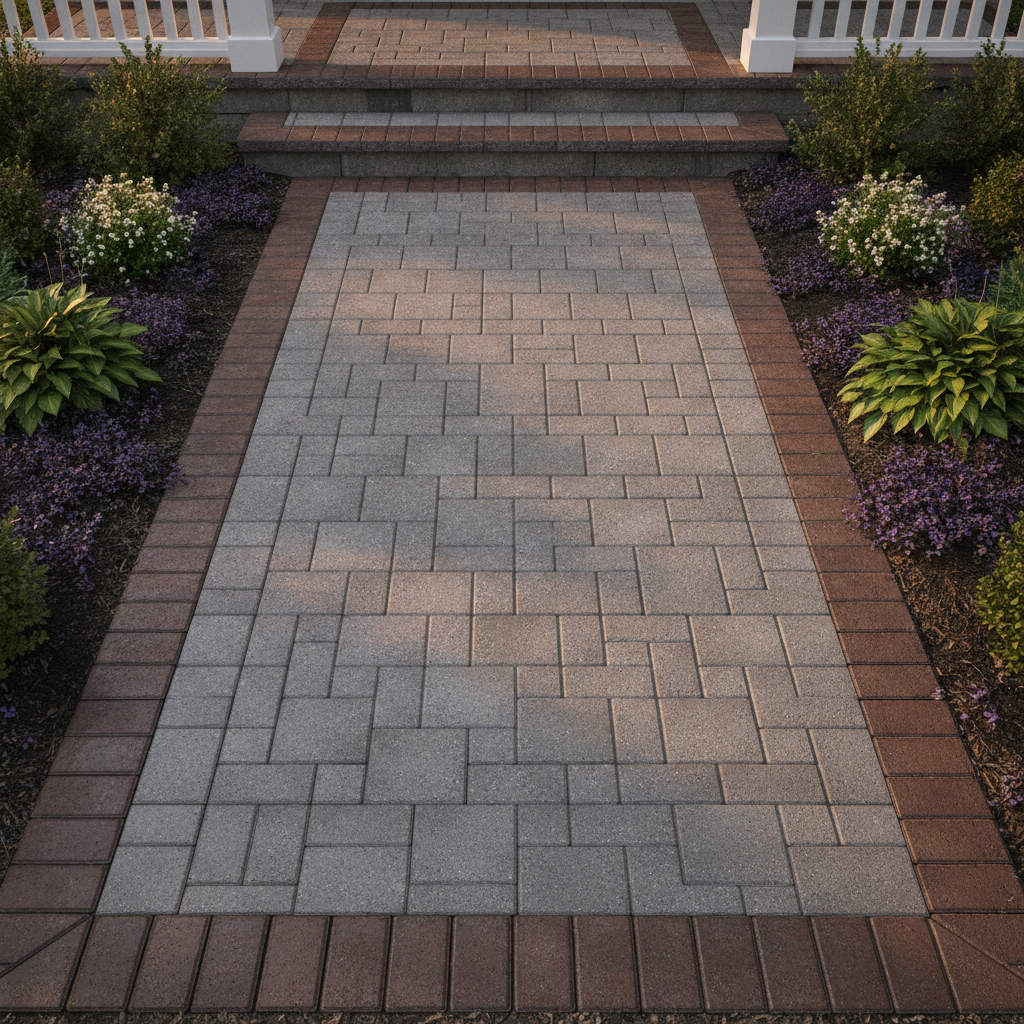
Choose patterns that match how the space is used. Herringbone resists shift on curves and at drive tie-ins; running bond elongates narrow spaces; modular patterns create upscale variety; basketweave adds classic rhythm. Borders control edges, and soldier courses add contrast and structure.
Pattern is a tool, not just a look. We match patterns to movement, snow clearing, and soil behavior. Below are proven layout ideas we use on Mississauga walkways.
Field patterns with use cases
- 90° or 45° herringbone: Excellent interlock and load-distribution; ideal near driveways, curves, and steps.
- Running bond (stretcher bond): Clean lines that make narrow side yards feel longer; simple cuts around utilities.
- Basketweave: Traditional look for heritage facades; best on straight runs and rectangular landings.
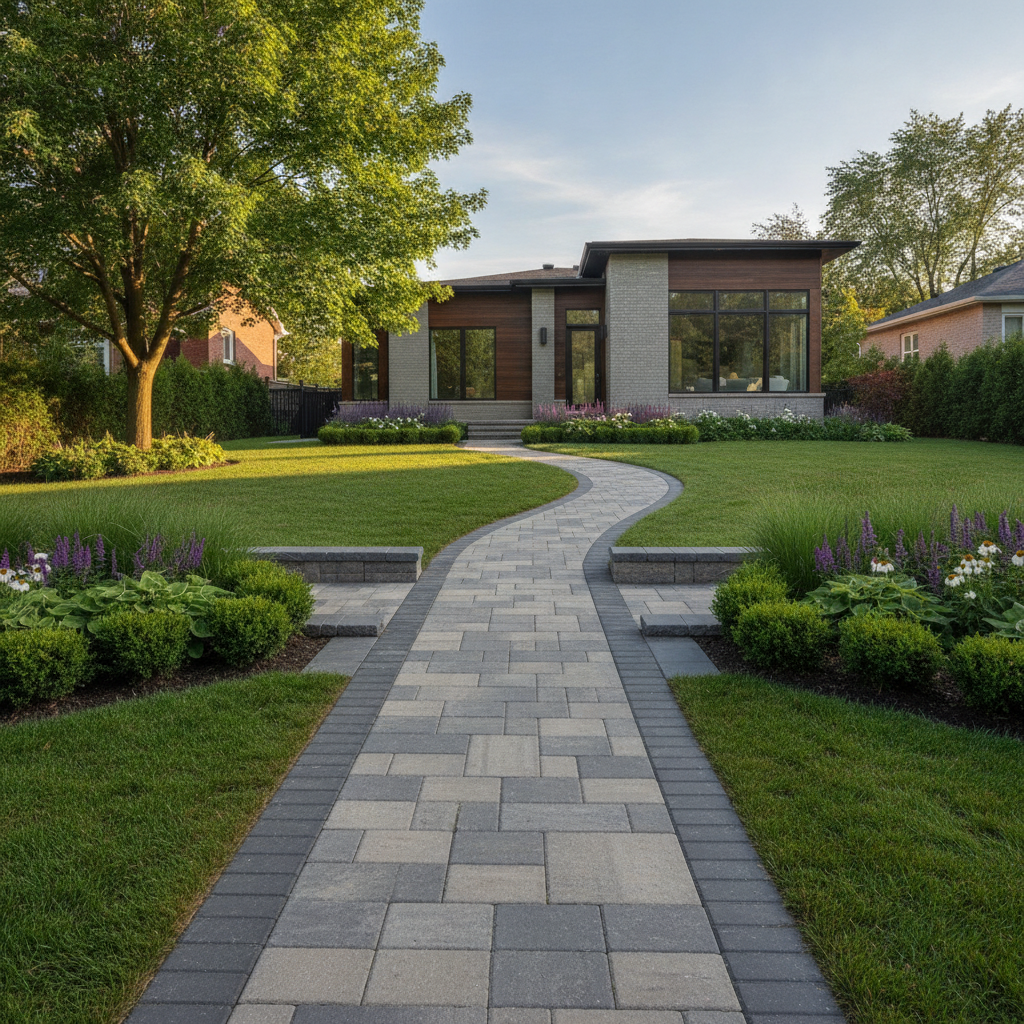
- Modular/random ashlar: Mixed sizes break repetition; great for front entries with wider landings.
- Stack bond (grid): Contemporary vibe; use only with strong borders because lateral lock is weaker.
Border and accent strategies
- Soldier course: Pavers set lengthwise along the edge for a crisp frame.
- Sailor course: Pavers set widthwise; nice on tight curves where short pieces reduce gaps.
- Contrast banding: A darker or lighter single-course inlay at transitions or at the street.
- Threshold mats: Rectangular insets at doors to square up cuts and protect edges.
Curves and transitions
- Wide radii: Larger arcs reduce triangle slivers and make snow shovels glide.
- Segmented curves: Break tight curves into short chords with carefully mitered borders.
- Landing pads: Add wider rectangular areas at gates and doors to reset square geometry.
Pattern selection cheat sheet
Pattern Stability Snow clearing Cut complexity Best use Herringbone High Very good Moderate Curves, drive tie-ins Running bond Medium Excellent Low Side yards, long paths Basketweave Medium Good Low–Medium Traditional entries Modular/random High (with borders) Good High Showpiece entries Stack bond Low (needs borders) Good Low Modern, rectilinear spacesWant a deeper pattern overview? See our interlocking pavers guide for a broader patio and driveway perspective that still applies to walkways.
Best Practices: Details That Keep Walkways Looking Sharp
Prioritize straight control lines, consistent joint spacing, anchored borders, and cross-joint water flow. Use polymeric sand, protect edges at landings, and avoid tiny slivers on cuts. Right-size width for use, and plan seasonal maintenance so joints remain tight and clean.
Details separate tidy walkways from those that drift. We design for long-term care, not just day-one photos. Here are the practices we standardize on builds across Mississauga and the GTA.
Border and edge control
- Lock the perimeter: Use anchored edge restraints on straight runs and curves.
- Double borders at drives: Two-course borders resist twisting where cars turn across entries.
- Miter with intent: Aim for large triangles or rectangles, not thin slivers that loosen over time.
Jointing and compaction
- Polymeric sand: Install dry, compact, re-sweep, and activate as directed; re-top up if joints settle.
- Plate compactor with pad: Protect paver faces; compact before and after jointing.
- Snow-smart joints: Keep joint lines consistent to prevent shovel edges from catching.
Drainage and winter durability
- Cross-joint flow: Orient the field so water crosses joints rather than channels along them.
- De-icer caution: Use de-icers labeled as paver-safe; avoid harsh salts near delicate plantings.
- Landscape tie-ins: Slightly crown adjacent lawn edges so meltwater sheds away from the path.
Keep your walkway tight through the seasons with our quick read on paver joint sand tips and this broader seasonal maintenance planning guide.
Local considerations for Mississauga
- Plan curves that steer foot traffic naturally from the sidewalk toward entries—especially on corner lots near Saigon Park where sightlines and park footfall are higher.
- Schedule polymeric sand activation on a dry, mild day; spring and early fall windows in Mississauga reduce weather risks.
- When working near student rental areas by Lambton College, choose patterns that tolerate rolling bins and frequent foot traffic—herringbone with a soldier border performs well.
Soft CTA: Want a second set of eyes on your sketch? Our design–build team can review layout lines, slope targets, and border choices as part of a planning consult. We pair concept with build logistics so nothing’s missed.
Tools/Resources for Smarter Layouts
You don’t need fancy gear to plan a clean layout—use string lines, levels, screed rails, and a plate compactor. Add a miter saw or wet saw for borders, and reference pro checklists. The right tools keep joints straight, bases flat, and borders tight.
Our kits are simple but disciplined. The tools below prevent the most common layout problems we see on DIY attempts.
Layout and measurement
- Strings, stakes, and levels: Establish control lines and slope; verify elevations at doors and curbs.
- 3–4–5 triangle: Square your first landing; a square base prevents pattern drift.
- Measuring wheels and tapes: Confirm widths repeatedly along curves and long runs.
Base and screed
- Plate compactor with rubber pad: Compact aggregate lifts; protect paver faces during final passes.
- Screed rails and boards: Set consistent bedding depth; don’t walk on screeded sand.
- Geotextile (as needed): Separate clay soils from base aggregate to reduce pumping.
Cutting and edges
- Wet saw or miter saw with diamond blade: Clean, accurate cuts for borders and corners.
- Edge restraints and spikes: Anchor borders on curves and at transitions.
- Polymeric sand and blower: Dry-sweep, compact, top-up, and activate for lock-up.
If you want a broader context on interlock benefits and trade-offs in Ontario, this regional overview of interlock pros and cons is a helpful backdrop. For planning pointers, compare with this walkway planning advice and a step-by-step installation overview. Use them as supplementary reading alongside our local best practices.
Case Studies/Examples: Layouts That Work
We tailor layouts to real traffic and site constraints. In Mississauga, herringbone with soldier borders excels near drive tie-ins; modular patterns elevate front entries; running bond cleans up tight side yards. Each example shows how pattern, borders, and slope combine for durable results.
These snapshots mirror common HR Greenroots projects around the city. While every site differs, the logic repeats: define movement, lock the edges, and manage water.
Front entry refresh near Saigon Park
- Goal: Replace cracked concrete with a welcoming path and landing.
- Layout: Modular field with a contrasting soldier border; a threshold mat squares the door.
- Why it works: The border tightens cuts on curves, and modular sizing adds a premium look without visual clutter.
- Internal reference: See our walkways vs. poured concrete breakdown for pros and cons.
Side-yard circulation for a rental near Lambton College
- Goal: Create a clean, durable service walk for frequent foot traffic and bins.
- Layout: 45° herringbone with a robust soldier border and anchored edge restraint.
- Why it works: Herringbone resists shear and keeps joints tight under turning loads; the border prevents creep.
- Internal reference: Compare substrate choices in our base preparation guide.
Driveway-to-door connector in a compact frontage
- Goal: Tie a driveway extension into the front walk without trip lips.
- Layout: Running bond oriented lengthwise with a double-course border where vehicles cross the entry.
- Why it works: Straight joints are easy to shovel and align with curb geometry; doubled borders resist tire scuffing.
- Internal reference: Our notes on driveway extensions show how we integrate grades and edges cleanly.
For design planning beyond the walkway itself, our interlocking vs. stone article helps you coordinate materials across patios, paths, and steps.
Frequently Asked Questions
Most walkways perform best with 1–2% slope, anchored borders, and polymeric joints. Herringbone is the go-to for curves and high-traffic edges, while running bond fits long, narrow spaces. Plan widths to real use and keep joints consistent for easier winter care.
What paver pattern holds up best for snowy Mississauga winters?
Herringbone offers the strongest interlock and resists lateral shift, which is helpful on curves and near driveway tie-ins. Pair it with a soldier-course border and polymeric-jointed seams. Keep a 1–2% slope away from the house so meltwater doesn’t refreeze along the path.
How wide should a front walkway be?
For a welcoming feel, 42–48 inches lets two people pass comfortably. Service walks can work at 36 inches but feel tighter. We right-size widths to doors, railings, and landscaping so shovels and bins move without scraping borders.
Can I include curves without creating a lot of tiny cuts?
Yes—use wide radii and plan a soldier or sailor border that absorbs small angle changes. Landings at doorways let you “reset” the geometry so the field pattern stays clean and you avoid thin triangular slivers that loosen over time.
How do I stop my walkway edges from spreading?
Lock edges with anchored restraints fastened into the compacted base and add a soldier-course border. Good compaction, consistent jointing, and cross-joint water flow reduce forces that make edges creep.
Key Takeaways and Next Steps
Successful walkway layouts combine pattern, borders, slope, and base quality. Herringbone for strength, modular for premium entries, running bond for narrow runs—then lock edges, manage water, and maintain joints. Start with a clear plan and you’ll avoid the most common failures.
- Choose pattern by use: Herringbone near curves and drives; running bond for long, straight paths; modular for focal entries.
- Control water: Set a 1–2% slope away from structures and toward safe drainage areas.
- Lock borders: Soldier or sailor courses with anchored restraints prevent creep.
- Maintain joints: Polymeric sand, periodic top-ups, and gentle cleaning keep surfaces tight.
Ready to turn a sketch into a buildable plan? Our Mississauga team pairs layout design with construction sequencing and maintenance planning so your walkway looks intentional on day one and stays sharp. Book a quick planning consult and we’ll map slope lines, border choices, and landing sizes together.