Interlocking paver base preparation is the engineered process of excavating, stabilizing, and leveling the layers beneath pavers so they carry traffic and drain water reliably. In Mississauga’s freeze–thaw climate, a well-built base stops heaving, ruts, and puddles so patios, walkways, and driveways stay safe and level—exactly how HR Greenroots Landscaping builds them.
By HR Greenroots Landscaping · Last updated: 2026-05-11
Overview and Table of Contents
A durable paver base uses the right excavation depth, geotextile separation on weak soils, compacted aggregate in thin lifts, a precise 1-inch bedding layer, and solid edge restraints. Keep a 1.5–2% slope away from structures and stabilize joints to resist washout. Do this, and most future settlement complaints disappear.
- What is interlocking paver base preparation?
- Why base prep matters in Mississauga and the GTA
- How the paver base process works (step-by-step)
- Types of bases and when to use them
- Best practices for long-lasting results
- Tools, materials, and resources
- Mississauga case studies and field lessons
- Frequently Asked Questions
- Key Takeaways
- Conclusion and next steps
What is interlocking paver base preparation?
Interlocking paver base preparation is the systematic build-up of subgrade, separation fabric, compacted aggregate, and a true 1-inch bedding layer that spreads loads and manages water. This foundation lets pavers interlock, stay flat, and survive traffic and winters without rocking or rutting.
Think of the base as the foundation of your outdoor surface. It’s responsible for three jobs: carry weight, move water, and hold alignment. Without a stable base, even premium stones will shift, settle, or trap water. With the right base, your patio or driveway handles daily use gracefully for years.
At HR Greenroots Landscaping, we prioritize stability (no rocking), drainage (no pooling), and alignment (clean lines and flush transitions). For homeowners and property managers across Mississauga and the GTA, that means pairing excavation with soil assessment, using geotextile separation where clays or mixed fills exist, and installing aggregates matched to the application.
Where base prep fits in your landscape
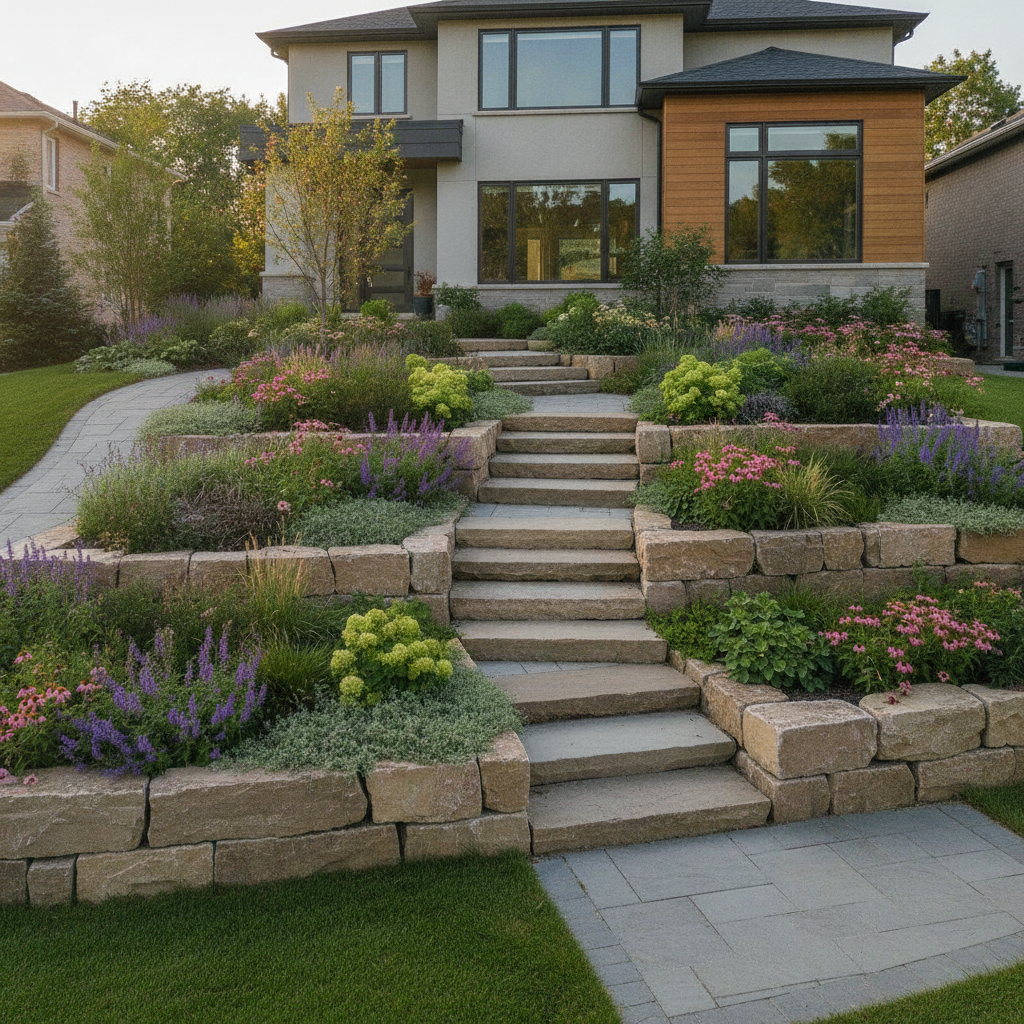
- Supports hardscapes: patios, walkways, pool surrounds, and interlocking driveways all rely on it.
- Controls drainage: guides water to lawns, swales, or permeable zones instead of toward your foundation.
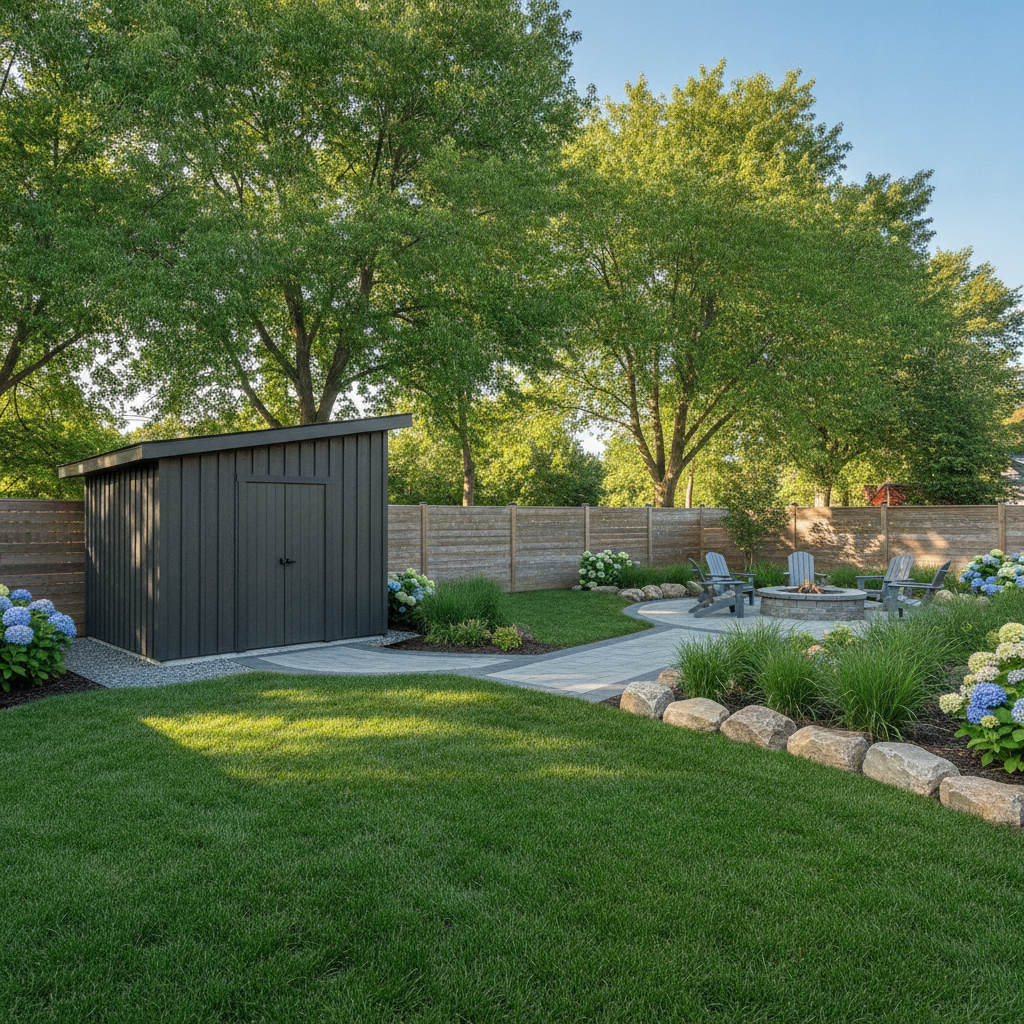
- Sets elevations: ties smoothly into sod, mulch beds, decks, sheds, and garage thresholds.
Because base work influences everything around it, we design with the whole property in mind—grading lawns, coordinating with retaining walls, and setting elevations that keep entries dry.
Why base prep matters in Mississauga and the GTA
Base preparation matters because Ontario’s freeze–thaw cycles magnify every shortcut. Proper depth, separation fabrics on clays, accurate slope, and disciplined compaction dramatically reduce heave, settlement, and icing—keeping surfaces safe and crisp season after season.
Mississauga winters drive water into soils. Freezing expands that water, lifting poorly built surfaces. When spring thaws arrive, saturated soils lose strength, and traffic creates dips or ruts. A strong base counters both extremes by draining quickly and staying dense under load.
- Typical fall (slope): 1.5–2% away from structures moves water without feeling steep.
- Compaction in lifts: 3–4 inch compacted layers produce consistent density and limit future settlement.
- Bedding precision: a true 1-inch layer supports even paver heights and crisp alignment.
Local considerations for Mississauga
- Schedule around shoulder seasons for faster compaction and fewer weather delays; avoid saturated spring soils when possible.
- Design for snow management: durable edge restraints and gentle transitions reduce plow snags and shoveling hang-ups.
- Integrate downspouts and sump discharge into the plan so meltwater drains safely instead of refreezing on hardscapes.
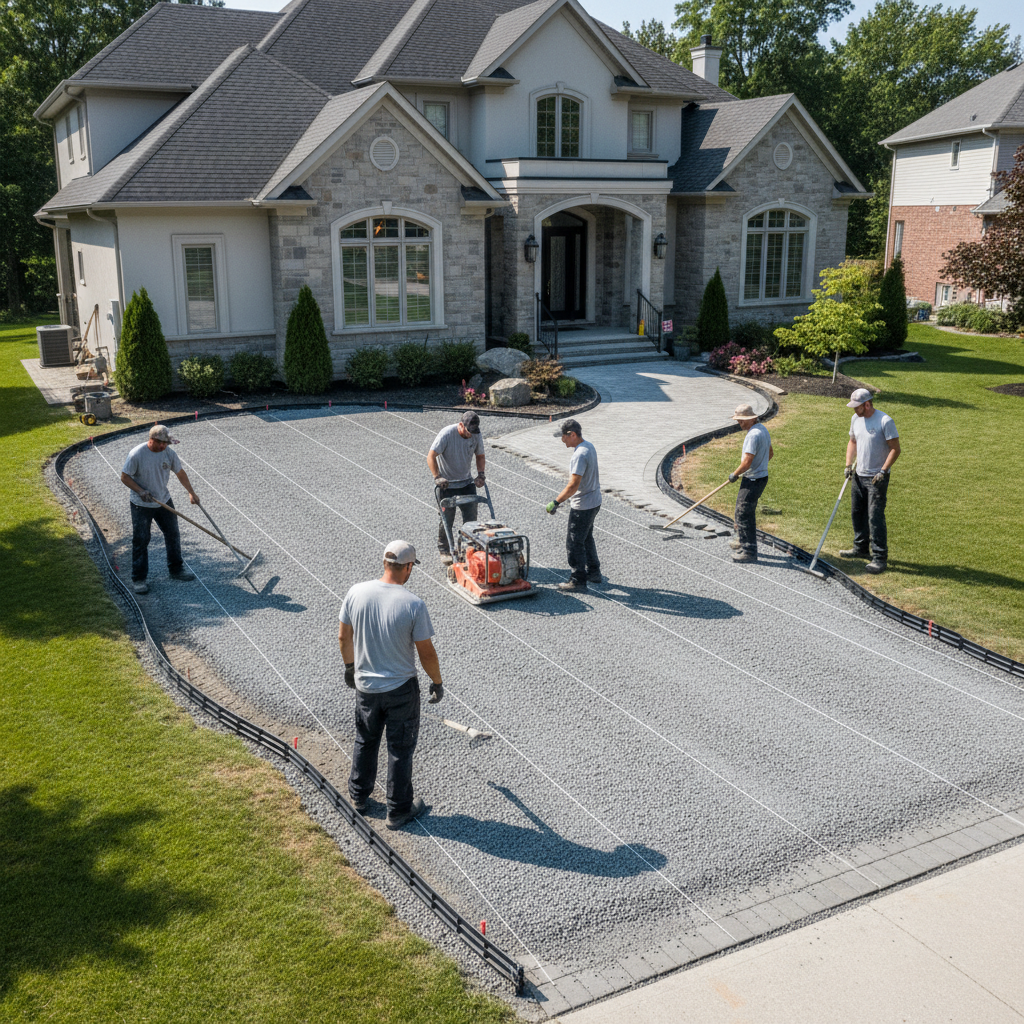
How the paver base process works (step-by-step)
Build a reliable paver base by marking utilities, excavating to design depth, placing geotextile on weak soils, compacting aggregate in 3–4 inch lifts, screeding a precise 1-inch bedding layer, and locking edges before stabilizing joints. Verify slope at each stage.
- Assessment and layout: define elevations, slope, and transitions to lawns, drives, and thresholds.
- Utility locates: call for locates and hand-dig near any known services.
- Excavation: remove topsoil/organics and dig to allow base depth + bedding + paver thickness.
- Subgrade shaping: establish 1.5–2% fall away from structures; proof-roll to find soft spots.
- Geotextile placement: separate soil from stone and bridge weak areas to curb pumping.
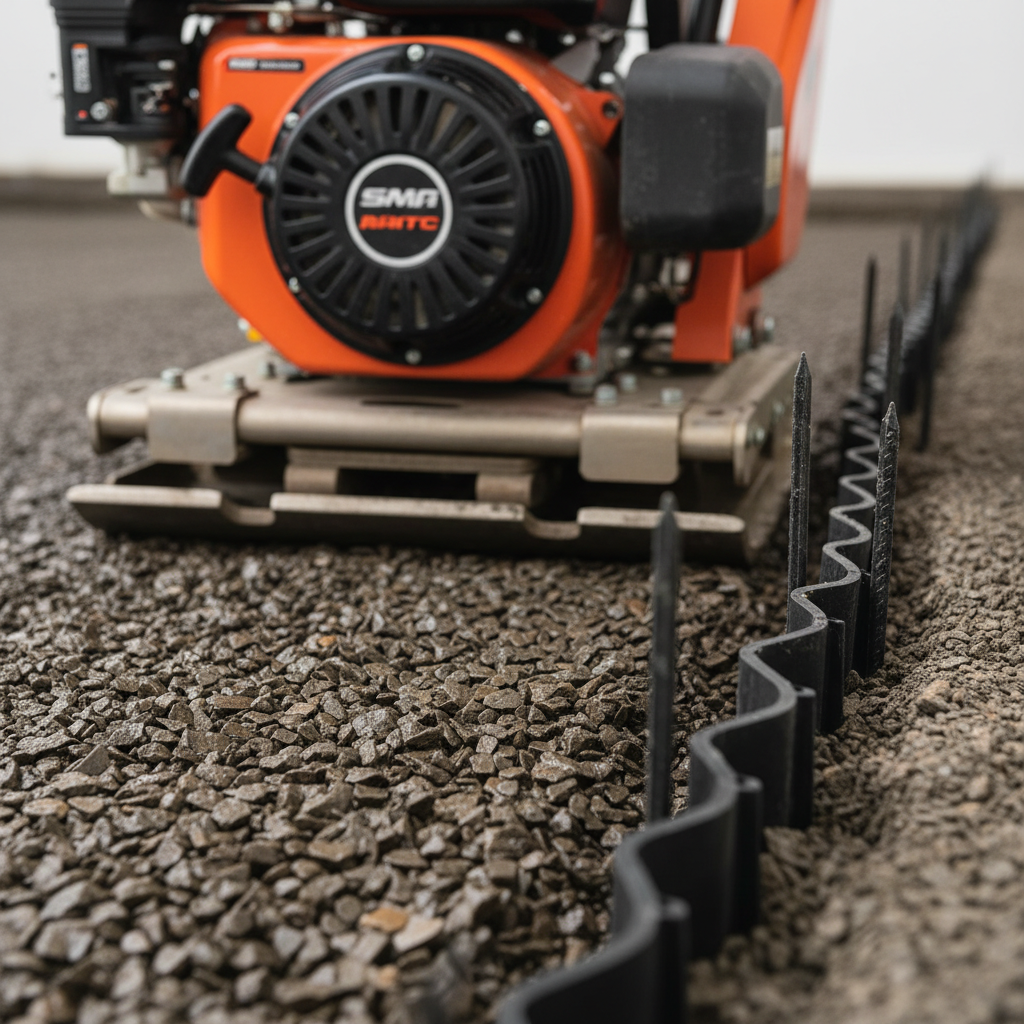
- Base installation: place dense-graded or open-graded aggregate in 3–4 inch lifts; moisten and compact each lift thoroughly.
- Edge restraint planning: notch or trench so restraints sit on compacted base (not loose bedding sand).
- Bedding layer: screed exactly 1 inch of coarse bedding sand or chips; don’t walk on it before laying.
- Laying pattern: set pavers to lines; maintain joint widths and check running bond/herringbone alignment.
- Initial compaction: run a plate compactor with a protective mat over the surface.
- Joint stabilization: sweep in polymeric sand; wet per manufacturer guidance.
- Final verification: re-check slope, edges, and transitions; compact again and clean up.
On driveways, we confirm turning radii and tire paths, often thickening the base in high-load zones. For pool surrounds, soft curves and smooth falls help water find drains without creating ankle-catching lips.
Types of bases and when to use them
Use dense-graded aggregate for most patios, walkways, and standard driveways. Choose open-graded, permeable bases where drainage is critical or soils stay wet. Hybrid sections and stabilization fabrics solve transitions, poor soils, or heavier vehicle loads.
Dense-graded (standard) base
- Make-up: crushed stone with fines (often “3/4-inch minus”) that locks tight under compaction.
- Best for: typical patios, walkways, and many residential driveways.
- Why it works: fines fill voids, creating a stiff, stable platform under traffic.
Open-graded (permeable) base
- Make-up: clear stone without fines that stores and moves water.
- Best for: permeable paver systems, wet soils, or retrofit drainage improvements.
- Why it works: water passes through quickly, reducing surface runoff and refreeze potential.
Hybrids and special cases
- Hybrid sections: dense-graded under tire paths; open-graded near downspouts to capture runoff.
- Over concrete/asphalt: add drainage strategy and redesign bedding to avoid trapped moisture.
- Soft soils: add geogrid or depth to control rutting and long-term settlement.

Permeable bases pair well with rain gardens and swales. We often integrate them along driveways that pond during thaws, creating relief paths that keep surfaces safer in winter.
Best practices for long-lasting results
Thin, moisture-conditioned compaction lifts, verified slopes, a true 1-inch bedding, and solid edge restraints are the non-negotiables. Keep traffic off the bedding, compact pavers with a protective mat, then stabilize joints to resist washout and weeds.
- Lift thickness: place 3–4 inch compacted lifts for consistent density across the field.
- Moisture control: lightly moisten aggregates to help fines knit without creating slurry.
- Slope checks: string lines or laser levels confirm 1.5–2% fall to drains or lawn.
- Bedding precision: screed once and protect it—footprints here telegraph to the surface.
- Edge restraints: install on compacted base, spike at manufacturer-recommended spacing.
- Joint sand: polymeric sands reduce washout and inhibit weeds when installed properly.
- Transitions: tuck edges to sod or mulch with clean reveals and no trip points.
In our experience, most failures come from rushing compaction, skipping fabric on clay, or floating edge restraints in loose bedding. Fix those, and longevity jumps dramatically.
Planning a project in Mississauga? Our design-build team assesses soils, slopes, and drainage during a quick on-site consultation, then coordinates interlocking, sod, and retaining elements so everything ties together.
Tools, materials, and resources
Successful base prep depends on the right gear: a properly sized plate compactor, aggregates matched to your drainage goals, reliable edge restraints, accurate layout tools, and separation fabrics for clays. Finish with proven joint sands for tight, durable joints.
Essential tools
- Vibratory plate compactor sized for the area and aggregate type.
- Saw for clean paver cuts; protective mat for surface compaction.
- Laser level or string lines for slope and elevation checks.
- Screed rails and lute for a true 1-inch bedding layer.
Core materials
- Dense-graded aggregate (3/4-inch minus) or clear stone for permeable bases.
- Geotextile fabric for soil–aggregate separation; geogrid for soft spots.
- Edge restraints (PVC, aluminum, or steel) with appropriate spikes.
- Polymeric joint sand or stabilized chip for permeable systems.
For a homeowner’s perspective on installation sequencing, see this complete step-by-step guide. And for early planning, their patio and walkway advice offers practical design checkpoints you can adapt to your site. For driveway-specific trade-offs, review these Ontario interlock pros and cons to frame your approach.
Mississauga case studies and field lessons
Real projects show the payoff: correct base depths, fabrics on clays, and tight edge restraints eliminate pooling and spreading. Driveways track straighter; walkways stay flat. The common thread is disciplined prep and verification at every stage.
Driveway extension with recurring puddles
A homeowner needed extra parking but saw regular ponding along the edge. We installed an open-graded trench tied to a permeable base zone, added geotextile over clay, and thickened the base in tire paths. After the next thaw-and-rain cycle, the driveway drained predictably with no standing water.
Backyard patio over mixed soils
Soils varied from sandy loam to compacted fill. We used geotextile to separate, compacted a dense-graded base in thin lifts, and set a precise 1-inch bedding. The patio aligned with the deck threshold and now sheds water cleanly into the adjacent lawn without creating ankle-catching lips.
Front walkway heaving every winter
Freeze–thaw lifted pavers and created trip points. Rebuilding with fabric over clay, proper slope, and quality edge restraints stabilized the path. Snow clearing is smoother, and joints stayed tight through the next winter.
Frequently Asked Questions
Homeowners ask about depth, fabrics, and whether permeable bases are worth it. Here are clear answers to the most common questions we hear in Mississauga projects.
How deep should my paver base be?
Depth depends on use and soil. Patios and walkways often need 8–12 inches of compacted aggregate; driveways and heavy-use areas can require 12–16 inches or more. We also thicken bases in turning or braking zones to control rutting.
Do I need geotextile fabric under the base?
If you have clay or mixed fill, yes. Fabric separates soil from stone so fines don’t pump into the base during rain or thaw. It’s a low-effort way to stabilize weak subgrades and improve long-term performance.
What’s the difference between dense-graded and permeable bases?
Dense-graded uses “minus” stone with fines that lock tight for stiffness—great for most patios and walks. Permeable bases use clear stone without fines to move water quickly—ideal where drainage is a priority or soils stay wet.
How much slope do I need?
Aim for roughly 2% fall away from structures (about a quarter inch per foot). That moves water off the surface without feeling steep. Verify with a level or laser during excavation, base, and bedding stages.
Can you fix a failing base without tearing everything out?
Sometimes. Edge creep, localized dips, or poor joints can be corrected surgically. But widespread settlement or drainage failures usually require partial or full base reconstruction to solve the root cause.
Key Takeaways
Match base type and depth to soils and loads, compact in thin, well-moistened lifts, and keep the bedding true. Lock edges and verify slope. These fundamentals prevent most settlement and drainage issues before they start.
- Right depth + right aggregate = long-term stability.
- Separation fabrics pay off on clay and mixed fills.
- True 1-inch bedding and quality edge restraints keep lines crisp.
- Permeable zones help manage downspouts and thaw cycles.
Conclusion and next steps
Great interlocking starts below the pavers. Engineer the base for your soils, drainage, and loads; verify each stage; then lock edges and stabilize joints. That’s how we deliver patios, walkways, and driveways that stay level and look sharp for years.
Here’s the bottom line: base prep isn’t a place to compromise. If you want your patio or driveway to look clean next season and five years from now, prioritize excavation depth, fabrics where needed, compaction in thin lifts, and accurate slope. Edge it well and finish with stabilized joints.
Ready to plan your project? Our Mississauga design-build team can evaluate grades, runoff, and soil conditions, then coordinate interlocking, sod, retaining walls, and more so your yard works as a system. Contact HR Greenroots Landscaping to book an on-site consultation.