Planning a deck build is the structured process of defining purpose, size, code compliance, materials, and site prep before construction. For Mississauga properties near 100 Matheson Blvd E unit 202, it means aligning design with local climate, grading, and utilities—an end-to-end approach HR Greenroots Landscaping coordinates so your deck is safe, durable, and ready sooner.
By HR Greenroots Landscaping • Last updated: 2026-06-02
Quick Summary
To plan a deck build, lock in function and size, confirm code and utilities, choose structure and materials, then map layout, drainage, and access. A clear scope, measured drawings, and a sequenced schedule cut delays and rework, helping you pass inspections and finish on time—especially in short Ontario build seasons.
Use this field-tested playbook to move from idea to build-ready without stalls. You’ll learn:
- Design essentials: span planning, stairs, railings, and load paths
- Site readiness: grading, footings, frost depth, and drainage
- Material choices: wood vs composite vs PVC vs aluminum
- Sequencing: permits, inspections, framing, surfacing, and finishes
- Integration: tie-ins with interlock, fencing, sheds, and planting
What a successful deck plan includes
A strong deck plan documents purpose, dimensions, framing spans, footing layout, stairs and guard details, materials, and drainage. It also lists utilities, setback limits, and inspection steps. With this bundle, your builder can order supplies, schedule crews, and break ground confidently—without mid-build guesswork.
The best plans answer three questions: What will the deck do? Where will loads travel? How will water leave? When these are resolved on paper, the job accelerates on site.
- Purpose and zones: dining, lounge, grill, hot tub, or play space; allow 36–48 inches of clear circulation where people move most.
- Size and structure: align joist spacing (often 12–16 inches on center) with selected decking; confirm beam and post spacing early.
- Footings and frost: plan footings to extend below local frost depth and sit on undisturbed soil; specify diameter per loading.
- Stairs and guards: define stair width, landing pads, and required guard/handrail details for elevated decks.
- Water and drainage: slope surfaces 1/8–1/4 inch per foot away from the house; add drip edges, flashing, and gravel pads.
- Site constraints: map setbacks, easements, doors, windows, gas meters, AC units, hose bibs, and cleanouts.
In our Mississauga projects, we pair layout drawings with soil notes and elevation callouts, then integrate transitions to stairs and railings so movement stays natural across the yard.
How to plan a deck build: step-by-step
Define use and size, survey the site, confirm utilities and setbacks, draft framing and footings, select materials, and sequence permits-to-punch list. This path reduces change orders and inspection delays while keeping trades, deliveries, and weather windows aligned.
1) Define use, budget, and constraints
- Primary activities: daily dining, weekend hosting, or a spa zone; each drives size and structural loads.
- Rough schedule: block excavation, framing, surfacing, and finishes; aim to pour footings ahead of extended rain.
- Constraints: property lines, tree roots, slope breaks, basement windows, and egress paths.
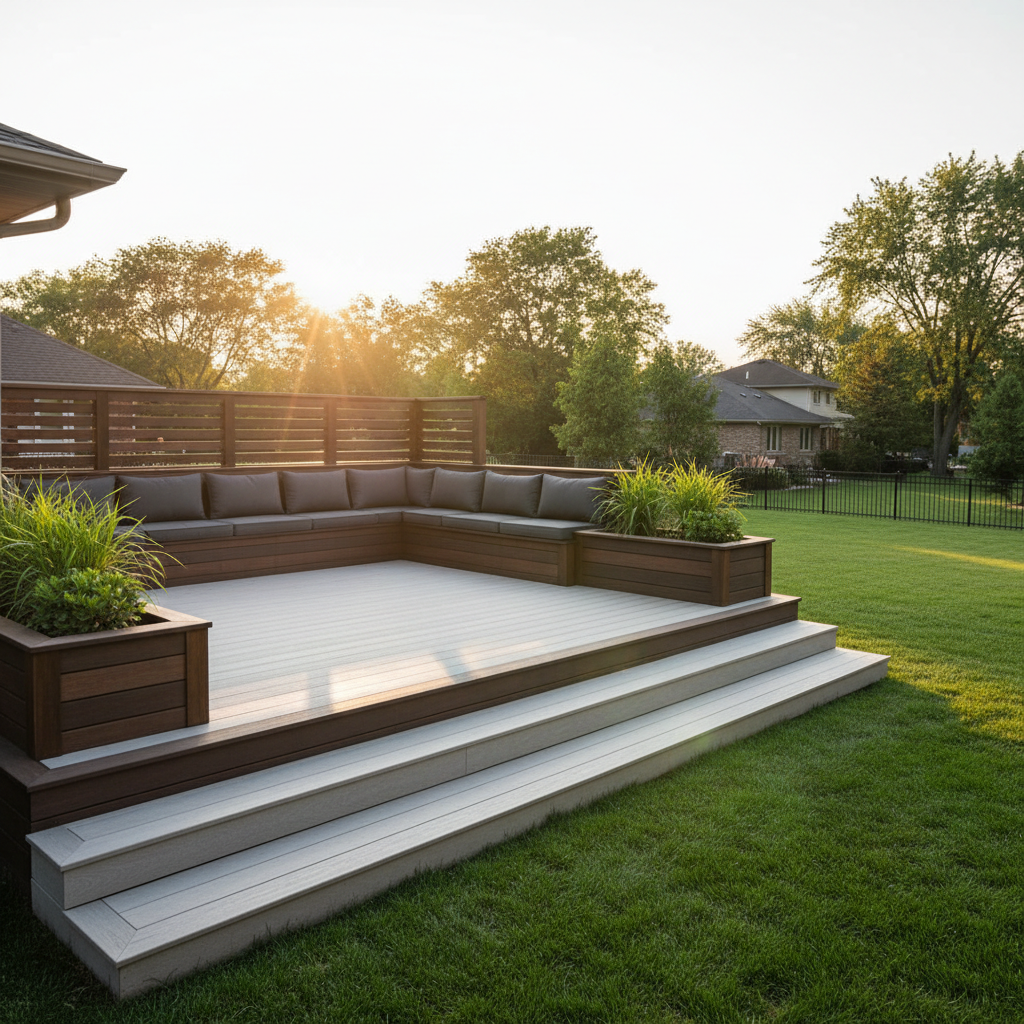
For tight urban lots, our small-backyard deck design guide shows how multilevel platforms create privacy and flow without crowding.
2) Measure the site and square the layout
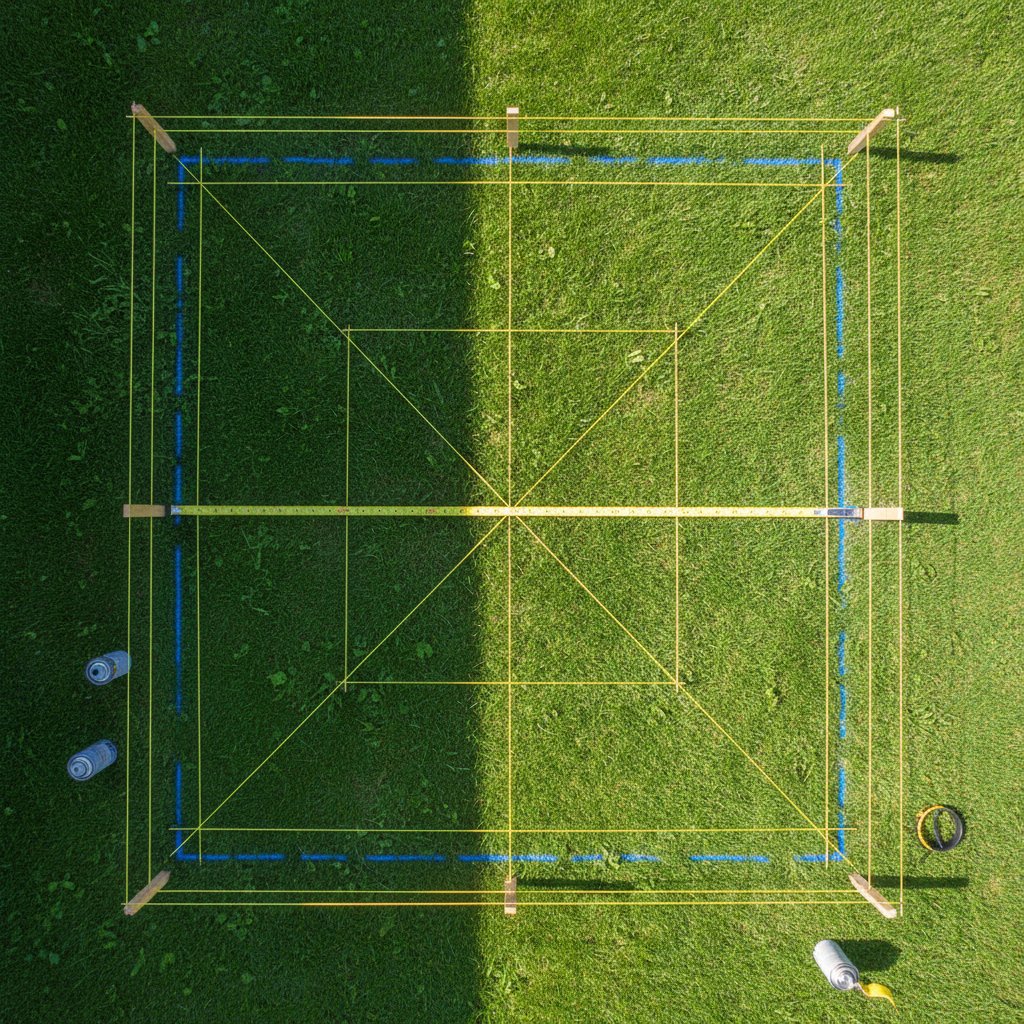
- Baseline: snap a control line parallel to the house; use 3–4–5 triangles to check square.
- Stake grid: stake beam lines and post centers; record elevations at corners to plan for steps or level changes.
- Access: confirm room for material staging and wheelbarrow routes that don’t rut lawns.
Documenting measurements once prevents multiple return trips and keeps suppliers on schedule.
3) Locate utilities and confirm setbacks
- Underground lines: gas, electric, water, telecom—mark them before digging.
- House penetrations: dryer vents, cleanouts, sump discharge lines—keep clear.
- Setbacks: verify side-yard and rear-yard rules plus easements.
Utility markings and setback notes go on your plan, so footings and stair landings don’t shift late in the game.
4) Draft framing, footings, and connections
- Joist spans and spacing: coordinate with the decking’s span rating to avoid bounce.
- Beam sizing: size beams for post centers; many layouts land between 6–8 feet on center depending on species and loads.
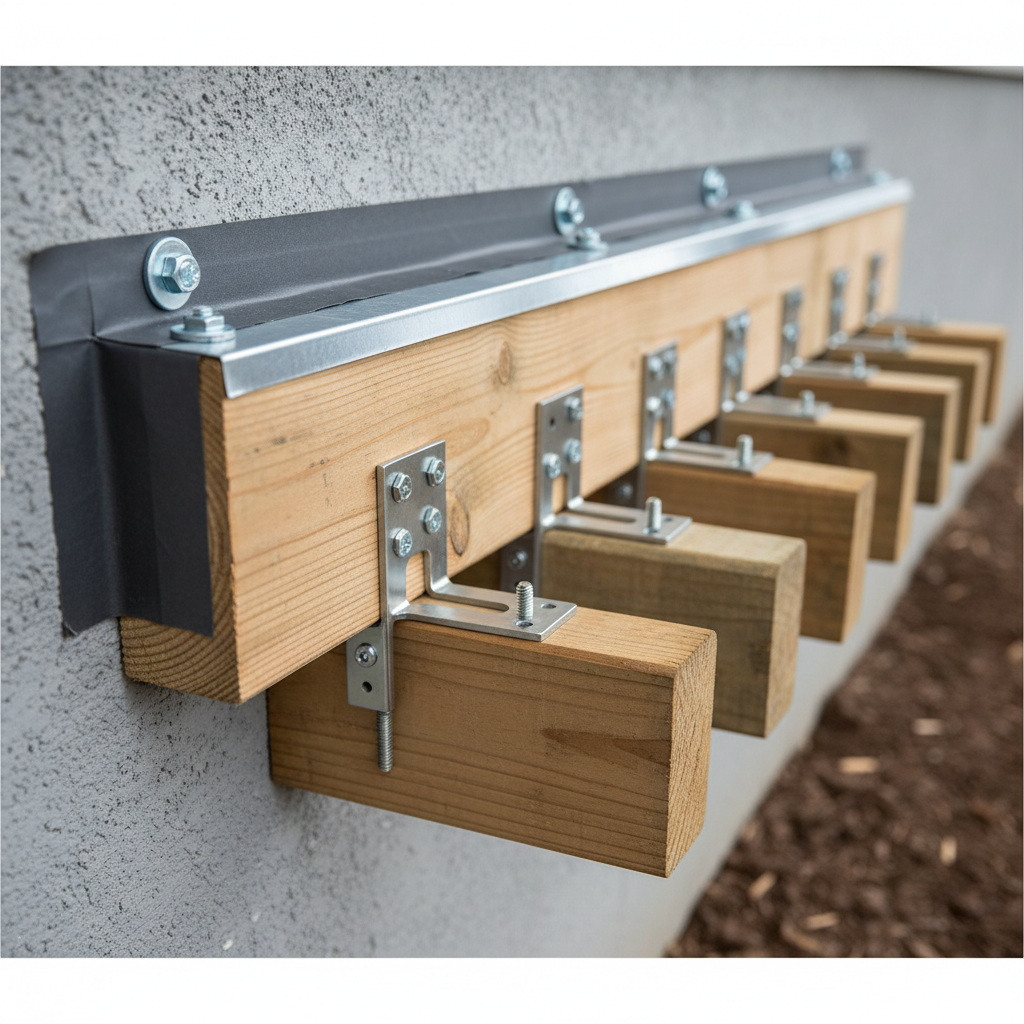
- Ledger details: specify ledger flashing, fastener schedule, and isolation from masonry where needed.
We standardize ledgers with continuous flashing and modern tapes, so water never reaches structural lumber.
5) Select surfacing, rails, and finishes
- Decking: pressure-treated, cedar, composite, or PVC; each affects joist spacing, maintenance, and heat.
- Railings: wood, aluminum, or glass; confirm height and opening rules for elevated decks.
- Stairs: comfortable runs use 10–11 inch treads with 7–7.5 inch risers; add lighting at high-traffic edges.
For material pros and cons, see our deck wood selection guide.
6) Integrate the deck with the landscape
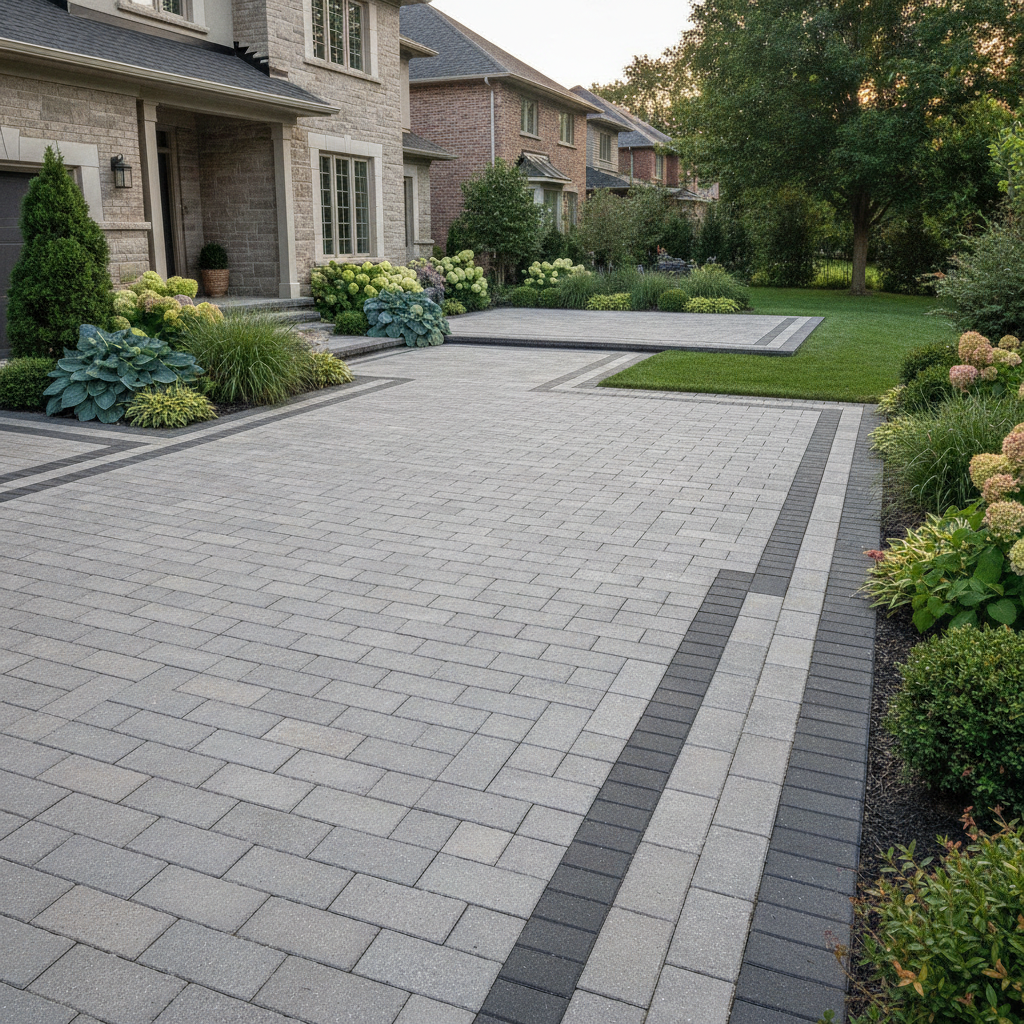
- Hardscape tie-ins: align deck stairs to interlocking walkways or patios so circulation is obvious.
- Grading: pitch surfaces away from foundations and add gravel drip strips to protect siding.
- Planting: choose shrubs that won’t overgrow railings; use mulch rings to simplify trimming.
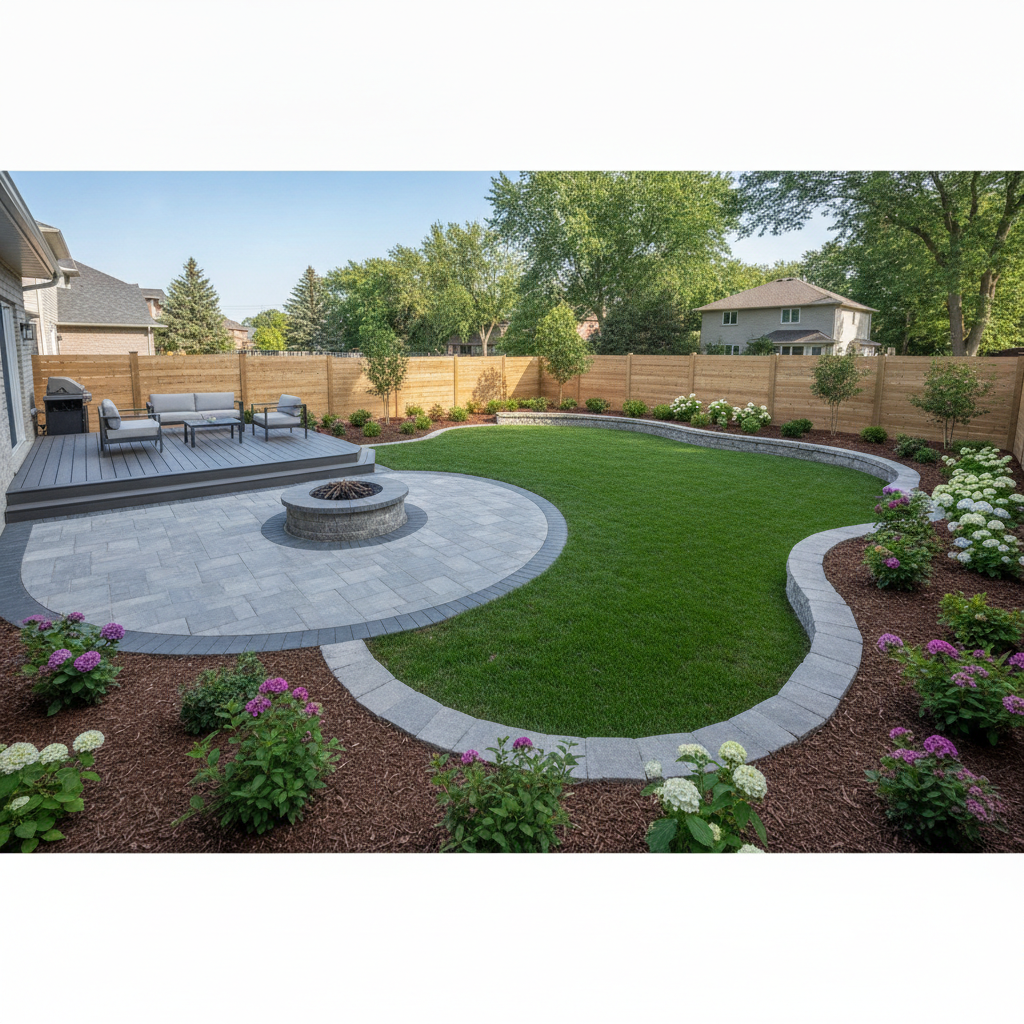
Our landscape-first approach avoids “island decks” and creates a connected yard that’s easy to maintain season after season.
7) Build-ready package and sequencing
- Drawing set: plan view with dimensions, framing and footing details, stair/guard sections, and notes.
- Checklist: utilities located, materials confirmed, permit submitted, inspections aligned.
- Schedule: book excavation before long rains; surface boards after structure passes inspection.
Finalized documents let crews mobilize once and finish in one push—no idle days waiting for decisions.
Local permitting and code notes for Mississauga
In Mississauga and the Regional Municipality of Peel, most new decks need a permit if they’re elevated or attach to a dwelling. Expect drawings showing footings below frost depth, framing spans, ledger flashing, and guard/handrail details. Plan inspections at footing and framing before you install boards.
Permitting requirements vary by deck height, attachment, and proximity to property lines. While specifics come from your local office, plan for:
- Frost depth compliance: footings extending below frost and bearing on undisturbed soil.
- Ledger protection: continuous flashing, corrosion-resistant fasteners, and isolation from masonry when needed.
- Guard and stair details: height, openings, graspable handrails, and landing sizes shown in sections.
- Site plan: property lines, setbacks, easements, and structures marked to scale.
We assemble permit-ready packages and coordinate questions with plan reviewers so your approval stays on track. When your yard also needs hardscape or planting, our seasonal planning guide helps stage work efficiently.
Decking materials comparison and specs
Choose decking by durability, maintenance, heat, and span rating. Pressure-treated and cedar are classic and refinishable; composite and PVC reduce upkeep and resist moisture; aluminum railings offer strength with minimal care. Match joist spacing and fasteners to the product’s specs to avoid bounce and staining.
Material Maintenance Span/Structure Surface Heat Finish Options Best For Pressure-treated wood Periodic sealing/staining Standard spans; verify grade Moderate Stain/paint Budget-friendly, refinishable Cedar Regular oiling/sealing Similar to PT; lighter Cooler underfoot Natural/clear stain Warm aesthetic, low weight Composite Low (wash as needed) Often 16" OC or tighter Can run warm Color-fast caps Low upkeep, consistent look PVC Very low Often 16" OC; confirm Warmest in sun Color-fast, textured Water-exposed areas Aluminum railings Minimal High strength Cool Powder-coated colors Durable guard systemsSurface boards and railings should complement patio interlocking patterns and nearby planting. We balance tones and textures so the whole yard feels planned, not pieced together.
Pricing factors to plan (not numbers)
Price planning for a deck focuses on scope, structure, access, and selections—never just square footage. Footing count, beam sizing, stairs and railings, surface material, and site access all influence timeline and investment. Clarifying each line item early prevents change orders and keeps crews moving.
- Structure: posts, beams, joists, and ledgers; more spans and height add material and labor.
- Stairs and guards: switchbacks, landings, and premium rail systems increase complexity.
- Surfacing: species or composite/PVC brand, hidden fasteners, and border details.
- Site conditions: tight access, rock, roots, or wet soils require more prep time.
- Add-ons: lighting, privacy screens, planters, benches, or integrated sheds.
Instead of numbers, we map a transparent scope. Our landscape planning article explains how clear line items protect schedules and expectations.
Tools and resources to speed planning
Accurate measurements, good drawings, and the right tools cut layout time and framing errors. Use string lines, stakes, 25–35 ft tapes, laser levels, and story poles. Pair these with a measured plan view, framing details, and a checklist that tracks utilities, permits, materials, and inspections.
- Layout kit: string, stakes, marking paint, 25–35 ft tape, laser level, and a 6–8 ft straightedge.
- Framing kit: circular saw, impact driver, framing square, joist hanger nails/screws, corrosion-resistant fasteners.
- Drainage kit: flashing tape, metal drip cap, gravel, landscape fabric, and a compactible base where needed.
- Docs: one-page plan view, footing/beam details, stair/guard sections, scope checklist, and inspection sequence.
We share annotated drawings during design so homeowners and inspectors see the same details, reducing back-and-forth and helping approvals land faster.
Need a build-ready deck plan? Our design-build team can survey, draw, and coordinate permits, then integrate stairs with interlocking or planting. Start with a quick chat on our Deck Services page.
Site prep, footings, and drainage
Great decks start with stable soil, frost-ready footings, and clean water management. Excavate to undisturbed earth, place footings below frost, add gravel for drainage, and protect ledgers with flashing and tapes. A dry structure lasts longer, creaks less, and keeps indoor thresholds safe.
- Soil check: scrape organics; where soils are soft, widen or deepen footings for bearing capacity.
- Below-frost footings: prevent heave; bell footing bottoms in loose soils to resist uplift.
- Drainage: 3–6 inches of gravel under steps and landings; drip strips where boards meet siding.
- Ledger defense: metal drip cap plus flashing tape; avoid trapping water behind trims.
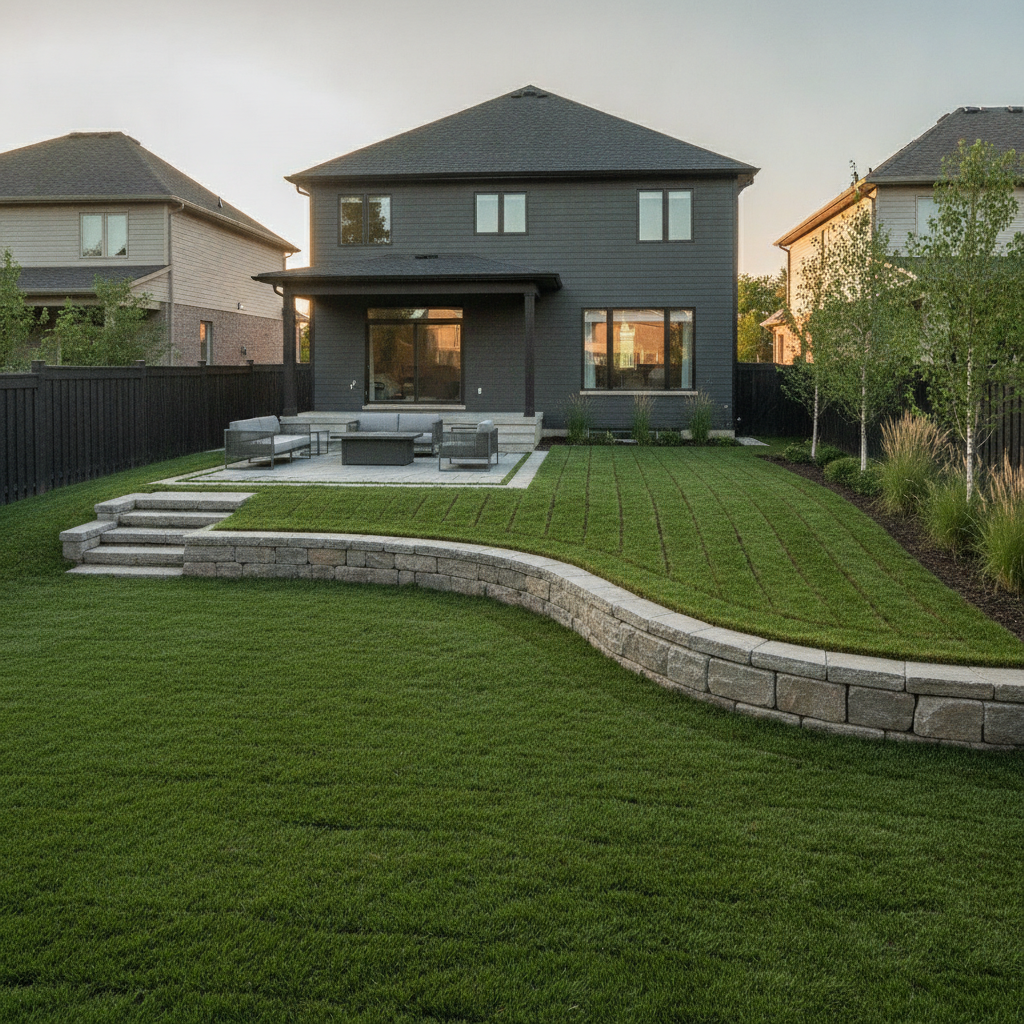
On sloped backyards, we often pair decks with short retaining elements or stairs down to interlocking patios, which stabilizes grade transitions and improves circulation.
Common mistakes and troubleshooting
Planning gaps cause most deck delays. Skipped utility locates, unclear beam spans, poor ledger flashing, and last-minute material changes trigger rework. Solve them upfront with measured drawings, utility tickets, fastening schedules, and a locked material list before ordering.
- Unmarked utilities: never dig before utilities are located; footings can shift a full bay if hits occur.
- Undersized beams: bouncing floors and deflection at mid-span; verify spans early.
- Poor water handling: stained siding and soft joists; add drip caps and sloped details.
- Late add-ons: lighting and privacy screens planned late force wire fishing and post changes.
- Inspection misses: decking installed before framing sign-off risks tear-back; schedule inspections.
We track changes with a simple revision log. When a homeowner shifts a stair or swaps a rail profile, everyone sees the update before crews mobilize.
Advanced tips for faster, cleaner builds
Prefabricate where possible, standardize details, and stage materials by zone. Pre-cut stair stringers, assemble guard panels, use ledger and post templates, and mark joist crowns before install. A clean site with labeled bundles speeds fastening and reduces mistakes.
- Standard spans: design to common lumber sizes and bracket kits to simplify ordering and reduce cutting.
- Pre-build: stair stringers and guard sections built on sawhorses go up faster and cleaner.
- Labeling: tag beams, posts, and hardware bags; stage by grid line so installers always know what’s next.
- Weather watch: surface boards on dry days to maintain even gaps; store composites off the ground and shaded.
On multi-scope projects, we coordinate with our hardscape crew so patio bases and stair landings are ready the day framing finishes.
Local considerations for Mississauga
- Near EPIC College of Technology, many infill lots run tight; we favor compact stair turns and privacy screens to respect neighbors.
- Plan builds outside spring thaw and fall freeze swings; summer’s steady weather shortens drying times for framing and finishes.
- Clay-heavy pockets in the Regional Municipality of Peel drain slowly; we specify deeper gravel beds under steps and landings.
Deck Planning FAQ
These quick answers cover timelines, permits, materials, and maintenance. Use them to finalize your plan and avoid common stalls before construction begins.
How long does it take to plan a deck?
Most homeowners can move from concept to build-ready in two to four weeks when measurements, permits, and material choices are decided quickly. Complex sites, multi-level decks, or integrated hardscapes can add time for drawings and coordination.
Do I need a permit for a low deck?
Rules depend on height, attachment to the house, and distance from property lines. Ground-hugging platforms sometimes skip permits, but stairs, guards, or proximity to doors can trigger reviews. We prepare drawings and confirm requirements before digging.
What decking material lasts the longest with low upkeep?
Composite and PVC boards need the least maintenance compared to wood. They resist moisture and staining and hold color longer. Wood remains refinishable and has a natural look, but it requires periodic sealing to stay protected.
How do I integrate a deck with patios and landscaping?
Align stairs with walkways, keep comfortable landing pads, and match colors and textures across surfaces. We often tie deck stairs into interlocking patios, add mulch rings at posts, and use shrubs that won’t block rail views.
Key Takeaways
Lock scope, verify utilities, draw the structure, and schedule inspections before ordering materials. Integrate stairs, drainage, and landscape transitions in the plan so construction flows and your deck feels connected to the yard from day one.
- Decide use, size, and circulation first; don’t let materials drive the plan.
- Mark utilities and setbacks early; footing moves late are schedule killers.
- Detail ledgers, spans, stairs, and guards on paper; inspections go faster.
- Choose materials that match maintenance goals and heat exposure.
- Integrate with patios, paths, and planting for a cohesive yard.
Additional Resources
Use these resources to finish planning and keep the build on schedule. They cover deck materials, small-lot layouts, and seasonal sequencing tailored to Mississauga yards.
- Design choices and flow: Landscape design and build in Mississauga
- Material guidance: Deck wood selection guide
- Right-sizing small spaces: Custom deck design for small backyards
- Get started: Deck Services
Ready to design your deck? Book a design chat with HR Greenroots Landscaping and we’ll walk your Mississauga property, confirm measurements, and produce a build-ready plan that integrates stairs, patios, and planting.