
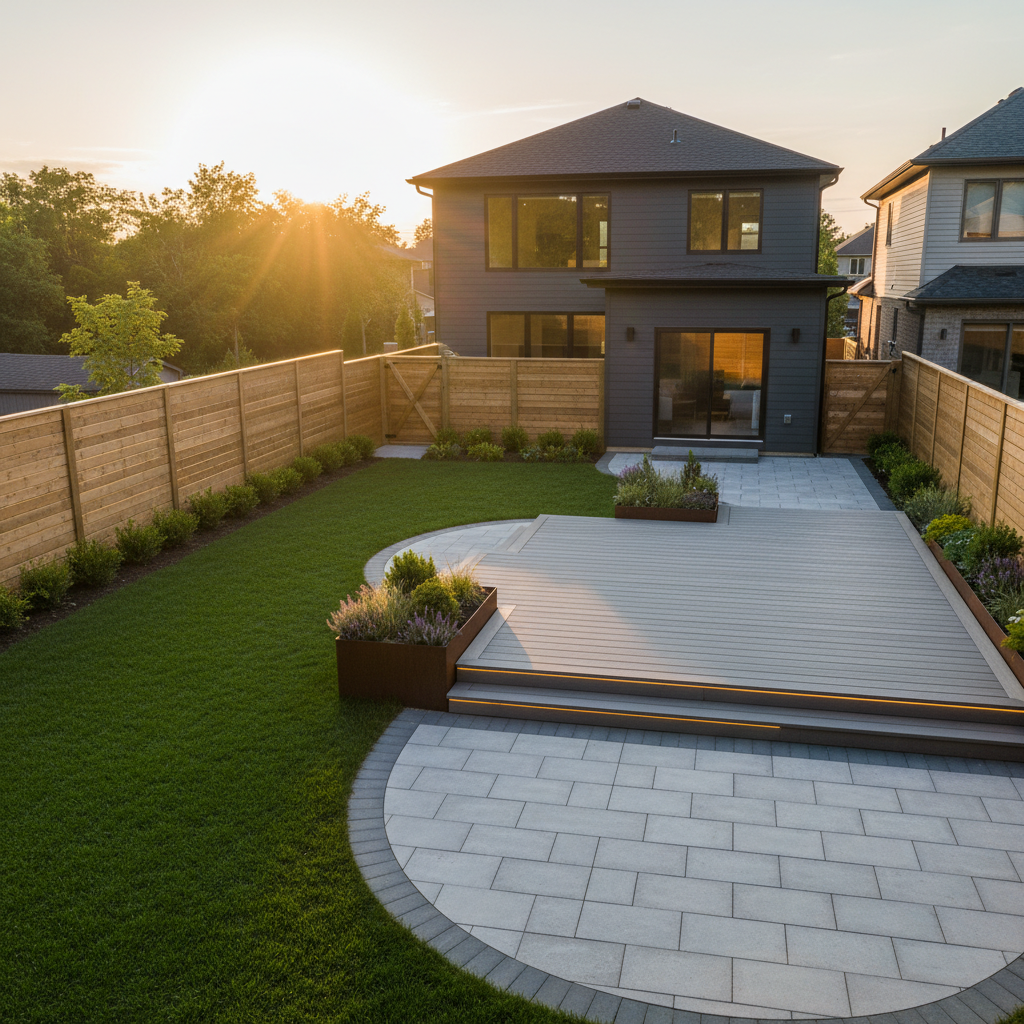
Mississauga deck design cost is driven by site conditions, structure, materials, railings, stairs, footings, and permits—not a one-size figure. From our design studio at 100 Matheson Blvd E unit 202 in Mississauga, HR Greenroots Landscaping guides homeowners through code-ready plans that balance looks, longevity, and maintenance so the final deck fits how you live.
By HR Greenroots Landscaping • Last updated: 2026-05-25
Quick Summary
Deck budgets in Mississauga hinge on structure, material, railings, stairs, and permit scope. The fastest way to plan confidently is a design-first assessment that measures your site, checks code triggers (height, guards, setbacks), and matches materials to maintenance goals. Expect planning, permitting, and build steps—sequenced carefully—to control surprises.
Here’s what you’ll learn in this complete guide:
- How deck design decisions influence durability, timelines, and maintenance
- Which materials perform best in Southern Ontario’s freeze-thaw cycles
- What steps we follow to engineer footings, structure, and guards
- How permits and inspections shape your layout
- Ways to integrate interlocking, fencing, and planting into one cohesive plan
Local considerations for Mississauga
- Schedule footing work around spring thaw and late-fall freezes; soil moisture affects excavation quality near Saigon Park and similar greenbelt zones.
- In student-heavy pockets by Lambton College rentals, consider durable, low-maintenance boards and protected stair treads for year-round foot traffic.
- Snow loads and drifting require guard details and post anchoring that account for seasonal wind patterns across the Regional Municipality of Peel.
What Is “Deck Design Cost” in Practice?
Deck design cost refers to the planning and build factors that determine the effort behind a safe, code-compliant, long-lasting deck. It’s shaped by structure, materials, railings, stairs, footings, and permit scope—not a single sticker price. A design-first assessment aligns your layout, code triggers, and maintenance goals before construction.
In our experience, most Mississauga decks start as a lifestyle problem to solve—seating, grilling, privacy, storage—and then turn into a structural puzzle. The right answer is a coordinated plan that ties structure to use, materials to maintenance, and code to safety. That’s why HR Greenroots operates as an integrated design-build team.
Core factors behind any deck
- Structure first: Beam spans, joist spacing, post sizing, and footing depth define safety and feel (minimal bounce).
- Material choice: Pressure-treated, cedar, composite, or PVC set maintenance cycles and look.
- Guards and stairs: Height, railings, and tread geometry drive detailing, hardware, and inspections.
- Soil and drainage: Compacted bases, grading, and surface runoff keep posts and frames dry.
- Integration: Interlocking, planters, privacy fencing, and lighting affect layout and coordination.
When working with clients near our Mississauga office, we start with measurements, elevation checks, and a quick design sketch. From there, we engineer footings, finalize materials, and map inspections so the schedule stays predictable.
Mississauga Deck Design Cost: The Real Drivers
The biggest deck cost drivers in Mississauga are height (guards/stairs), framing spans, footing count and depth, railing type, and material selection. Site access, excavation complexity, and integration with interlocking or fencing also add scope. Aligning these early prevents redesigns and keeps the build sequence efficient.
Because the phrase “mississauga deck design cost” suggests a number, many homeowners search for price lists. The reality: local variables dominate. We control variables by planning in this order: intended use, structural spans, code triggers, and material durability. That flow limits rework and helps inspection days go smoothly.
Key drivers we measure on day one
- Elevation relative to grade: Triggers guardrails and stair geometry; affects landing pads and lighting.
- Span strategy: Fewer beams with engineered lumber vs. more posts with shorter spans—different labor and hardware implications.
- Footing plan: Depth to frost line; pier count and layout matter for stability and inspection.
- Railing system: Wood pickets, glass, or aluminum balusters impact hardware, posts, and labor steps.
- Board technology: Natural wood vs. composite/PVC shifts maintenance cycles and fastening systems.
- Site access and protection: Narrow side yards, tree roots, and utilities shape excavation and staging.
We reinforce deck edges where stair stringers land and where grilling zones concentrate heat. That detailing shrinks future maintenance and avoids flex in high-traffic corners.
How the Deck Design-Build Process Works
A reliable deck project follows a staged path: site assessment, concept and measurement set, engineering of structure and footings, permit submission (when required), material ordering, build in logical phases, and final walkthrough. This sequence cuts rework, aligns inspections, and locks in quality.
Our step-by-step method
- On-site assessment: Measure the house, doors, and grade; confirm utility locations; photograph access paths.
- Concept and use zones: Define seating, dining, cooking, and privacy needs; sketch traffic flows and stair landings.
- Structural design: Set beam spans, joist spacing, post layout, and attachment method to the home (or freestanding plan).
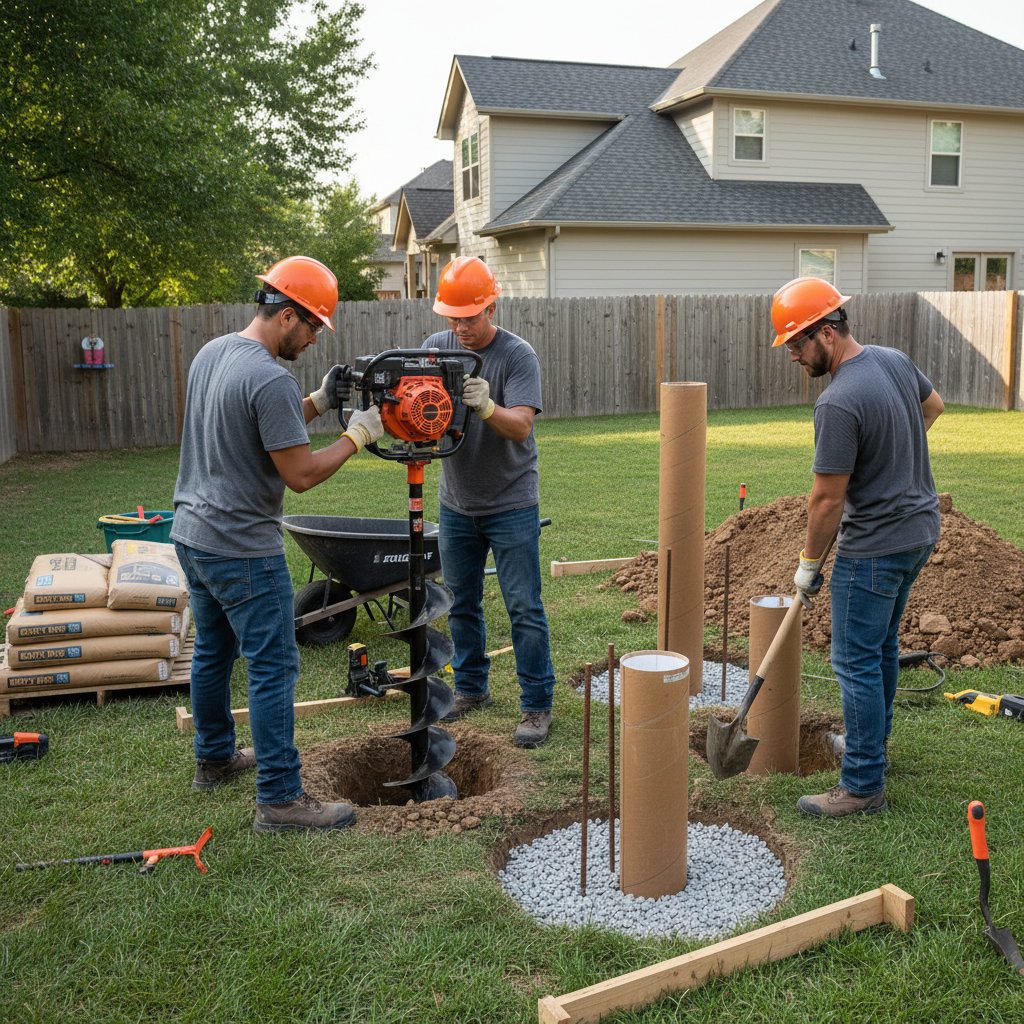
- Footing engineering: Determine pier count and depth; plan for inspection visibility before pour.
- Permit package (as needed): Prepare drawings, specs, and site plan for municipal review.
- Material confirmation: Finalize decking, railings, fasteners, and lighting; stage deliveries.
- Build sequence: Excavate and pour piers; set posts and beams; frame; add decking; install rails and stairs; finish details.
- Integration: Coordinate interlocking edges, privacy fencing, planters, and low-voltage lighting.
- Quality checks: Inspect connections, drainage, clearances, and finish; provide care plan.
We stage work to minimize lawn disturbance and keep neighbors happy. If interlocking or sod is planned, we protect those areas and complete them after heavy framing is done to preserve clean edges.
Materials and Structure Options Compared
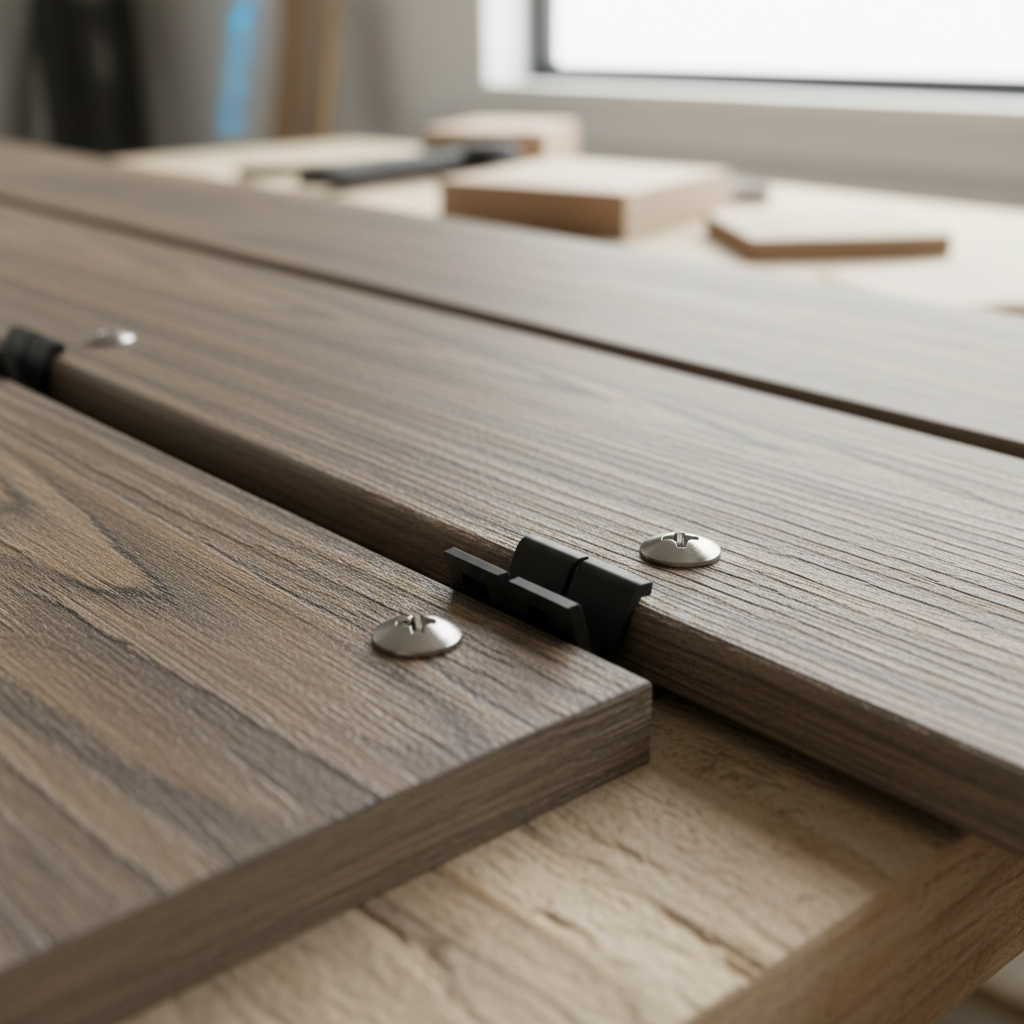
Choose decking by matching maintenance appetite to look and longevity. Pressure-treated is entry-level and resilient; cedar adds warmth with seasonal care; composite offers low maintenance with consistent color; PVC maximizes durability and moisture resistance. Frame choices and rail systems must complement board technology and intended use.
Material isn’t just a look—it sets your maintenance rhythm. In Southern Ontario, freeze-thaw cycles, snow loads, and UV exposure drive expansion and surface wear. We calibrate board technology, fastening methods, and railing systems to these realities so you get reliability without babysitting the deck.
Decking surface options
- Pressure-treated lumber: Durable and practical; accepts stain; periodic sealing extends service life.
- Cedar: Warmer tone and lighter weight; benefits from regular oiling or stain for color retention.
- Composite: Low-maintenance, color-stable boards; hidden fasteners; good choice for busy households.
- PVC: High moisture resistance and scratch durability; excellent for snow-heavy corners and poolside edges.
Framing details that matter
- Beam strategy: Engineered beams reduce post count and open space beneath the deck.
- Joist spacing: Tight spacing at diagonal patterns or for certain composite/PVC warranties.
- Blocking and picture frames: Controls board ends and adds polish at perimeters and stairs.
- Ledger vs. freestanding: Attachment details change waterproofing, hardware, and inspection steps.
Integration with the rest of your yard
- We edge decks into cohesive landscape design so movement and planting feel intentional.
- Privacy needs often pair with fence and screen options that complement rail profiles.
- Where grade drops, we stabilize soils and flow with slope correction solutions and selective retaining.
Planning, Permits, and Codes—Why They Shape Your Design
Permit rules in Mississauga focus on safety: guards above certain heights, proper stair geometry, and stable footings. Plan for reviews and inspections early. Clear drawings, engineered spans, and visible post/pier details speed approvals and reduce rework during construction.
Permits aren’t paperwork for its own sake—they formalize safe spans, guards, stairs, and setbacks. We build the permit-ready drawing set directly from your measured concept, then stage footings so inspection visibility is excellent before concrete. That clarity shortens review conversations and aligns the schedule.
Documentation that moves fast
- Scaled site plan: Shows setbacks, utilities, and entry points.
- Framing drawings: Beam/joist sizes, spans, connections, and fasteners.
- Footing schedule: Depth, diameter, layout, and rebar.
- Stairs and guards: Rise/run, handrail details, and guard anchoring.
In the Regional Municipality of Peel, winter timelines and inspector availability can influence sequencing. We’ll flag these factors in the kickoff meeting so your calendar is realistic from day one.
Best Practices We Use for Durability and Safety
Durable decks come from disciplined basics: accurate layout, frost-depth footings, proper joist spacing, waterproofed connections, and ventilation under the frame. Add thoughtful edges, lighting, and clear drainage paths to reduce wear and keep surfaces safe year-round.
Construction fundamentals
- Footings to frost depth: Set piers below local frost to resist heaving and seasonal shifting.
- Compacted gravel bases: Under posts, landings, and step pads for stability and drainage.
- Correct fasteners: Corrosion-resistant screws and brackets matched to treated lumber chemistry.
- Flashing and membranes: Protect ledgers and cuts at high-moisture zones.
- Ventilation clearance: Keep airflow beneath frames; avoid trapping snowmelt.
Finish and maintenance design
- Picture-framed edges: Reduce water wicking at board ends and add polish.
- Low-voltage lighting: Safer stairs and evening usability; minimal energy draw.
- Snow-aware guards: Details that resist racking from drifts and shoveling.
- Maintenance plan: We outline seasonal cleaning and inspection so longevity doesn’t depend on guesswork.
We bring a maintenance-first mindset to every build. That’s why our decks and adjoining landscaping services in Mississauga include clear edge control and drainage paths that keep freeze-thaw from winning.
A Pricing Section—Without Numbers: How We Scope the Investment
We don’t publish one-size pricing because site, structure, and materials vary widely. Instead, we scope investment in phases—measurements, design options, and engineered details—so you see how choices shape effort. This transparency prevents change orders and keeps your build on schedule.
Think of investment as a set of levers. Height and span strategy influence footings and railings. Material selection changes fastening and finish. Integration with interlocking, fencing, and planting affects coordination. We map these levers visually during design so you can choose with confidence and no surprises.
What your scoped plan includes
- A measured drawing set with elevations and structural notes
- A footing and post schedule appropriate to frost-depth expectations
- Material schedule (decking, rails, lighting) aligned to maintenance goals
- A build sequence with inspection milestones
- Integration plan for edges, stairs, and adjoining hardscape/planting
Want to see how this thinking applies beyond decks? Our Mississauga landscape design cost guide explains the same planning approach for whole yards.
Tools and Resources to Plan Faster
Use a simple measuring kit, a scale drawing, and a checklist of code triggers to accelerate design. Add a material sample board to feel textures. With these basics, your first design meeting moves from abstract ideas to actionable decisions.
Homeowner prep list
- Two tape measures (25 ft and 50 ft), a 4-ft level, and masking tape for layout mockups
- Sketch your doors, windows, and hose bibs; mark preferred grill and dining spots
- Collect two decking samples you like (wood and composite/PVC) to compare under daylight
- Take photos of the side yard for access planning
Design meeting accelerators
- Bring ideas from a curated source; for inspiration, see practical design ideas that balance movement and planting.
- Review framing expectations and joist spacing relative to board technology.
- Discuss snow storage and shoveling paths to protect edges and stair nosings.
Beyond the deck
- Edge decks into patios or walkways with clean interlocking transitions for smooth circulation.
- Factor privacy layers with fence details to avoid common mistakes before you order materials.
- Set a maintenance calendar with our seasonal planning checklist to keep finishes looking sharp.
Soft CTA: Book a 20-minute design call with HR Greenroots Landscaping to review your measurements, sample preferences, and code triggers. We’ll outline a clear path from drawing set to inspection-ready build.
Mini Case Studies: How Design Decisions Shape the Build
Small choices early—beam spans, stair landings, and rail types—have big downstream effects. These brief project snapshots show how we right-size structure, integrate with yards, and lock in maintenance simplicity for Mississauga properties.
Compact backyard off a kitchen walkout (Mississauga)
- Challenge: Tight side access and a two-step grade change.
- Decision: Freestanding frame to protect the home’s waterproofing; composite boards for low maintenance.
- Outcome: Picture-framed perimeter, integrated privacy screen, and stair lighting that makes evening use effortless.
Corner lot with snow drift exposure (Regional Municipality of Peel)
- Challenge: Wind patterns created snow buildup on guard posts each winter.
- Decision: Heavier post anchors and aluminum balusters; PVC boards near stairs for scratch resistance.
- Outcome: Stiff guards after storms and quick shoveling with no scuffing at nosings.
Family deck tied to interlocking patio and play zone
- Challenge: Needed smooth movement between grilling, dining, and a lower play space.
- Decision: Engineered beam to open space under the frame; interlocking landing matched to deck steps.
- Outcome: Easy circulation with clean edges and a tidy storage bay beneath the deck.
For related inspiration on whole-yard flow, these hardscaping contractor tips highlight simple patterns that improve day-to-day usability.
Deck vs. Patio: When Each Makes Sense
Choose a deck when you need elevation, fast drainage over challenging soils, or easier access at a walkout. Choose an interlocking patio when you have flat grades, want stone underfoot, or prefer ground-level circulation that blends into planting and lawn areas.
We often recommend a hybrid: a modest upper deck for the kitchen transition with a lower interlocking patio for dining. This reduces stairs, simplifies snow clearing, and keeps the grilling zone close to the walkout. It also makes future garden bed refreshes straightforward.
Side-by-side comparison
Feature Deck Patio (Interlocking) Best for Elevation, poor drainage, walkouts Flat grades, seamless yard movement Surface Wood/composite/PVC Pavers or natural stone Maintenance Varies by board tech Joint sand refresh; simple cleaning Integration Excellent with stairs and landings Excellent for ground-level circulationTo explore patio integration deeper, see how we plan transitions in our Mississauga design-build overview.
Frequently Asked Questions
Most questions focus on permits, timelines, and materials. You’ll find clear answers below. If your property has unique access or slope challenges, a short on-site assessment quickly validates what applies to you.
Do I need a building permit for my deck in Mississauga?
Permits are commonly required when a deck exceeds certain heights, includes guards, or alters structural elements. We prepare drawings, structural notes, and a footing schedule, then coordinate inspections so approvals fit smoothly into your build sequence.
How long does design and construction usually take?
Timelines vary with scope and season. A typical flow includes a week for measurements and concepts, time for permit review if required, and then a sequenced build covering footings, framing, surfaces, and guards. We align schedules with inspection windows and weather.
Which decking materials hold up best to Ontario winters?
Composite and PVC boards offer low-maintenance durability and handle freeze-thaw well. Pressure-treated and cedar perform, too, with periodic sealing or oiling. The best choice depends on your maintenance preference, snow exposure, and desired texture.
Can you build a new deck over an existing concrete pad?
Often, yes—with the right engineering. We evaluate pad condition, thickness, and frost considerations. Sometimes the better approach is a hybrid: a small deck at the door transitioning to an interlocking patio for ground-level circulation.
Key Takeaways
Plan structure and code early, choose materials by maintenance appetite, and integrate stairs, landings, and edges with your yard. A design-first process prevents rework, aligns inspections, and results in a deck that stays safe, sharp, and easy to care for.
- Start with use zones, then engineer spans and footings to match
- Pick materials for the look you want and the care you’ll do
- Design guards, stairs, and lighting around winter safety
- Integrate with interlocking and planting for real-world flow
- Document clearly to streamline permits and inspections
Next step: Book a design consultation in Mississauga. We’ll map your options and create a permit-ready plan that fits your home and yard.


