
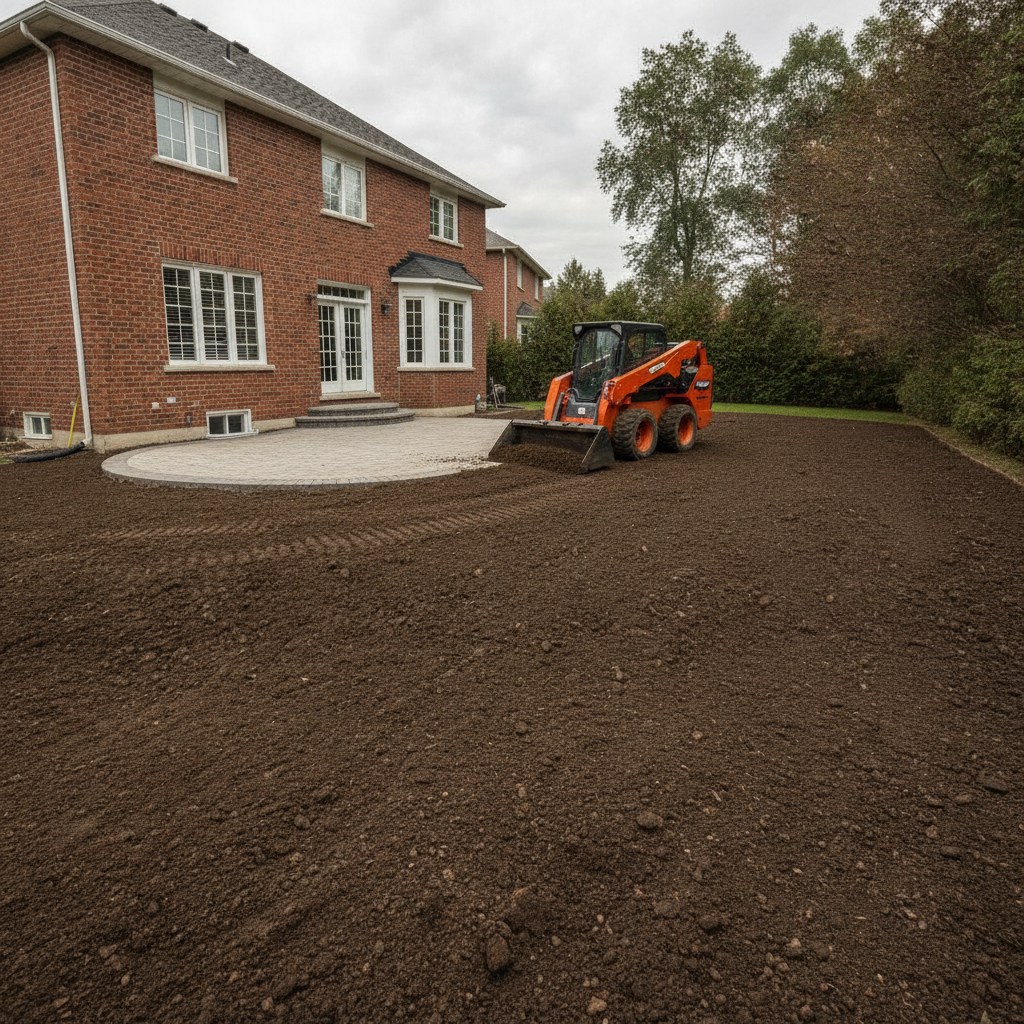
Lawn grading before sod is the deliberate shaping and smoothing of your soil so water drains away from structures and roots sit on a stable, even base. In Mississauga, proper pre-sod grading prevents puddles, heaving, and thin spots. Done right, it sets healthy turf for years, not just the first season.
By HR Greenroots Landscaping • Last updated: July 7, 2026
Overview and table of contents
Pre-sod grading aligns slope, soil depth, and compaction so water moves off the lawn and sod roots knit quickly. This guide walks you through definitions, why grading matters in Mississauga, step-by-step methods, tools, best practices, and real examples—plus a quick checklist you can use on installation day.
Here’s how to use this complete guide quickly:
- Understand what lawn grading is and why Mississauga yards need it.
- Follow our step-by-step grading and sod-ready checklist.
- Compare methods: swales, French drains, retaining walls, and re-slope.
- See tools pros actually use and where DIY is risky.
- Review case notes from local projects to avoid rework.
What is lawn grading?
Lawn grading is the process of establishing a controlled slope and smooth surface across soil so water drains away from buildings and turf. It balances elevation, compaction, and topsoil depth, typically targeting a 1%–3% fall, so new sod roots evenly and avoids puddling or erosion.
Grading aligns three variables that decide how your sod performs after week one:
- Slope: A gentle fall (about 1/8–3/8 inch per foot) carries water off the surface.
- Uniform topsoil: A consistent 4–6 inches gives roots oxygen and moisture storage.
- Right compaction: Firm enough to resist settlement, loose enough for rooting.
At HR Greenroots Landscaping, we build grading into every Mississauga sod installation plan. When lawns puddle, 80% of failures trace back to poor slope or uneven subgrade—not the sod itself. A smooth, predictable plane is the simplest insurance you can buy against thin seams and fungus-prone wet spots.
Why grading before sod matters in Mississauga
Mississauga lawns see spring thaws, summer cloudbursts, and freeze–thaw cycles that punish weak grades. Proper pre-sod grading prevents runoff toward foundations, reduces ice patches, and speeds root take. The result: fewer ruts, stronger seams, and even color across the first 30–60 days.
- Storm intensity swings: Heavy summer rain over flat soils creates puddles within minutes. A 2% surface fall moves water off turf and away from patios fast.
- Freeze–thaw in shoulder seasons: Water trapped near grade lines expands and lifts seams. Even a 1% slope limits ice lenses and winter heave.
- Foundation safety: Keep finished sod 6–8 inches below siding and slope away at 1–3% for at least 5–10 feet from the house.
- Uniform rooting: Consistent 4–6 inches of topsoil reduces drought stress and patchy color after week two.
- Hardscape longevity: Accurate grading protects interlocking walkways and driveways from edge washouts and sand loss.
We see this every season: where side yards lack even a 1% fall, tire tracks and soggy ruts appear after the first thunderstorm. Fix the plane first; sod thrives on predictability.
How lawn grading works: step-by-step
Effective grading follows a repeatable sequence: strip, shape, compact, fine-grade, and pre-water. Target a 1%–3% slope away from structures, maintain 4–6 inches of topsoil, and verify with a level or laser. This predictable workflow prevents puddles and sets sod for rapid rooting.
Pre-checks and layout
- Call locates: Mark utilities and sprinkler lines before any digging. Flag irrigation heads.
- Decide finish elevations: Keep sod at least 1–2 inches below fixed edges (walks, pavers) for clean transitions.
- Set slope targets: Plan 1–3% fall (1/8–3/8 inch per foot) from house to yard edge or swale.
Shape the subgrade
- Strip organics: Remove existing turf, thatch, and debris. Rough-level to remove high spots.
- Re-slope: Use a skid-steer for bulk moves. Pull soil from highs to lows, maintaining the overall plane.
- Compact: Lightly compact the subgrade to limit settlement (think firm boot prints, not ruts).
Add topsoil and fine-grade
- Topsoil layer: Spread 4–6 inches of screened topsoil. Keep it uniform—variations as small as 1 inch show through sod.
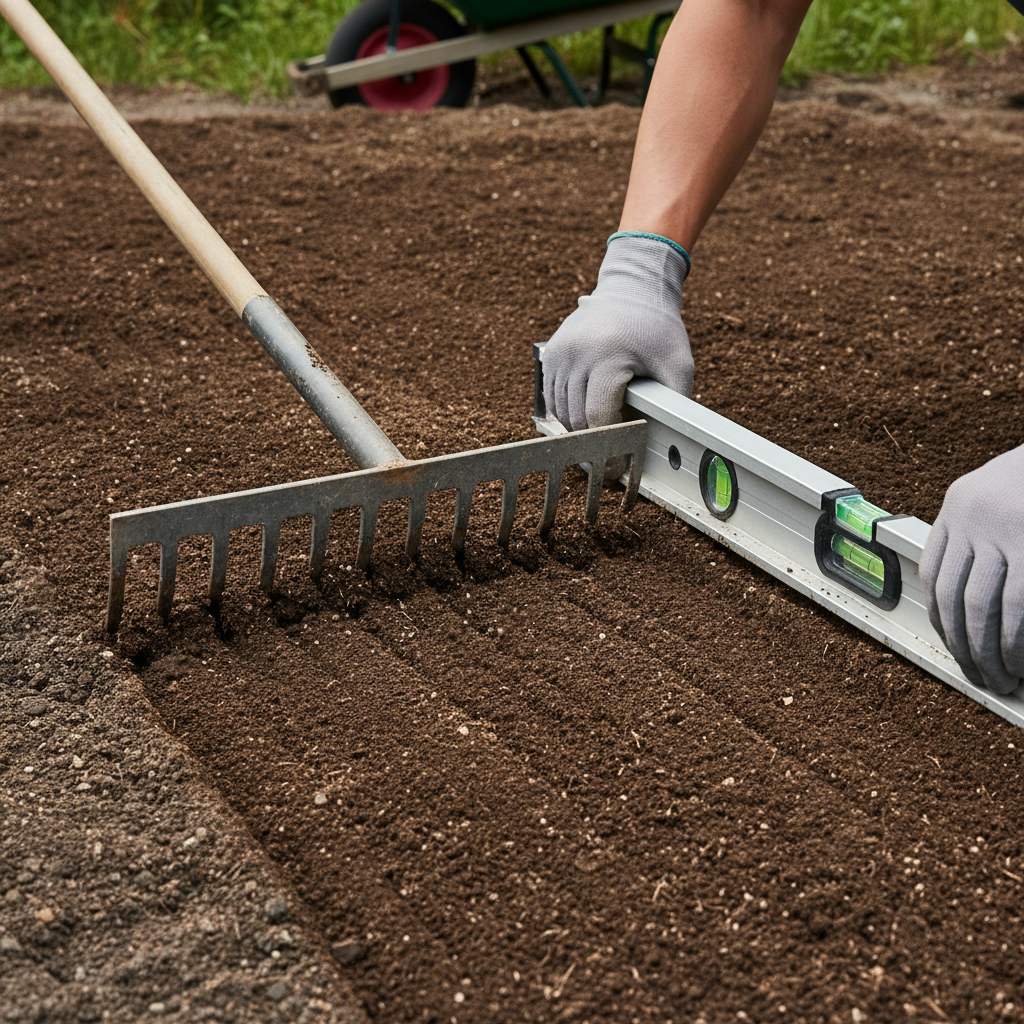
- Fine rake: Use a landscape rake to remove clods and set micro-slope. Screed with a 6–8 foot straightedge.
- Water test: Lightly pre-water. If puddles appear in 3–5 minutes, shave those pockets now.
Verification and ready state
- Measure fall: Confirm 1–3% with a laser, string line, or 4-foot level and block.
- Check edges: Maintain 1–2 inches clearance below hardscape caps for strong visual lines.
- Stabilize: If the surface powders underfoot, lightly roll to knit particles; avoid over-compaction.
Want a printable prep? See our Mississauga sod prep checklist and our grading and pavers guide for edge transitions.
Methods and approaches that actually work
Match the fix to the problem: gentle re-slope for shallow lows, swales for surface routing, French drains for subsurface water, and retaining walls for steep transitions. Combining tactics—like a swale feeding a drain—often delivers the most durable, low-maintenance outcome.
Re-slope and swales
- Simple regrade: Ideal for lawns with minor birdbaths (1–2 inches). Target a uniform 2% away from the house.
- Shallow swale: A broad, 18–36 inch depression guides water along property lines without creating a trench.
- Hardscape interfaces: Blend lawn slope into interlocking walkways and patios to avoid damming at edges.
French drains and dry wells
- French drain: A perforated pipe in gravel captures water; keep a 1% pipe fall and wrap in fabric to resist fines.
- Dry well: For downspout bursts, a buried basin stores and slowly releases water.
- Daylighting: Whenever possible, discharge to a lower, visible exit to reduce maintenance surprises.
Retaining walls and terraces
- Small walls: 12–24 inch segmental walls tame sharp breaks and protect sod from washouts.
- Terracing: Convert steep slopes into flat steps for play or garden beds.
- Armour stone: Natural stone creates rugged steps and accents that double as seating.
Where grades pinch toward a neighbor, we often pair a swale with a catch basin. For backyards that rise sharply, a low retaining solution plus re-slope is the cleanest route to predictable drainage.
Best practices for pre-sod grading
Aim for a 1%–3% uniform slope, 4–6 inches of screened topsoil, and firm-but-not-hard compaction. Keep sod at least 6 inches below siding and 1–2 inches below hardscape edges. Pre-water and correct birdbaths before laying the first roll.
- Set finish heights: Establish doorsill, step, and patio references before moving soil.
- Protect foundations: First 5–10 feet should shed water; use 2% as your default.
- Topsoil quality: Screened, low-debris soil reduces bumps and seams. Consistency beats richness.
- Edge control: Keep turf just below paver caps for mower-friendly edges and crisp lines.
- Roll lightly: A water-filled roller tightens the surface without sealing it. If footprints sink more than 1/2 inch, you’re too loose.
- Final hose test: A 3–5 minute spray reveals birdbaths; fix now, not after sod is down.
For installation timing and watering windows, review best time for sod in Mississauga. If your site needs more than a re-slope, our slope correction guide covers terraces, drains, and wall options.
Tools and resources we rely on
Pro-grade grading requires layout tools, earthmoving, and finishing gear: string lines or lasers for slope, skid-steer for bulk shaping, rakes and levels for fine work, and a water-filled roller for final set. Add flags and paint for heads and lines, and a leaf rake for clean seams.
Layout and measurement
- Laser level or string line: Confirms 1–3% fall over 10–30 feet.
- Marking paint and flags: Call locates; protect irrigation heads and valve boxes.
- 4–8 foot straightedge: Screeds topsoil to a reliable plane.
Shaping and compaction
- Mini skid-steer: Moves soil efficiently without tearing up access paths.
- Landscape rake: Sets micro-grade and removes stones that telegraph through sod.
- Roller: Lightly firms surface; aim for firm boot prints, not polished sheen.
Installation finishing
- Starter fertilizer: Light application below sod encourages quick rooting in 7–14 days.
- Sharp utility knife: Cleans corners without tugging seams.
- Sprinkler head gauges: Keep finished sod 1/2 inch below head tops for even irrigation.
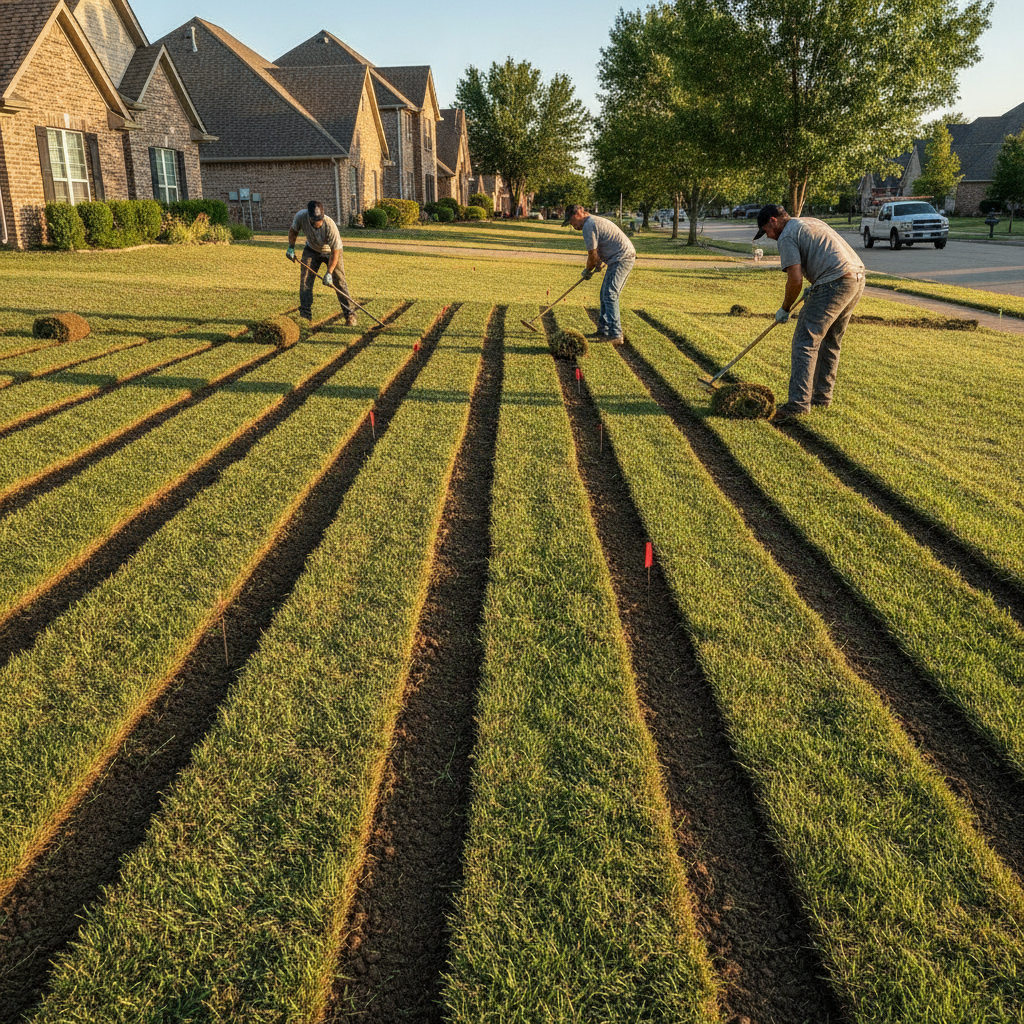
When you want a done-for-you option, our team manages prep through professional sod installation, including grading, edge control, and aftercare.
Step-by-step: your sod-ready grading checklist
Use this 10-step checklist on installation day: verify slope, set heights, strip organics, re-slope, compact, add topsoil, fine-grade, pre-water, roll lightly, and recheck edges. If birdbaths persist, correct before the first sod roll touches soil.
- Confirm targets: Plan 1–3% slope away from the house; note hardscape transitions.
- Mark utilities: Flags for irrigation, cables, and valve boxes.
- Strip old turf: Remove sod and thatch; clear rocks and roots over 1 inch.
- Reshape subgrade: Pull highs into lows; avoid dumping topsoil to fix big problems.
- Compact subgrade: Light compaction prevents settling dips under sod.
- Spread topsoil: Uniform 4–6 inches of screened soil across the full area.
- Fine-grade: Rake and screed; maintain 1–2 inches below paver and walkway caps.
- Pre-water test: Mist surface for 3–5 minutes; correct puddles immediately.
- Light roll: Water-filled roller to knit particles before laying sod.
- Final verify: Laser/string recheck; smooth micro-birdbaths now.
Process decisions: when to regrade, drain, or retain
Choose the simplest fix that maintains a safe slope: regrade for shallow lows, add a swale for routing, install a French drain for persistent soak, or build a retaining wall where slopes exceed safe mowing and erosion limits.
Condition Tell-tale signs Recommended fix Typical targets Minor birdbaths Puddles 1–2 hours after rain Re-slope + fine-grade 2% surface fall; 4–6 in. topsoil Surface routing needed Water tracks along fence line Broad swale to side yard 18–36 in. wide; 1–2% fall Soils stay saturated Mushy even after dry spells French drain or dry well 1% pipe fall; clean gravel Steep grade breaks Mower scalping, washouts Low retaining wall + regrade 12–24 in. wall; terracesAs a rule, start with regrading and only add parts you truly need. Each added element is another future maintenance point—smart planning keeps the system simple.
Case notes from recent Mississauga projects
Small grading adjustments fix most sod failures. In our recent Mississauga projects, shallow re-slope plus consistent topsoil depth eliminated 90% of puddling complaints, while targeted drains solved the few remaining soak zones.
- Side-yard corridor: A narrow strip funneled water to the basement walkout. We cut a 24-inch swale to the side yard, kept 2% fall for 20 feet, and reinstated sod. After two storms, no puddles, and mower lines stayed even.
- Patio transition: Puddles formed where lawn met an interlocking patio. We lowered lawn finish 1.5 inches below cap, re-sloped to 2%, and compacted subgrade. Result: clean edge, no dam effect, uniform color in 14 days.
- Shaded backyard: Soil stayed wet under maples. We added a short French drain with 1% pipe fall, daylighted at the rear. The lawn firmed up within a week of normal weather.
For a structured walk-through, compare these results with our lawn grading basics primer and the Mississauga prep checklist.
Aftercare: protect your new grade and sod
The first 2–4 weeks set the tone. Keep foot traffic off, water to penetrate 4–6 inches, and mow only when the sod resists a gentle tug. Watch early storms; if tiny dips appear, lift a flap and backfill before they enlarge.
- Watering rhythm: First week light-and-frequent to keep seams moist; shift to deeper cycles by week two to push roots down 3–4 inches.
- Traffic control: Use boards for wheelbarrows and avoid tight turns with mowers for the first two cuts.
- Edge watching: Pat down edges after watering so caps stay flush and crisp.
- Spot fixes: If a quarter-sized dip forms, lift the sod flap and top up with screened soil right away.
Bookmark our Mississauga sod timing guide to sync watering and mowing with typical spring and summer patterns.
Local considerations for Mississauga
Mississauga yards benefit from modest slopes, clean transitions to interlocking, and attention to shoulder-season moisture. Time grading right, route water to approved discharge points, and mind site access when schools or parks nearby are busy.
Local considerations for Mississauga
- Time grading when school traffic near Lambton College is light to ensure easy equipment access and quick soil delivery.
- Plan pre-sod grading for late spring or early fall; roots typically establish in 10–14 days with consistent moisture and moderate temperatures.
- Route swales to visible discharge points; ensure transitions to interlocking and fences remain 1–2 inches below caps for tidy mowing and drainage.
Free on-site grading assessment (soft CTA)
If you’re unsure whether you need a re-slope, a swale, or drainage, book a quick on-site grading assessment. We’ll check slope, soil depth, and edges, then outline the fastest path to a puddle-free, sod-ready lawn.
We design and build end-to-end. If you prefer a turnkey approach, our crew handles grading, sod installation, and clean edges across patios, walkways, and driveways—keeping the work coordinated and on schedule.
Frequently Asked Questions
These are the grading questions Mississauga homeowners ask most. Each answer is concise and based on field-proven practices we use daily across the GTA.
What slope should my lawn have before sod?
Aim for a 1%–3% slope away from the house (roughly 1/8–3/8 inch per foot). Keep that fall consistent for at least 5–10 feet from foundations, and tie into swales or side yards without creating sudden dips or humps.
How much topsoil do I need under new sod?
Keep 4–6 inches of uniform, screened topsoil. Variations as small as one inch will telegraph through sod and create thin or droughty patches. Consistency across the whole area matters more than adding extra depth in only a few spots.
Do I need a French drain or just regrading?
Most lawns improve with regrading and a shallow swale. Choose a French drain when soil stays saturated even after several dry days, or when a swale can’t route water to a proper discharge point due to site constraints.
When can I lay sod after grading?
As soon as the fine grade passes a light hose test and footprints sink less than 1/2 inch. Ideally install sod the same day the final grading is finished, while the surface is fresh, smooth, and lightly damp.
Key takeaways
Pre-sod grading is the single biggest predictor of lawn success. Lock in a 1%–3% fall, 4–6 inches of topsoil, and clean transitions at edges. Correct birdbaths before sod touches soil, and your turf will root fast and drain cleanly through storms.
- Uniform slope and soil depth prevent 90% of post-install problems.
- Swales, drains, and low walls are add-ons—use them only when regrading isn’t enough.
- Edge control around interlocking and fences keeps mowing simple and lines crisp.
- Install sod promptly after fine grading and keep early traffic light.
Related planning topics
Planning ties projects together. Coordinate grading with sod, interlocking, and retaining features to avoid rework and keep water moving where it should—on day one and through every season.
- Coordinate walkway and patio heights with lawn finish levels for clean drainage.
- Plan privacy fencing with grade in mind so panels track evenly along slopes.
- Schedule mulch and bed refreshes after sod roots to protect edges and reduce weeds.
For a deeper dive on professional processes, review our professional sod installation overview, our lawn grading basics, and our sod installation service details.


