
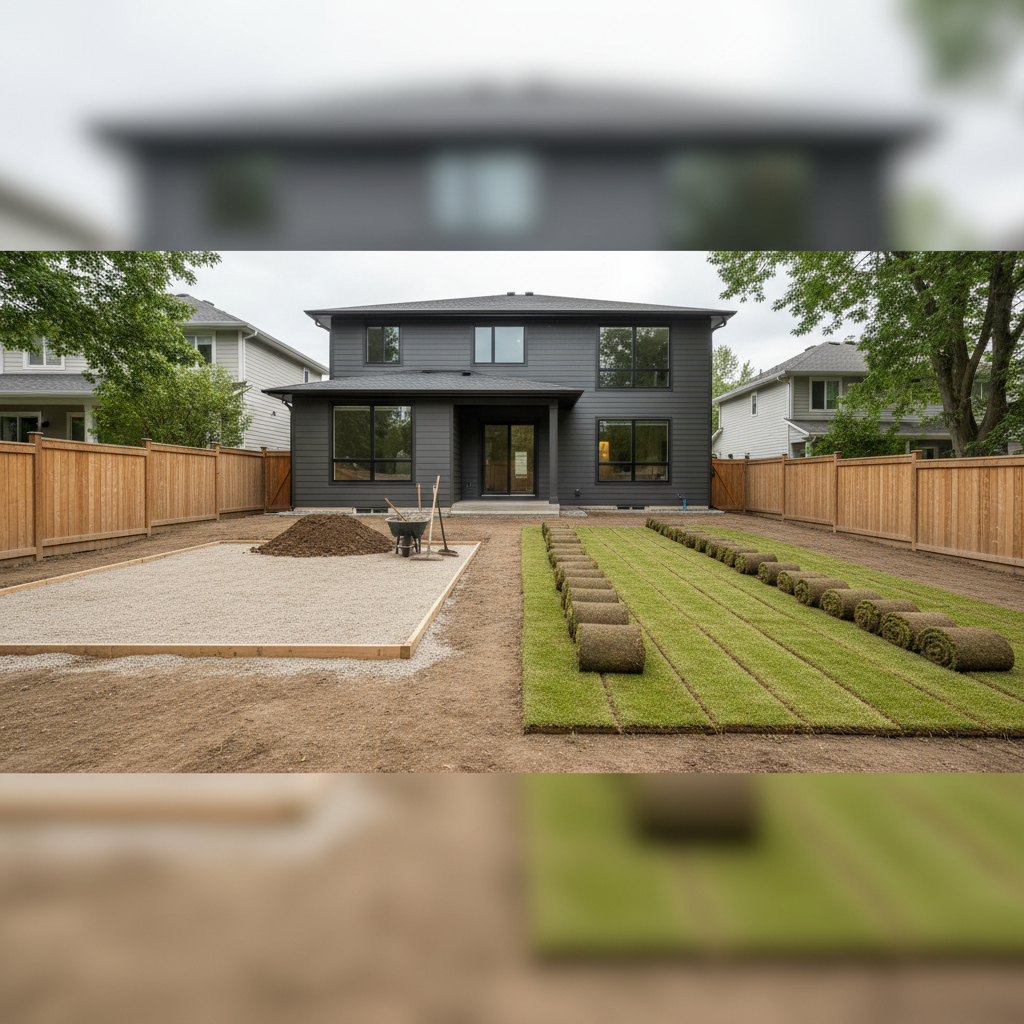
Grading is the planned shaping of your yard so water flows away from structures and across stable surfaces. For sod and pavers, precise grading prevents puddles, heaving, and soil loss. At our Mississauga hub (100 Matheson Blvd E unit 202), we see daily how grading affects sod and pavers by setting drainage, durability, and day‑one appearance.
By HR Greenroots Landscaping • Last updated: May 29, 2026
Quick Summary
Proper yard grading sets the foundation for healthy sod and stable pavers. Aim for about a 2% slope (roughly 1/4 inch per foot) away from the house, compact layers thoroughly, and direct runoff with swales or drains. Done right, grading extends lawn life, prevents paver settlement, and reduces maintenance.
If you only remember three things, make it these:
- Target slopes: ~2% away from the home; walkways can run 1–2% with crossfall.
- Compact in thin lifts: Base holds shape when compacted at 2–3 inch layers.
- Control water: Use swales, downspout extensions, or French drains to steer runoff.
In this guide we’ll connect grading to sod installation best practices, interlocking paver prep, drainage design, and seasonal maintenance that fits Mississauga properties.
What is grading—and why it matters for sod and pavers
Grading is shaping ground elevations to control water and support surface materials. For sod, grading protects roots from standing water. For pavers, it locks the base and prevents frost heave. Without correct slope and compaction, lawns thin out and interlocking settles or shifts within one to two seasons.
Here’s the thing: water always wins. The way you pitch a yard—numbers like 1–2%—decides where every gallon goes. That flow pattern determines root oxygen in turf and whether paver bases stay dense through freeze–thaw cycles.
- Sod health: Grass needs oxygen exchange. Even a 1–2 inch puddle that lingers 24–48 hours can stress new turf.
- Paver stability: When bedding sand gets saturated, traffic plus freeze–thaw (common each spring) can pump fines up and cause dips 1/4–1/2 inch.
- Foundation safety: A 2% grade moves roughly 2 feet of run-off drop over 100 feet, keeping water away from walls and sill plates.
We reinforce this across projects that combine interlocking patios and walkways beside fresh lawns. Building both surfaces off one coordinated grade delivers a cleaner finish and easier mowing edges.
Before you start (prerequisites)
Assess drainage paths, set finish elevations, and assemble tools before moving any soil. Mark door thresholds, garage slabs, and fixed edges first. Then calculate slopes, plan swales, and stage aggregate, topsoil, and edge restraints. Preparation avoids rework and keeps the grade consistent across lawn and hardscape.
Get your elevations right on paper before the shovel hits the ground. You’ll save hours and protect delicate surfaces (like thresholds) from being buried or exposed.
Site measurements and targets
- Reference points: Record elevations at door sills, steps, driveway lip, and any catch basins. Maintain 6–8 inches of exposed foundation.
- Primary slope: Target ~2% away from structures; that’s about 1/4 inch per foot (6 mm per 300 mm).
- Cross-slope: On walks/patios, 1–2% pitch sheds water without feeling tilted.
- Swale sizing: A shallow swale 6–12 inches wide with 1–3% grade can carry roof and yard runoff to safe discharge points.
Tools and materials checklist
- Layout and measuring: Laser level or string line, stakes, marking paint, tape, line level.
- Earthwork and compaction: Shovels, rakes, wheelbarrow, plate compactor (200–300 lb class), hand tamper.
- Base and drainage: 3/4 inch crushed stone (well-graded), geotextile fabric, bedding sand (concrete sand), solid and perforated pipe, catch basin/grate.
- Surface materials: Premium topsoil (3–5 inches), high-quality sod, edge restraints, spikes, polymeric sand for pavers.
- Protection: Plywood sheets for cart paths, downspout extensions (10+ feet), silt socks if needed.
Want a deeper primer on the numbers and soil handling? See our concise lawn grading basics overview.
Step-by-step process: set grades for sod and pavers
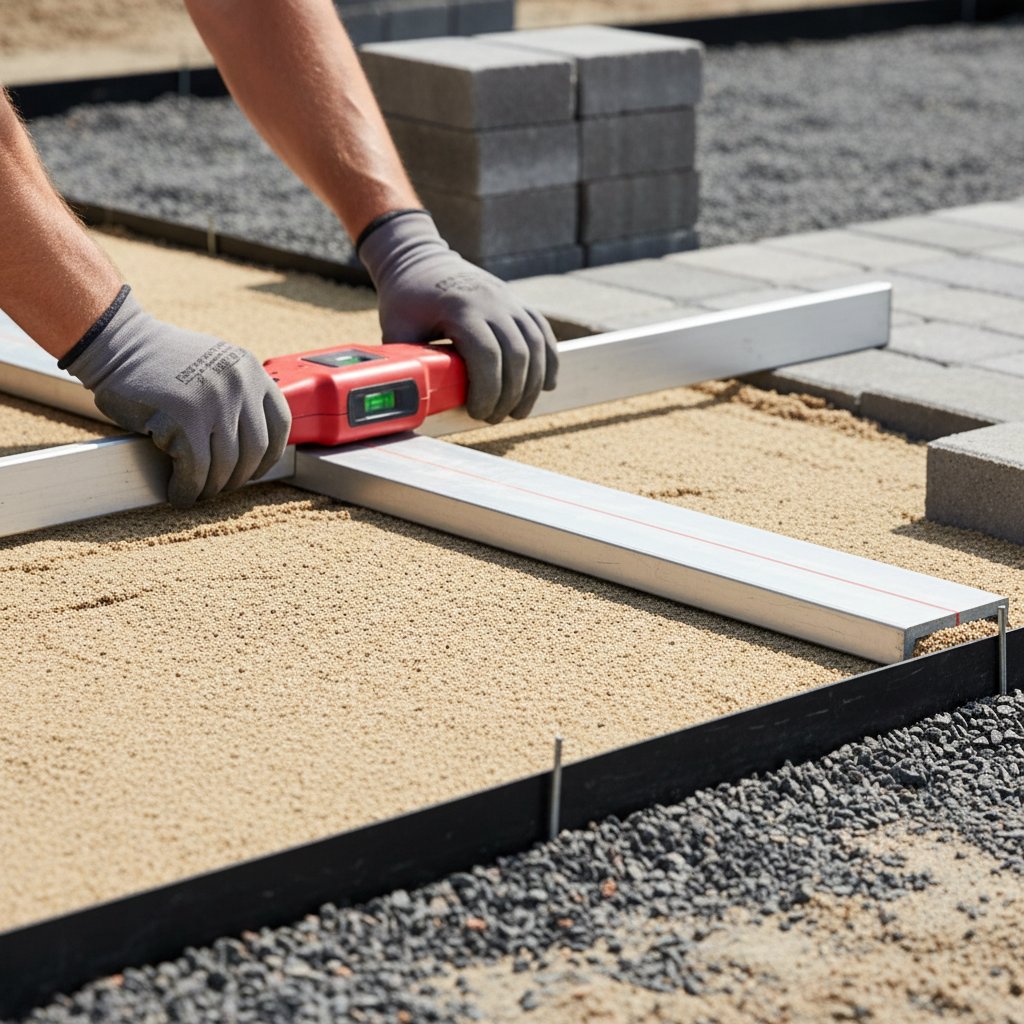
Establish finish heights, excavate to subgrade, compact in 2–3 inch lifts, install drainage, and shape final slopes before placing surfaces. For sod, add 3–5 inches of screened topsoil. For pavers, build 4–8 inches of crushed base, 1 inch of bedding sand, then lay, compact, and joint with polymeric sand.
Here’s a practical sequence we use across Mississauga projects that combine lawns with interlocking. It keeps tolerances tight and water moving the right way.
1) Lay out finish elevations
- Mark the finished paver height at doors/steps, allowing for paver thickness (often 2 3/8 inches) and 1 inch bedding.
- Mark the lawn finish height so turf meets pavers flush or 1/4 inch proud for clean mowing and no trip edge.
- Snap slope lines: 1/4 inch per foot away from structures; confirm with a laser at 10–20 foot intervals.
2) Excavate to subgrade
- For pavers: remove sod/soil to allow 4–8 inches of base + 1 inch bedding + paver thickness. Heavy drives lean to 8–12 inches base.
- For sod: remove organics and debris; leave room for 3–5 inches of topsoil plus sod thickness (~1/2 inch).
- Scarify and pre-slope the subgrade 1–2% so each layer inherits the pitch.
3) Separate soils and add base
- Lay geotextile over clay or disturbed soils to stop fines from migrating up.
- Place 3/4 inch crushed stone in 2–3 inch lifts; compact to 95%+ relative density (field check with your plate’s passes—usually 3–4 per lift).
- Shape base to final slopes; verify drops (e.g., 1/2 inch drop over 2 feet equals 2%).
4) Direct the water
- Form a swale along edges or between features to capture sheet flow. Keep 1–3% along its length.
- Extend downspouts at least 10 feet to daylight or a drain line; avoid dumping on bedding sand.
- Add French drains where groundwater pops up—perforated pipe set in washed stone wrapped in fabric.
5) Build surfaces
- Pavers: Screed 1 inch bedding sand, lay units to pattern, install edge restraints, compact with a plate and pad, then sweep and activate polymeric sand.
- Sod: Spread 3–5 inches of screened topsoil, rake to 2% slope, roll lightly, then lay sod in a staggered pattern. Water to 1 inch depth immediately.
For a deeper dive on base tolerances and joint finishing, skim our paver base preparation guide and practical joint sand tips.
Specs at a glance (comparison)
Item Sod/Lawn Interlocking Pavers Typical slope ~2% away from structures 1–2% along run; 1–2% crossfall Layer depths 3–5 in. topsoil + sod (~1/2 in.) 4–8 in. base + 1 in. bedding + paver Compaction lifts Shape subgrade; roll topsoil lightly 2–3 in. base lifts to 95%+ Drainage aids Swales, surface pitch, soil with organics Edge restraints, drains, permeable options Edge interface Flush or 1/4 in. proud vs pavers Rigid edge restraints pinned 8–12 in. OCTroubleshooting and quality control
If you see puddles, soft spots, or paver rocking, measure slopes and density before cosmetic fixes. Re-screeding without compacting the base only masks issues. Spot-correct with cut-and-recompact, add drains where water collects, and reset edges that lost restraint.
Grading issues usually show up within the first wet week after installation. Here’s how we evaluate and correct them without tearing everything out.
- Puddles on sod: Probe 3–5 inches down. If soil is tight clay, relieve with a shallow swale. If the area is dished 1/2–1 inch, topdress and regrade.
- Paver dips: Mark the depression. Lift units, check bedding thickness (should be ~1 inch), then inspect base. Rebuild base in 2–3 inch lifts and reset.
- Heaving at edges: Confirm edge restraint spikes are 8–12 inches on-center and seated in dense base. Add spikes and recompact.
- Water at the foundation: Verify 2% fall the first 6–10 feet from the wall. If blocked by a walkway, slope the walk 1–2% away or add a linear drain.
- Downspout scour: Place extensions and splash pads; a single roof corner can deliver dozens of gallons in minutes during a summer storm.
We also pressure-test assumptions with a hose: run water for 5–10 minutes and watch the path. Flow that streams to the same low point will do the same in a storm.
Advanced tips: smarter drainage for long-lasting yards
Upgrade durability by combining permeable surfaces, subsurface drains, and soil separation. Permeable pavers increase infiltration, French drains relieve soggy zones, and geotextiles prevent soil mixing. These upgrades reduce settling, improve winter performance, and keep surfaces clean through heavy storms.
When projects pair new lawns, patios, and driveways, we design the drainage as one system. These add-ons are small in scope but big in impact over 3–5 seasons.
- Permeable pavers: Use open-graded stone (no fines) with 8–12 inches of reservoir. This stores and releases rainfall while maintaining 1–2% surface pitch.
- French drains: Perforated pipe at 0.5–1% slope in washed stone daylighting to a safe area; wrap the trench in nonwoven fabric.
- Linear trench drains: Slot drains at garage aprons or across patios intercept sheet flow without raising thresholds.
- Curbing and edging: Rigid restraints pinned every 8–12 inches prevent lateral creep, especially at curves and drive edges.
- Soil structure: For lawns, blend a 60/30/10 loam/sand/compost topsoil; it drains better than pure clay while holding nutrients for sod rooting.
Curious how a complete design ties together? See our slope correction guide for Mississauga sites where swales, drains, and grade beams work as a package.
Local grading factors in Mississauga and the Regional Municipality of Peel
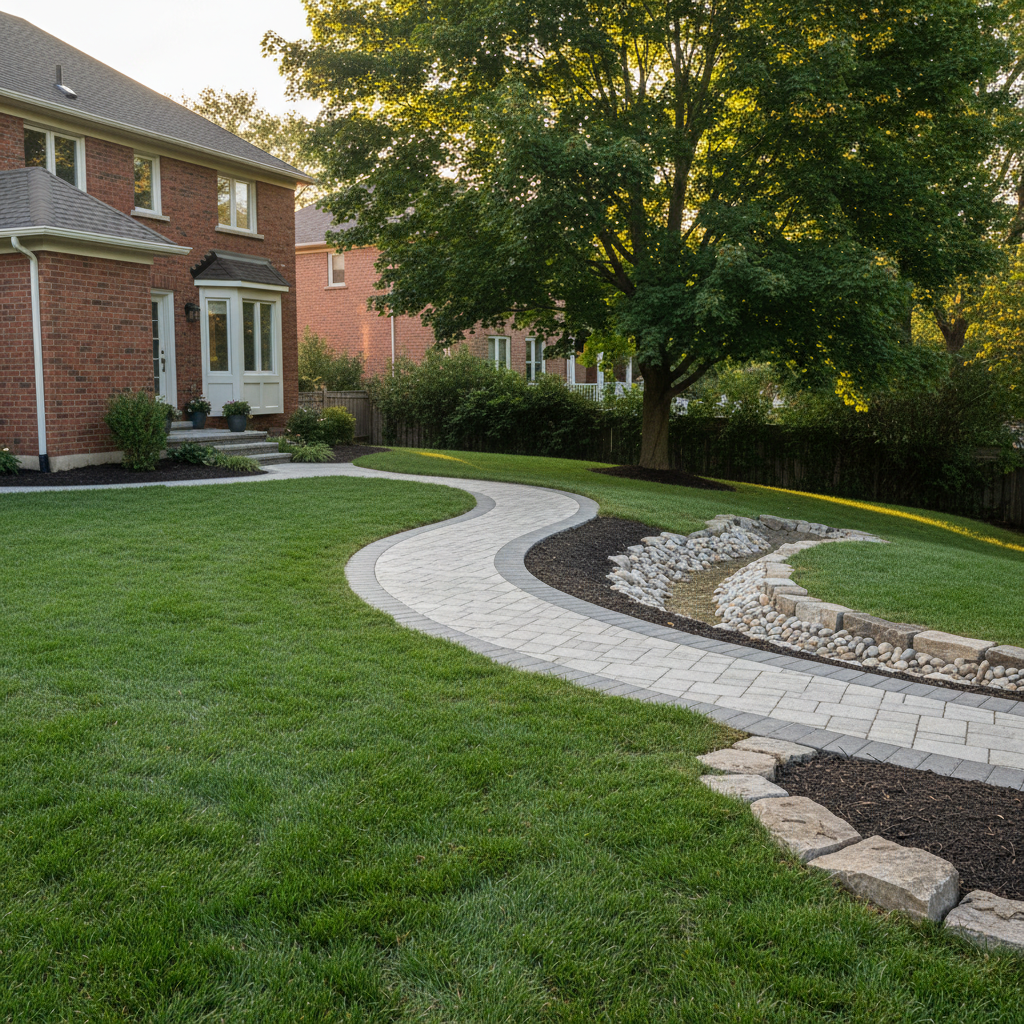
Mississauga yards in the Regional Municipality of Peel need reliable 1–2% surface fall and good base density to handle spring thaw and summer storms. Coordinate lawn and paver grades, extend downspouts 10+ feet, and use swales to aim runoff toward safe lawn areas or drains.
Our crews work across local clays and compacted fill. That means we prioritize geotextiles, downspout routing, and crossfalls on walkways so meltwater doesn’t refreeze at entries.
Local considerations for Mississauga
- During campus-area builds near Lambton College, we’ve found narrow side yards benefit from linear drains that bridge patio edges to lawn swales.
- Plan grading windows around spring thaw and fall rains; soil moves cleaner and compacts better at moderate moisture, not saturated.
- At our 100 Matheson Blvd E base, we test hose-run patterns before laying surfaces—simple 5–10 minute checks validate the 2% plan on real ground.
Considering a yard regrade with sod and interlocking?
A coordinated plan delivers straighter edges, dryer basements, and surfaces that last. Book an on-site assessment and we’ll map slopes, drains, and base specs so your lawn and pavers work together from day one.
We design-build across Mississauga and the GTA, integrating lawns, interlocking pavers, edging, and drains into one clean plan. If you’re weighing timing, our note on the best time to install sod can help sequence your project.
Frequently Asked Questions
Homeowners ask about ideal slopes, fixing puddles without a full teardown, and whether lawns should sit higher or lower than pavers. These direct answers cover the basics so you can spot issues early and keep new surfaces performing through the seasons.
How grading affects sod and pavers in the first year?
In year one, grading controls water and compaction. A steady 1–2% slope keeps turf roots oxygenated and prevents bedding sand from saturating under pavers. If slopes are flat or reversed, you’ll see puddles on sod and early paver settlement within one or two heavy rains.
Should sod be flush with pavers or slightly higher?
Set sod flush to 1/4 inch higher than the paver edge. That tiny proud edge settles as roots knit, avoids tripping, and lets you mow without scalping. If grass sits below the paver, water can pool against the edge and the joint sand may wash out faster.
Can I fix a low spot without rebuilding the whole patio?
Yes. Mark the dip, lift the pavers, check the bedding sand (keep it around 1 inch), and add or recompact base in 2–3 inch lifts where needed. Re-screed bedding, reset the pavers, compact, then top up polymeric sand. Spot repairs often take under a day.
What slope should a patio have away from the house?
Pitch patios about 1–2% away from the house. That’s 1/8–1/4 inch per foot. Keep the first 6–10 feet off the wall consistent so stormwater doesn’t backtrack. If space is tight, add a linear drain at the threshold to intercept runoff.
Do permeable pavers eliminate grading needs?
No. Permeable pavers increase infiltration and storage, but surfaces still need 1–2% pitch to move overflow safely. You also need a reservoir base (often 8–12 inches of open-graded stone) and a planned outlet so the system doesn’t surcharge in big storms.
Additional resources
Need more context on layout, base prep, or timing? These resources expand on grading, sod, and interlocking workflows so you can plan confidently and avoid rework.
For lawn-first projects, start with our stepwise sod installation in Mississauga. Planning a patio? Our interlocking pavers guide and base prep checklist show tolerances. For seasonality, don’t miss the best time to install sod.
For third‑party perspectives on layout and sequencing, you can also scan practical homeowner guides like a planning overview for patios and walks, a step-by-step interlocking outline, and a regional design checklist available from established landscaping publishers.
Conclusion
Grading is the quiet force behind lawns and pavers that last. Keep 1–2% fall, compact in thin lifts, route water with swales or drains, and tie sod edges flush to interlock. Do this once at the start and you avoid seasons of chasing puddles, heave, and joint washout.
- Key takeaways:
- Grade first, build second—set 2% away from structures.
- Compact base in 2–3 inch lifts; keep bedding ~1 inch.
- Meet sod and pavers flush or 1/4 inch proud for clean edges.
- Use swales, drains, and downspout extensions to steer water.
Next step: Book a site assessment in Mississauga and the GTA. We’ll map grades, integrate sod and interlocking, and deliver a yard that drains right from day one.
For additional step sequencing and visuals, this homeowner-focused patio planning overview, a detailed interlocking outline, and a regional design checklist provide useful cross-checks during layout and grading. See insights in planning patios and walkways, a step-by-step interlocking guide, and a regional design overview.


