Privacy fence options for Mississauga properties include wood, vinyl (PVC), composite, metal, and hybrid screens selected to balance privacy, durability, and local bylaws. At our Mississauga office (100 Matheson Blvd E unit 202), HR Greenroots Landscaping designs and installs fences that handle frost, drainage, and wind—helping homeowners choose the right system for long-term performance.
By HR Greenroots Landscaping • Last updated: 2026-05-15
Quick Summary & Table of Contents
Choose a privacy fence by matching material to use-case, confirming Mississauga bylaw heights, and building for frost (posts below ~42 inches) and drainage. Wood offers warmth, vinyl reduces upkeep, and composite balances both. Use 6x6 posts, set panels 6–8 feet on center, and plan gates early.
What you’ll find in this complete guide:
- Material comparisons (wood, vinyl, composite, aluminum/steel, hybrid, living screens)
- Engineering basics (post depth, footings, frost, drainage, wind)
- Design choices (height, slat style, color, gates, transitions)
- Best practices our crews follow on Mississauga jobs
- Tools and resources, mini case studies, and a practical FAQ
What Is a Privacy Fence?
A privacy fence is a perimeter barrier—typically 5–8 feet tall—designed to block sightlines and reduce noise. In Mississauga, effective systems pair solid panels with frost-ready posts, drainage gaps, and secure gates. The result is year-round screening that stands up to freeze–thaw and wind.
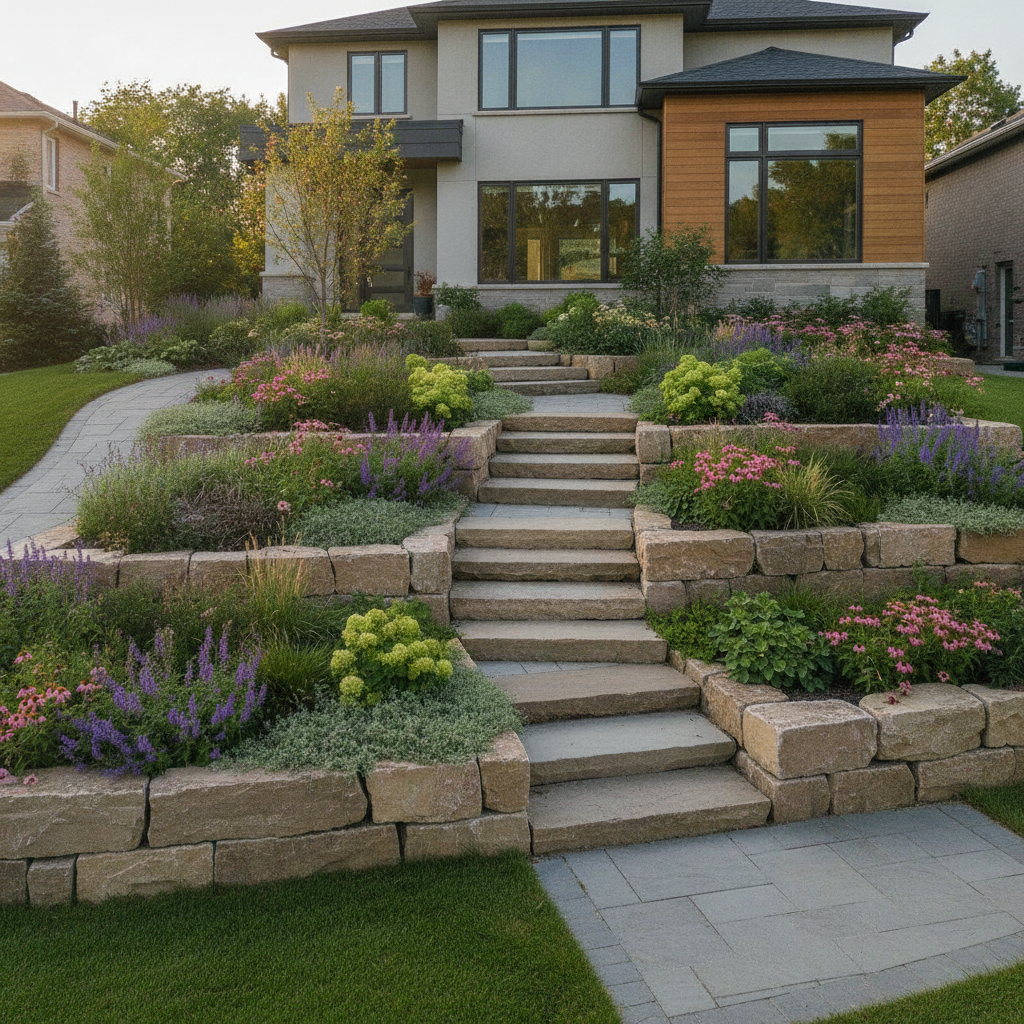
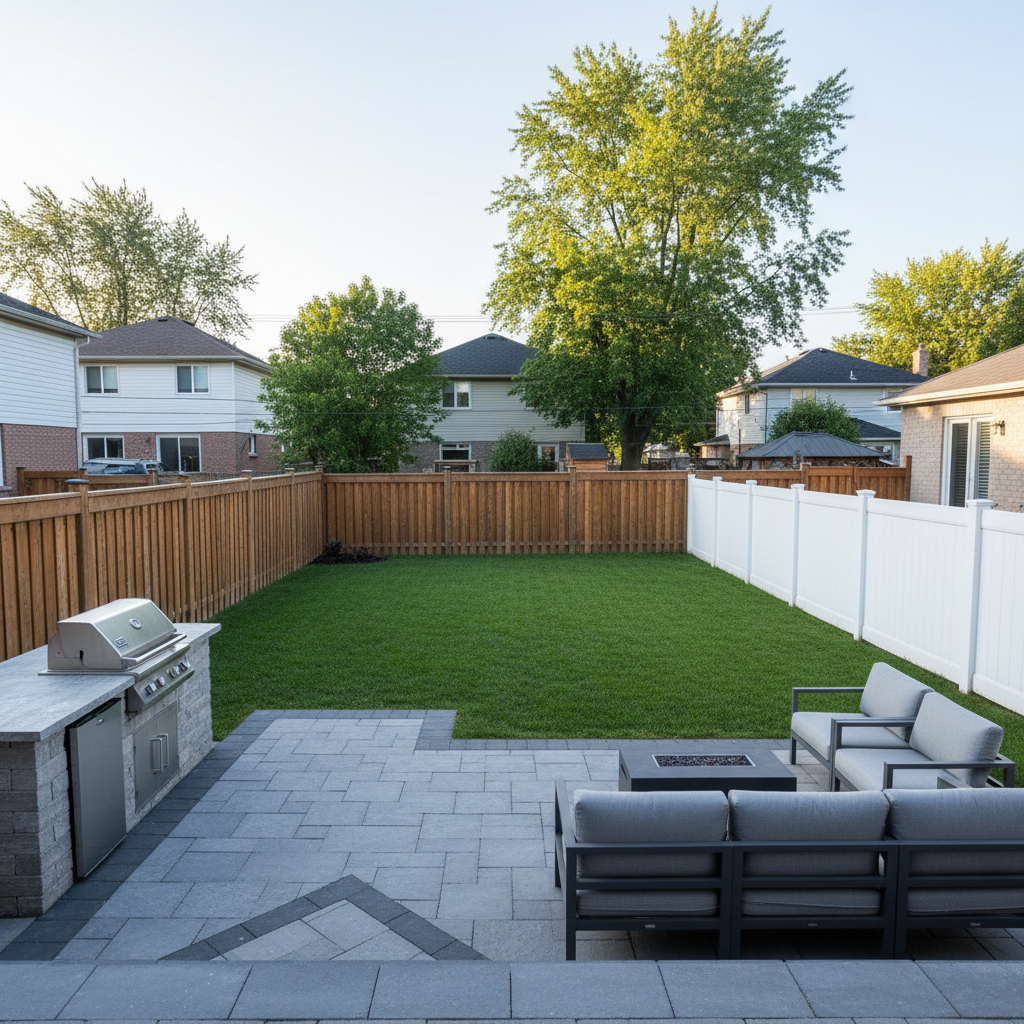
A privacy fence does more than hide views. It organizes space, controls circulation, and acts as a backdrop for planting and hardscape. In our projects across Mississauga and the GTA, we integrate fencing with interlock patios, decks, and sheds so yards feel cohesive from day one.
Core components you’ll plan
- Posts: 6x6 pressure-treated or steel posts, typically 8–10 feet long for 6-foot fences.
- Footings: 10–12 inch diameter, extending ~42 inches below grade to clear local frost depth.
- Panels/rails: Wood, vinyl, or composite infill with 2–3 horizontal rails, 6–8 feet on center.
- Fasteners: Exterior-grade screws/bolts; stainless or coated to resist corrosion.
- Gates: Reinforced frames (2x4 or steel), heavy-duty hinges, and latch hardware.
When we combine these elements with proper grading and edge control, fences stay plumb and quiet—no rattling in March winds, no heaving in January thaws.
Why Privacy Fencing Matters in Mississauga
Privacy fencing in Mississauga improves comfort, safety, and property value while meeting local rules in the Regional Municipality of Peel. Solid panels cut sightlines, tame wind, and create defined outdoor rooms. Built for frost and drainage, they protect investment and reduce seasonal maintenance.
Properties here juggle tight lot lines, winter freeze–thaw cycles, and summer gatherings. Good fencing solves real problems: it shields patios, quiets HVAC noise, and keeps pets secure. It also frames planting beds and directs traffic to gates or decks, improving circulation and curb appeal.
Local considerations for Mississauga
- Set fence height with the street context; rear yards often sit at ~6 feet. Corner lots and sight triangles need special care.
- Plan for snow storage and spring runoff. A 1–2 inch gap above grade helps airflow and drying after melt.
- Near Saigon Park or Lambton College, pedestrian flow can be higher—use opaque panels and self-closing gates.
How Privacy Fencing Works (Structure, Frost, Drainage)
A long-lasting fence depends on posts anchored below frost (~42 inches), well-drained footings, and rigid panels spaced 6–8 feet on center. Compact gravel at the base, crown concrete for water shed, and leave a 1–2 inch gap under boards to dry quickly after rain or melt.
Here’s the build logic our crews use across Southern Ontario. Each step manages load, water, and movement so the system rides out winter without shifting and summer without sagging.
- Layout & locates: Confirm property lines, mark utilities, and pull measurements. Keep posts consistent, typically 72–96 inches apart.
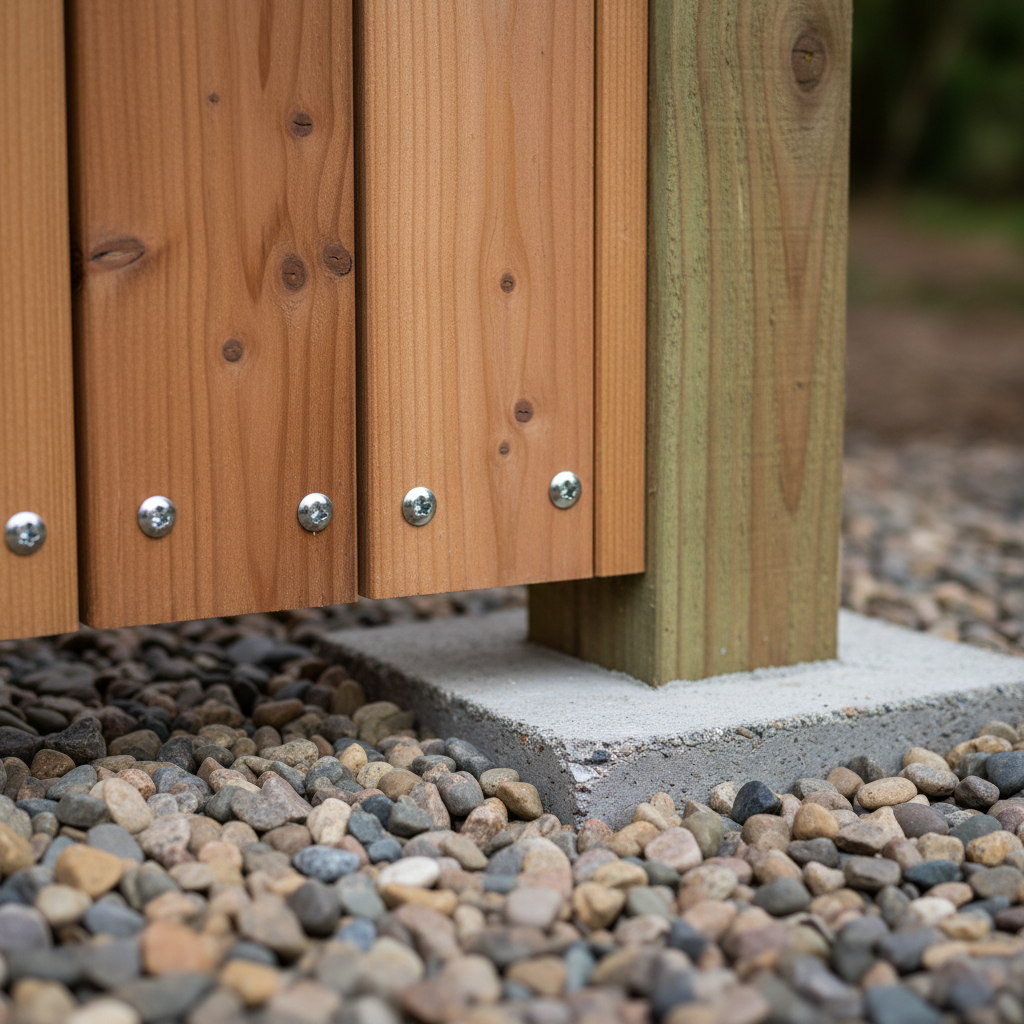
- Dig & base: Bore 10–12 inch holes to ~42 inches below grade. Add 4–6 inches of 3/4-inch clear stone for drainage.
- Set posts: Plumb 6x6s or steel; brace. Fill with concrete to grade, then trowel a 1–2 inch crown to shed water.
- Rails & infill: Install 2–3 rails; fasten boards or panels with 2.5–3 inch exterior screws.
- Gates & hardware: Use 4 hinges on wide gates (>42 inches), add diagonal bracing, and set latches to catch cleanly.
- Finish & seal: For wood, seal or stain after wood moisture stabilizes (often 2–6 weeks). Touch hardware with corrosion inhibitor.
Gate posts take the most stress. We often oversize those footings to 12–14 inches and use steel or Simpson-type brackets to limit twist at the hinge line.
Best Privacy Fence Options for Mississauga Properties
Mississauga properties typically choose from wood (warm, customizable), vinyl/PVC (low upkeep), composite (durable, premium look), aluminum or steel frames (rigid, modern), hybrid screens (mixed materials), and living hedges. Match material to maintenance tolerance, wind exposure, and architectural style.
Material overview (with practical notes)
- Pressure-treated wood: Readily available 1x6 or 5/4 boards; stain after 2–6 weeks. Expect sealing every 2–3 seasons.
- Cedar: Excellent stability and aroma; lighter weight on rails. Clear sealer extends color; silvers naturally within 12–24 months.
- Vinyl (PVC): Consistent color, hidden fasteners, panels typically 6 or 8 feet wide. Clean with mild soap; resists rot and insects.
- Composite: Wood–plastic blend; heavier panels mean stiffer frames. Great for mixed decks–fence palettes and sound damping.
- Aluminum/steel: Slats or louver look; powder-coated colors; strong wind resistance. Pair with privacy inserts or hedges.
- Hybrid: Steel posts with wood or composite infill; aluminum frames with cedar slats; flexible and repair-friendly.
- Living screens: Hedges or espalier; seasonal density. Needs irrigation and pruning cadence (2–4 trims/year in growth period).
Comparison table: materials, maintenance, and use-cases
Material Privacy Maintenance Wind/Structure Best For Pressure-treated wood High (board-on-board) Seal/stain every 2–3 years Good with 6x6 posts Warm look, flexible designs Cedar High Clear coat or natural silver Good; lighter weight Premium aesthetics Vinyl (PVC) High (solid panels) Low (wash annually) Excellent if framed well Low-upkeep backyards Composite High Low–medium (periodic wash) Excellent (stiff panels) Deck–fence integration Aluminum/steel Medium–High (with inserts) Low Excellent Modern, windy sites Living screens Medium (seasonal) High (trimming, watering) N/A Green buffers, soft edges
Design and Installation Best Practices
Plan the fence on paper first, then build it to resist water, wind, and winter. Use 6x6 posts below frost, crown concrete, leave a 1–2 inch ground gap, and anchor gates with reinforced frames. Pre-prime cut ends, and step panels cleanly along slopes.
Layout and sightlines
- Confirm property lines; offset posts 2–4 inches inside to avoid disputes.
- Mark grade changes. Step or rake panels so bottom edges stay 1–2 inches above soil.
- Align gates with walkways, patios, or driveway extensions for natural flow.
Structure that lasts
- Choose 6x6 posts for stiffness; space 6–8 feet on center to manage wind load.
- Extend footings ~42 inches below grade; use 3/4-inch clear stone base for drainage.
- Set hinges on double-fastened rails; add diagonal bracing to prevent gate sag.
Details that prevent callbacks
- Seal wood cut-ends with end-grain sealer within 24 hours to limit moisture uptake.
- Use stainless or ceramic-coated screws (2.5–3 inches) to avoid streaking.
- Cap posts with metal/wood caps; slope tops at ~10–15° to shed water.
In our experience, most “mystery” issues trace back to water: trapped moisture at grade, flat concrete at posts, or mulch piled against boards. Small design tweaks prevent years of problems.
Tools & Resources (Planning, Build, Upkeep)
Use simple tools—a 48-inch level, post-hole auger, line laser, and impact driver—plus planning checklists for utilities, property lines, and bylaws. Keep annual upkeep light with a spring rinse, hardware check, and touch-up sealing on wood every 2–3 seasons.
Planning toolkit
- Scaled site sketch with panel counts and exact post spacing (72–96 inches).
- Gate schedule: widths (36–48 inches common), swing direction, latch height (~42 inches).
- Checklist: property lines confirmed, utilities marked, neighbors notified, materials ordered.
Build tools we rely on
- Gas or electric auger with 10–12 inch bit; spade and clamshell for cleanup.
- 48-inch level, line laser or string line, and temporary bracing stakes.
- Impact driver, circular saw with fine-tooth blade for composite/cedar, miter saw for caps.
Maintenance cadence
- Spring: inspect posts, hardware, and gate closure; rinse dust and salt.
- Summer: re-stain wood if due; tighten hinges; trim vegetation 4–6 inches off boards.
- Fall: clear leaves from post bases; check ground clearance before snow season.
For integrated projects, we often coordinate fencing with fence installation service, landscape design plans, and sod installation prep so access and sequencing are efficient.
Common Mistakes to Avoid in 2026
Avoid shallow posts, flat-topped footings, undersized 4x4 gate posts, and panels tight to soil. Skipping a permit/bylaw check, ignoring wind exposure, or mixing incompatible materials leads to heaving, staining, and rattling within one or two seasons.
- Too-shallow footings: Posts must extend ~42 inches below grade to avoid frost heave.
- No drainage base: Always add 4–6 inches of clear stone under posts.
- 4x4 gate posts: Upgrade to 6x6 and add diagonal bracing on wide gates.
- Panels touching soil: Leave a 1–2 inch gap to prevent wicking and rot.
- Unsealed cut ends: End-grain drinks water; seal within 24 hours.
- Ignoring access: Plan 36–48 inch gates where mowers or wheelbarrows move.
We also see misaligned slopes—panels run level while grade rises. Step or rake panels so the bottom edge mirrors the site, keeping a consistent gap.
How We Integrate Fences into Landscape Designs
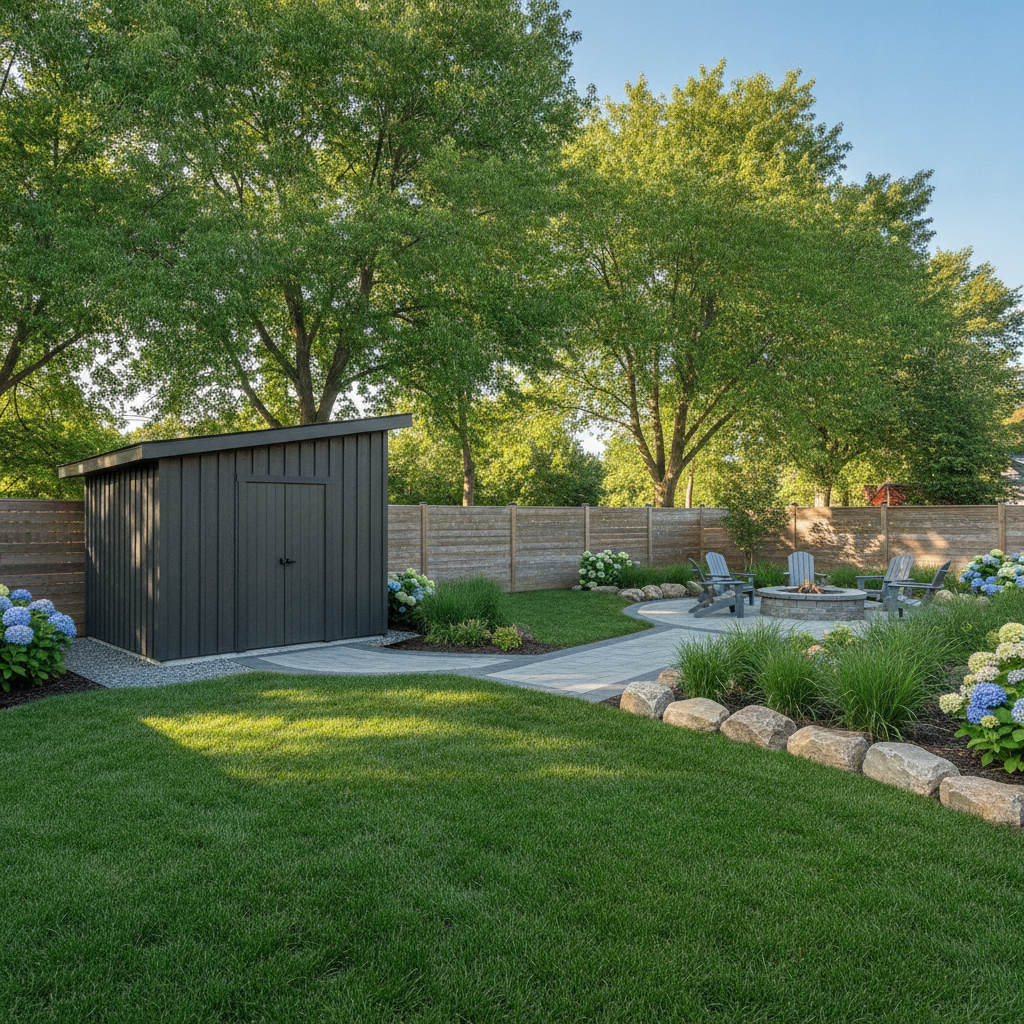
Great fences disappear into the plan. We align gates with walkways, match colors to decks, and use plantings to soften panels. Pairing fencing with interlock, lighting, and sheds creates privacy plus purpose—outdoor rooms that invite use spring through fall.
Privacy is one layer in a coordinated build. Our crews often phase projects so heavy equipment moves in once and leaves once, reducing disruption and keeping lawn edges crisp.
- Coordinate fence lines with front yard upgrades to tidy side yards and garbage enclosures.
- Blend colors with decks—composite in warm gray or cedar stain to match regional design palettes.
- End runs at stone columns or armour stone for a premium transition to interlock patios.
Mini Case Studies (Mississauga Projects)
Three recent Mississauga projects show how material choice and detailing change outcomes: a cedar screen beside a deck, a vinyl perimeter for low upkeep, and a hybrid steel-post system for wind. Each used frost-depth posts, clean edges, and coordinated access.
Cedar screen + deck alignment
- Context: Backyard off a new composite deck.
- Solution: 6-foot cedar board-on-board, 6x6 posts at 6 feet on center.
- Details: Gate aligned with a 48-inch walkway; post caps and warm-toned stain.
- Outcome: Seamless deck–fence palette; reduced wind at dining area by a noticeable margin.
Vinyl perimeter for maintenance-light living
- Context: Busy family with little time for upkeep.
- Solution: 6x8-foot vinyl panels; aluminum-reinforced rails.
- Details: Gate posts oversize to 14-inch footings; ground gap set to 1.5 inches.
- Outcome: Consistent color, quiet panels in winter gusts, annual hose-down is enough.
Hybrid steel-post + wood infill for wind exposure
- Context: Open corner lot with prevailing winds.
- Solution: Galvanized steel posts, cedar slats with 1/2-inch spacing for pressure relief.
- Details: Panels at 6 feet on center; diagonal bracing at gates.
- Outcome: Premium look with measurable stiffness and less panel rattle.
Tools and Learning Resources Online
Before building, study panel systems, plan access, and learn about base preparation. Reputable regional resources explain interlock and backyard layouts that pair well with fencing, helping you organize phases and avoid rework.
For additional context on materials that pair with fences, see these perspectives on regional hardscapes and backyard flow. They’re helpful when sequencing projects or matching palettes to your fence plan:
Explore design ideas in a regional context with this backyard landscaping guide, compare paving choices with an interlock pros and cons overview, and browse another Ajax backyard design guide for layout inspiration.
Free checklist: Planning a privacy fence in Mississauga?
- Confirm property lines and utility locates.
- Choose material (wood, vinyl, composite, hybrid).
- Mark panel count (6–8 feet each) and gate widths (36–48 inches).
- Specify post size (6x6) and footing depth (~42 inches).
- Plan drainage gap (1–2 inches) and step/rake strategy for slopes.
Need a hand? Our team designs, builds, and maintains complete outdoor systems across Mississauga and the GTA.
FAQ: Privacy Fences in Mississauga
Homeowners ask about heights, frost depth, materials, and upkeep. In Mississauga, a 6-foot rear-yard fence is common, posts should extend below frost (~42 inches), and materials range from wood to vinyl and composite. Annual cleaning plus hardware checks keep systems quiet and true.
What fence height works best for backyard privacy?
Six feet is common for rear yards and usually blocks sightlines from neighboring patios. Corner lots or special situations may require different heights. Always confirm local bylaws and coordinate gate heights so they clear snow and swings stay safe.
How deep should posts go in Mississauga?
Plan to set posts to approximately 42 inches below grade to clear local frost depth. Add 4–6 inches of clean stone at the base for drainage, and crown the top of the concrete by 1–2 inches to shed water away from the post.
Is vinyl or composite better than wood?
They’re different trade-offs. Wood offers warmth and flexible styles but needs sealing every few seasons. Vinyl and composite reduce upkeep and hold a consistent look. On windy or busy sites, composite’s stiffness and vinyl’s low maintenance are strong advantages.
Can you integrate a new fence with my existing patio or deck?
Yes. We align gate locations to walkways, match fence colors to deck tones, and end runs at stone columns where possible. Coordinating access during construction prevents damage to lawns, beds, and hardscape edges, making the finished space feel intentional.
Next Steps and Key Takeaways
Pick a material that fits your maintenance style, confirm bylaws, and build for water and winter. Use 6x6 posts, frost-depth footings, and reinforced gates. Integrate fencing with landscape design to turn privacy into purposeful outdoor rooms.
- Material fit: Wood = warmth, vinyl/composite = low upkeep, hybrid = flexible.
- Structure first: Posts below frost (~42 inches), panels 6–8 feet on center.
- Water wins: Gravel base, crowned concrete, and a 1–2 inch ground gap.
- Integrate: Align with patios, decks, sheds, and lighting for real usability.
Ready to plan? Explore our fence installation service, see how fencing ties into landscape design and build, and review our Mississauga landscaping services to coordinate phases.
Book a design walk-through in Mississauga. We’ll review heights, gates, and transitions at your property and outline a right-sized plan—privacy that looks sharp and lasts.
Serving Mississauga and the Regional Municipality of Peel.