Retaining wall or grading first refers to the correct sequence for stabilizing slopes and managing drainage. In Mississauga at 100 Matheson Blvd E unit 202, our design-build team recommends establishing site drainage and subgrade controls, then constructing walls to engineered specs, and finally finishing fine grading. This order protects structures, keeps water away from foundations, and extends the life of interlocking and lawns.
By HR Greenroots Landscaping • Last updated: 2026-06-11
Quick Summary
Grade to set water flow paths, build the retaining wall to lock soil and create level changes, then perform final grading and surface installation. This sequence prevents erosion, avoids undermining the wall base, and ensures patios, sod, and beds drain at a steady 1.5–2% away from structures.
- Best practice order: rough grading and drainage layout → retaining wall base and blocks → backfill with drainage stone → final grading and surface finishes.
- Target slopes: 1.5–2% away from buildings; swales at 2–4% if needed.
- Wall essentials: 6–12 inches of compacted base, embed first course ~10% of wall height, use perforated drain and washed stone.
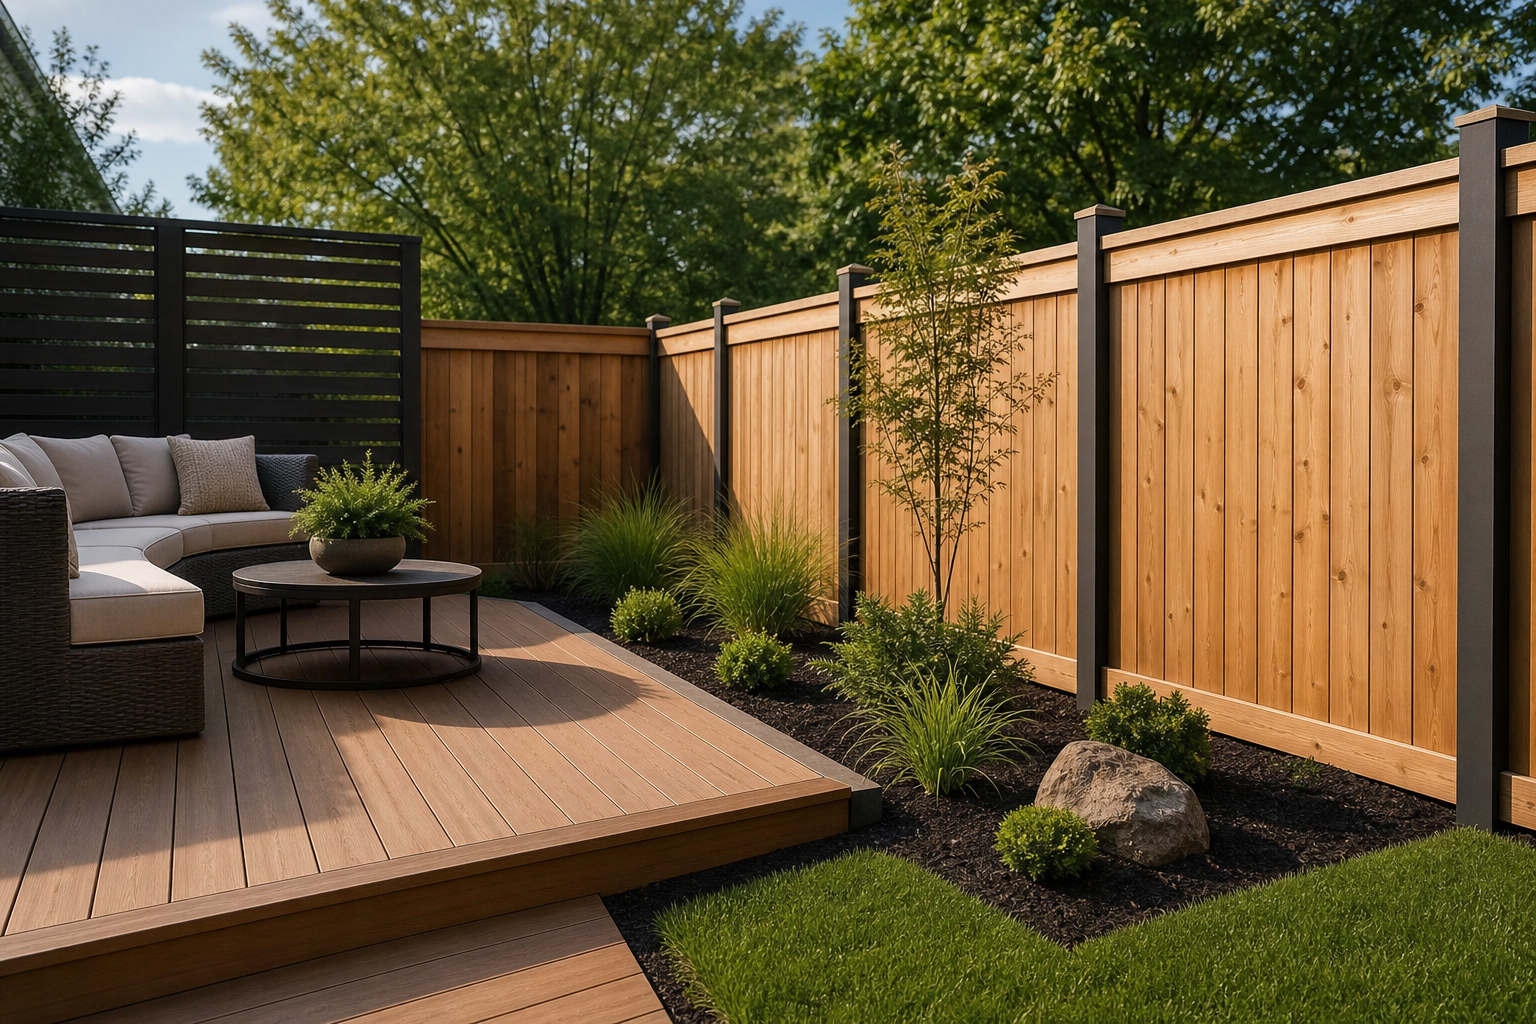
- Finish strong: tie patios, lawns, and beds into set elevations; verify downspout extensions run 6–10 feet from foundations.
- What is the right order—retaining wall or grading first?
- Why sequencing matters
- How the process works (step-by-step)
- Methods and approaches by site condition
- Best practices we use on HR Greenroots sites
- Tools and resources
- Mini case studies from Mississauga and the GTA
- Frequently Asked Questions
- Conclusion and next steps
What is the right order—retaining wall or grading first?
The correct sequence is rough grading and drainage layout first, then build the retaining wall on a compacted base with drainage, and finish with fine grading and surface installation. In Mississauga and the Regional Municipality of Peel, this order keeps water moving, protects foundations, and prevents wall settlement or heave.
Let’s define terms so we’re aligned. “Rough grading” establishes major slopes, swales, and drainage routes. The “retaining wall” creates stable elevation changes. “Fine grading” perfects topsoil levels for sod, beds, and pavers. The sequence limits rework and preserves the base you just compacted.
- Rough grading first: Set a 1.5–2% fall away from the home; establish swales at 2–4% to collect and convey water.
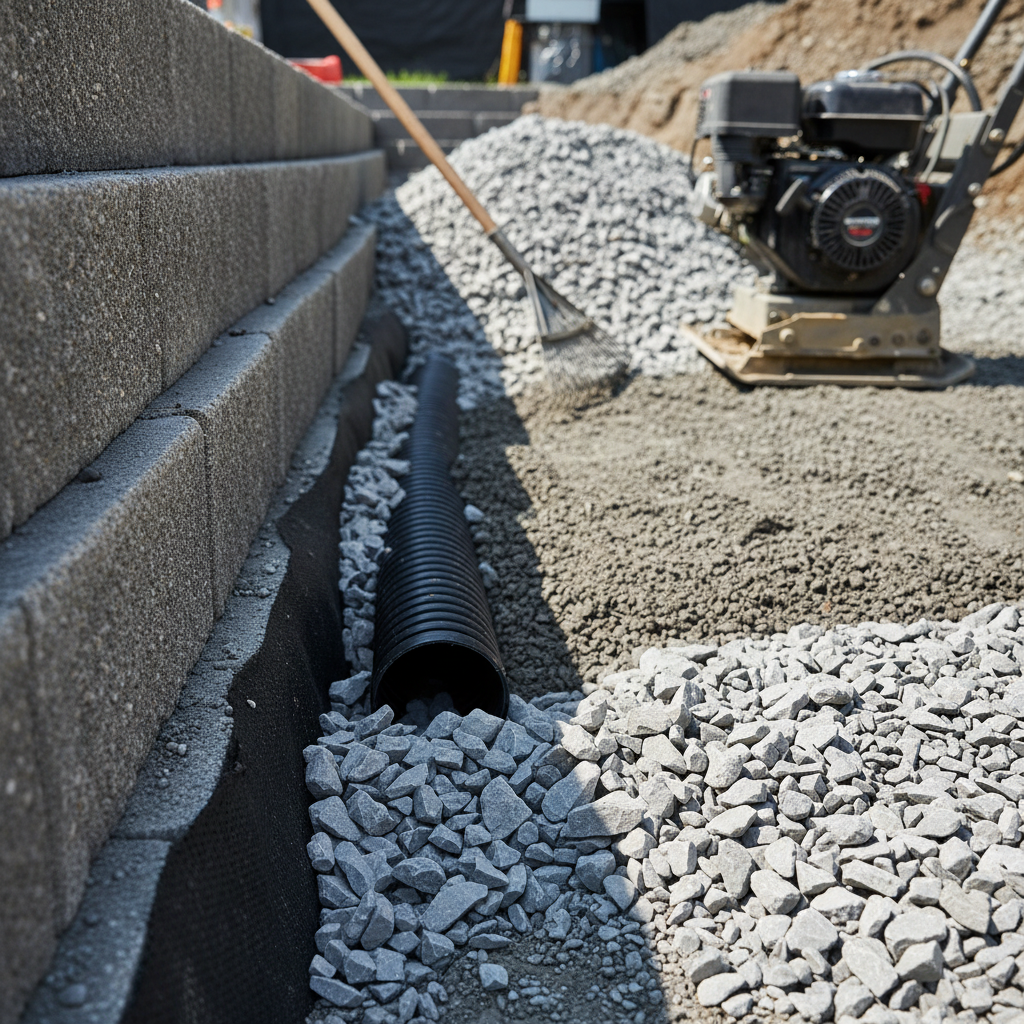
- Wall next: Excavate for base (6–12 inches), compact to ~95% Proctor, embed the first course ~10% of wall height, and install a 4-inch perforated drain to daylight or a sump.
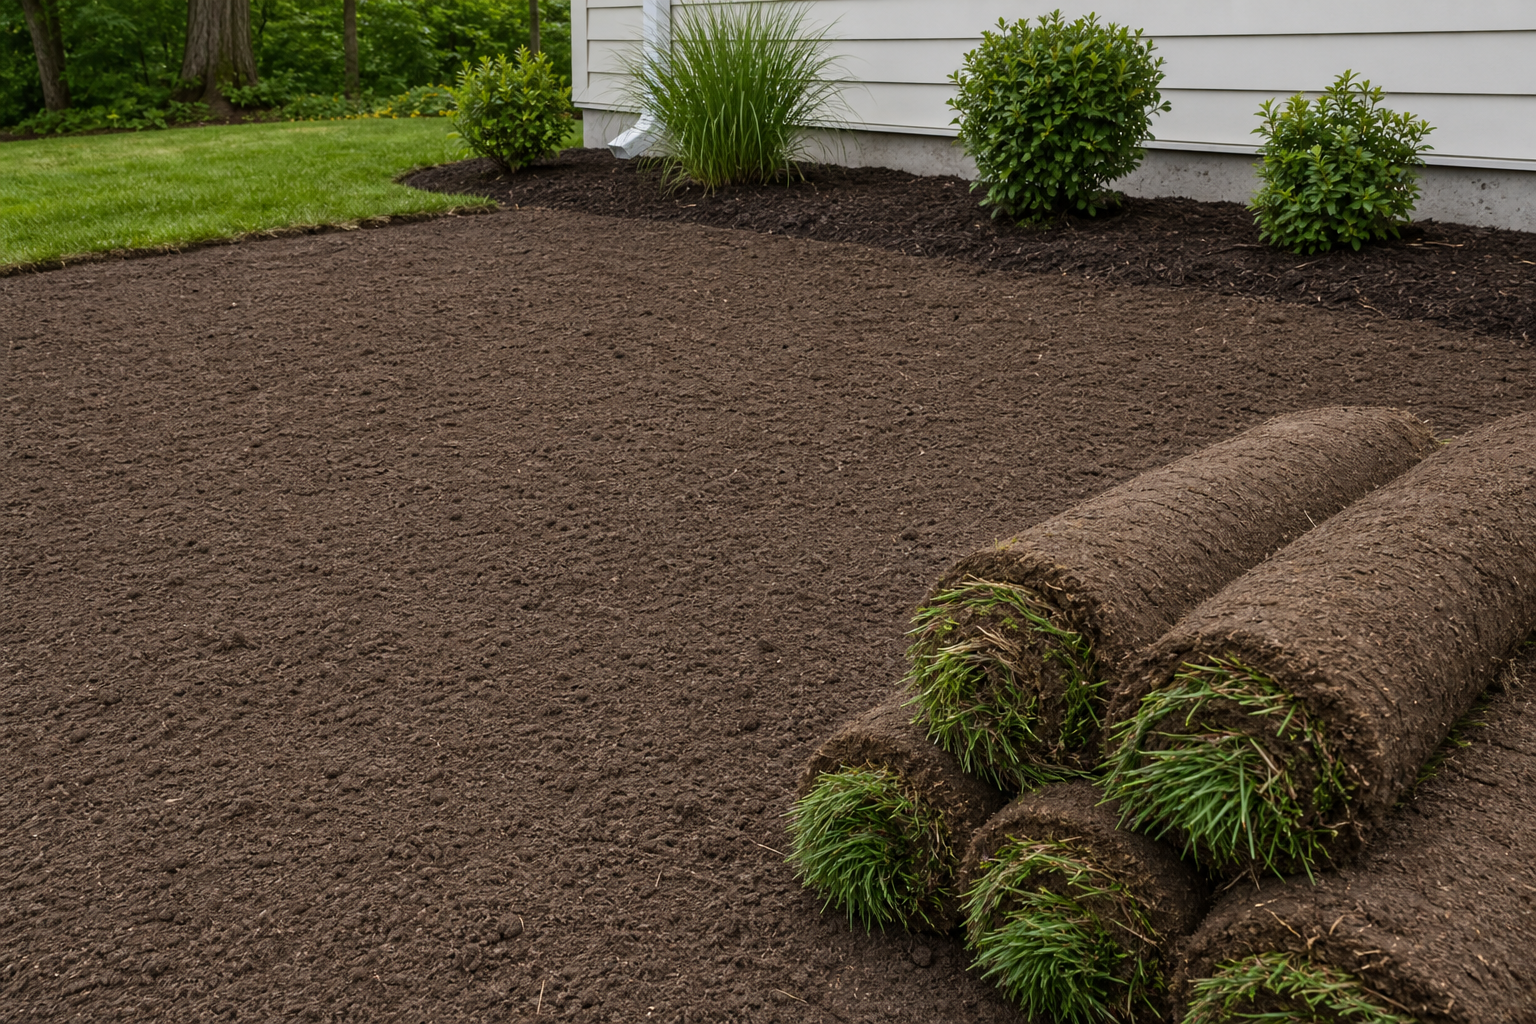
- Finish last: Bring in topsoil, set paver bedding layers, and tie sod and mulch edges to the elevations defined by the wall and drainage.
In our experience, reversing the order invites mistakes: disturbed base soils, buried drains, and unintended low spots. The rough-first, wall-second, finish-last rule avoids those headaches.
Why sequencing matters
Sequencing controls water and soil forces. When you establish drainage first, build the wall on a compacted base, and fine-grade last, you reduce hydrostatic pressure, prevent erosion, and protect pavers and sod from settling. The result is a longer-lasting, lower-maintenance landscape.
Water wins every time if you let it. Good sequencing channels runoff before it can saturate soils behind a wall or under a patio. That’s why we shape swales and set discharge points before block arrives.
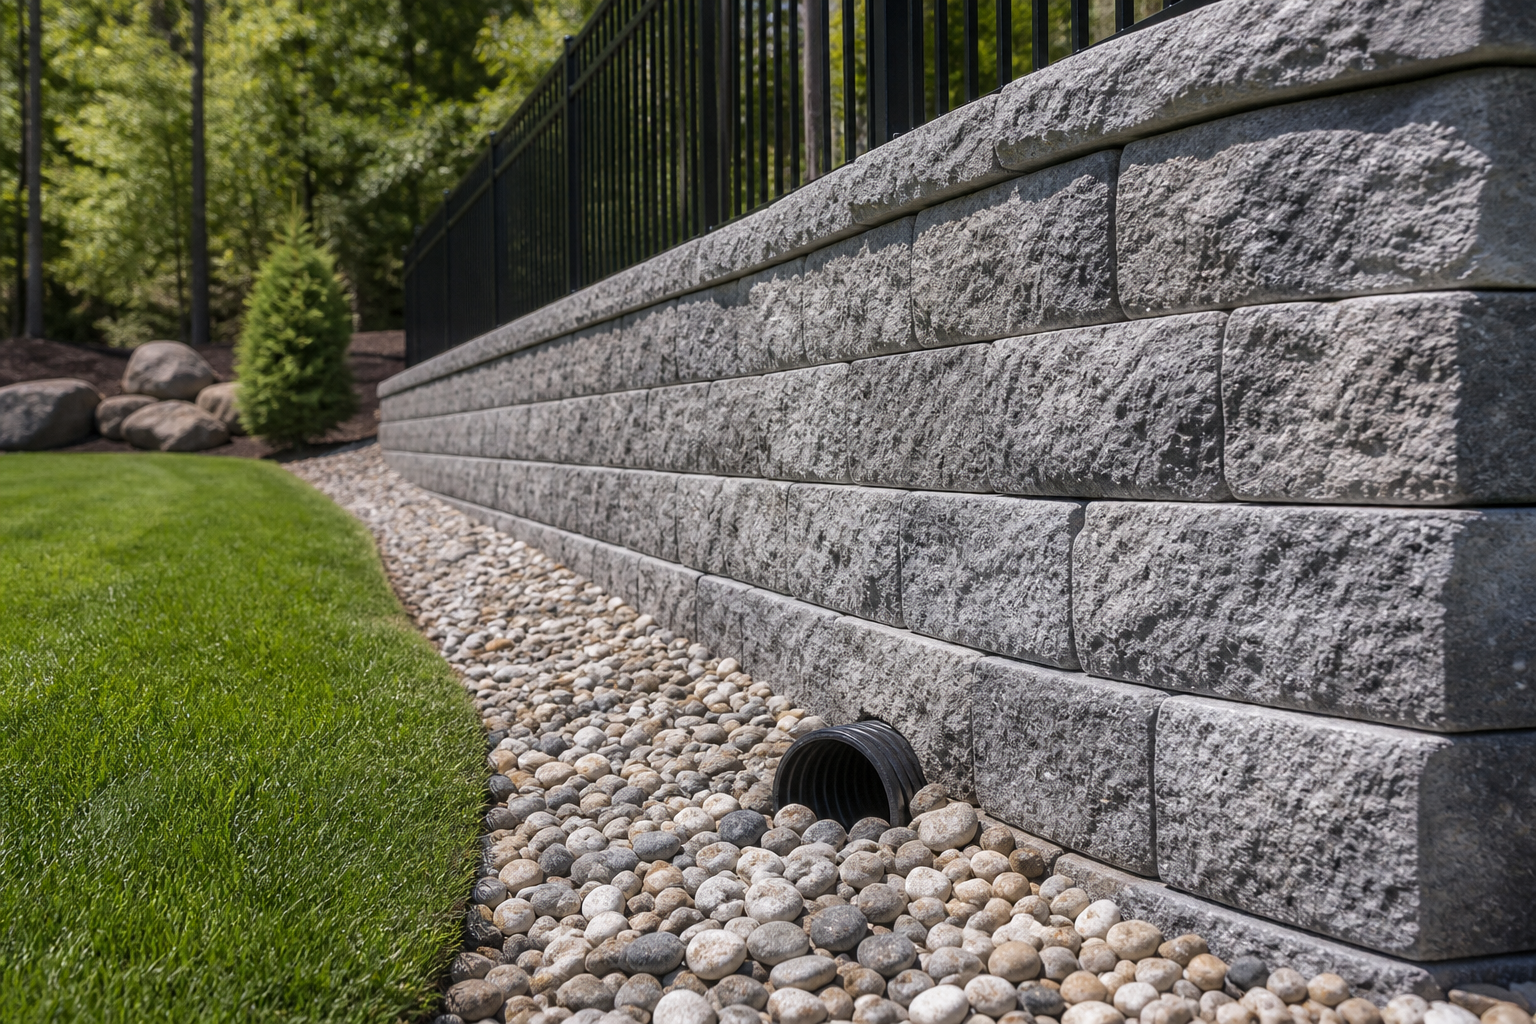
- Hydrostatic pressure: A free-draining backfill zone (8–12 inches of washed stone) and a perforated pipe keep pressure off the wall.
- Soil stability: Compaction in 4–6 inch lifts helps reach ~95% Proctor density, minimizing post-construction settlement.
- Freeze-thaw: In Southern Ontario, frost can penetrate 30 inches or more. Non-frost-susceptible base and drainage limit heave.
- Surface durability: Paver joints stay tight and sod roots quickly when subgrades stay dry and firm.
We also consider traffic and construction staging. Building a wall over freshly fine-graded lawns or bedding sand invites rutting and compaction. Sequencing reduces retracing, which keeps finishes crisp.
How the process works (step-by-step)
Map drainage, set control elevations, and complete rough grading. Excavate and compact a stable wall base, install blocks with geogrid where required, and backfill with washed stone and a perforated pipe. Finish with fine grading, pavers or sod, and final drainage checks.
Step-by-step sequence we use on site
- Assess water paths: Identify high/low points, downspouts, sump outlets, and where water should exit the property.
- Set control elevations: Mark patio thresholds, lawn edges, and swales; target 1.5–2% fall from structures.
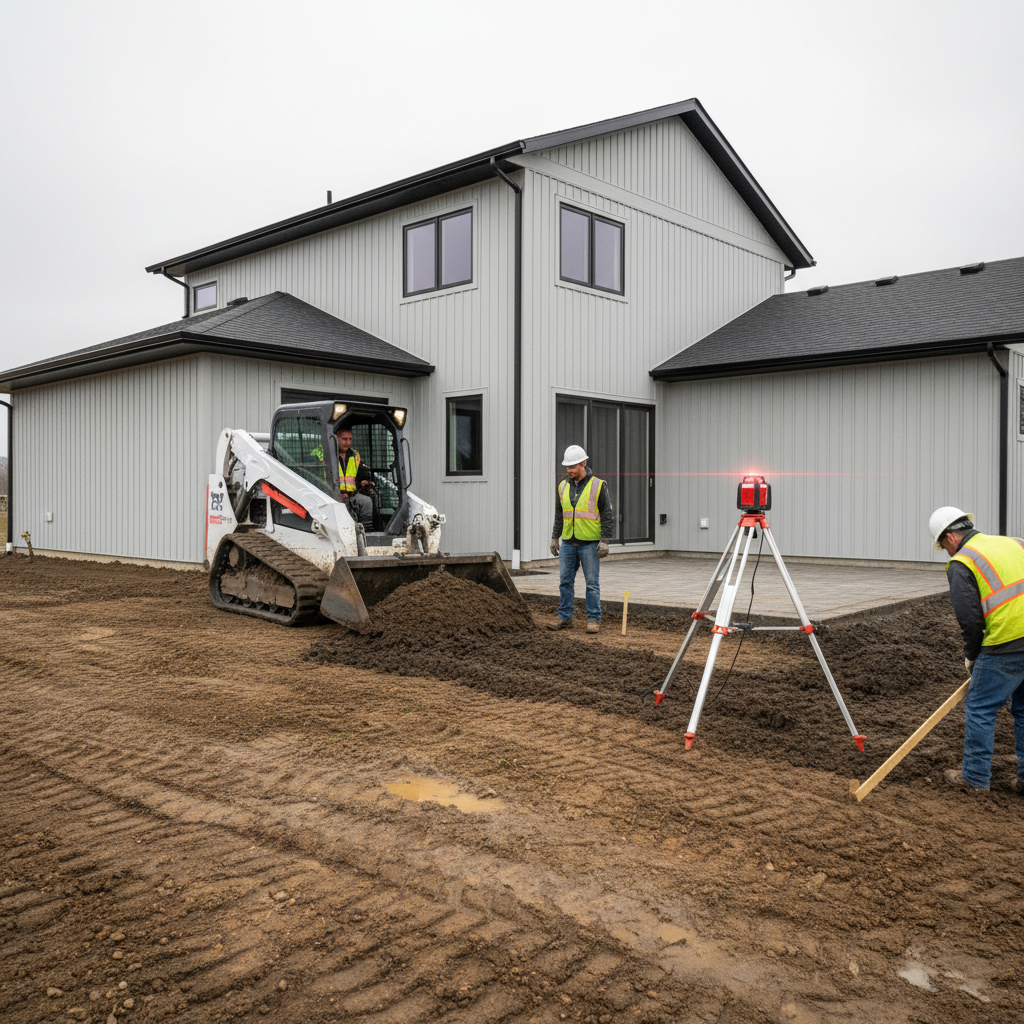
- Rough grade: Use skid-steers and laser levels to shape subgrade; compact in 4–6 inch lifts.
- Wall excavation: Dig for base 2–3 times the block depth wide; allow 6–12 inches of base material beneath the first course.
- Base and leveling: Place well-graded aggregate, compact to ~95% Proctor; screed a thin leveling layer for block seating.
- First course embedment: Bury ~10% of wall height; check level side-to-side and front-to-back.
- Drainage install: Set 4-inch perforated pipe with slope (1%+), wrap with geotextile if using native fines.
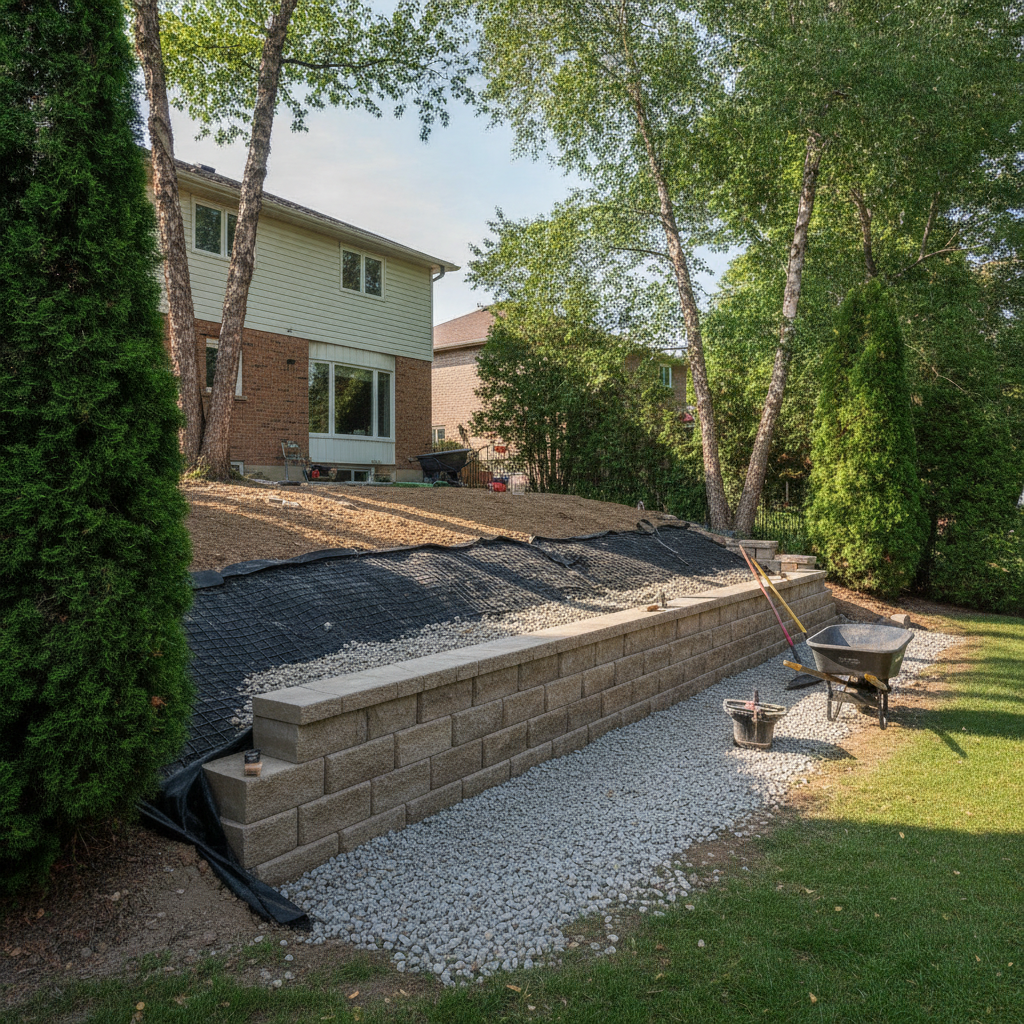
- Backfill zone: Use 3/4-inch washed stone (#57) 12 inches behind the wall; separate native soils with geotextile fabric.
- Reinforcement: Add geogrid at engineer-specified intervals (often every 2–3 courses) for taller or loaded walls.
- Cap and finish: Adhesive-set caps, then fine-grade topsoil, place paver bedding, lay sod or plantings, and confirm slopes.
For paved areas meeting the wall, we tie bedding layers into the wall grades so joints drain at 1.5–2%. That protects edges and reduces ponding after storms.
Local considerations for Mississauga
- Schedule earthwork outside spring thaws; moisture swings can soften subgrades. Early summer and early fall typically yield steadier compaction.
- Coordinate access near EPIC College of Technology or Saigon Park corridors where street parking fluctuates; staging reduces rework.
- Expect downspout redirection and 6–10 foot extensions; tight lots need coordinated discharge points to avoid neighbor impacts.
Soft CTA — plan your site
Need a site-specific sequence? Our team can assess slope, soils, and runoff on your property and map the right order for your design. See our retaining wall service for an overview of design-build steps.
Methods and approaches by site condition
Choose rough grading first for most yards to set water flow, then build the wall to lock elevations. In high-slope or cut/fill sites, stage partial grading, set the wall in segments, and return for final grades. Tie all surfaces into fixed control elevations.
Every property is unique. We group site approaches by slope, soil, and loading. The goal is consistent: maintain flow, isolate the wall from fines, and minimize rework on finishes.
When to rough grade first (most common)
- Moderate slopes (5–20%): Shape the hillside and swales; build the wall once the main fall is established.
- Interlock tie-ins: Establish patio thresholds and driveway crowns before wall caps for clean transitions.
- Soft landscapes: Lawns and beds drain better when their finish grades are set from firm subgrades.
When to wall first (exceptions)
- Active bank erosion: A failing slope needs immediate retention; install the wall to stop soil loss, then complete grading.
- Cut-in terraces: Where a terrace creates your control elevation, build that retaining course to define the new plane.
- Utility conflicts: If services constrain access, build the retaining structure before utilities relocate or landscaping closes the path.
Comparison: grade-first vs wall-first
Factor Grade First Wall First Drainage control Early swales and slopes at 1.5–2% guide water Drainage refined later; risk of temporary ponding Base integrity Stable subgrade supports compaction to ~95% Proctor Base may be disturbed by later grading traffic Construction access Clear paths before finishes; fewer ruts Access can damage early finishes if installed Use cases Most residential properties Emergency stabilization, terrace control elevationsWe decide during design. See our retaining wall design guide for how control elevations and loads inform the sequence.
Best practices we use on HR Greenroots sites
Establish flow at 1.5–2% away from structures, build walls on 6–12 inches of compacted base, use perforated drains and 8–12 inches of washed stone, separate soils with geotextile, and reinforce with geogrid where required. Verify discharge points and protect all finishes.
Drainage and water management
- Minimum slope: 1.5–2% away from the home; swales at 2–4%.
- Pipe outlets: Discharge to daylight where possible; otherwise to approved collection points.
- Downspouts: 6–10 foot extensions reduce perimeter saturation.
For more on layout and fabric choices, review our retaining wall drainage guide.
Base, backfill, and separation
- Base depth: 6–12 inches of compacted aggregate; increase with wall height and loads.
- Backfill zone: 3/4-inch washed stone (#57) 12 inches behind blocks.
- Geotextile: Separate fines from the drainage zone and wrap the pipe bed if needed.
Clean edge control between stone, soil, and paver bedding keeps layers from migrating—one of our core build principles.
Reinforcement and geometry
- Embedment: Bury ~10% of the wall height below grade.
- Setback: Follow the system’s recommended batter; 1 inch per foot is common for gravity systems.
- Geogrid: Install every 2–3 courses for taller walls (per design) to extend the soil mass.
On sloped yards, we often integrate tiered wall solutions that spread loads and create garden zones.
Construction sequencing protections
- Traffic plans: Keep heavy equipment off fine grades and bedding layers.
- Weather windows: Avoid compaction during thaw or saturated conditions.
- Final QC: Water-test swales and patios; confirm 1.5–2% falls with a level.
If your slope is severe or soil is clayey, our slope correction guide explains stabilization options we’ve deployed across the GTA.
Tools and resources
Plan with a laser level, marking paint, and grade stakes, move soil with a skid-steer, compact in 4–6 inch lifts with a plate compactor, and use geotextile, perforated pipe, and washed stone to manage water. Document slopes and discharge points before finishing.
- Layout: Laser level, story pole, grade stakes, and flags to mark target elevations.
- Earthwork: Skid-steer with smooth bucket, mini excavator for base cuts.
- Compaction: Reversible plate compactor; jumping jack for trenches.
- Drainage materials: 4-inch perforated pipe, geotextile fabric, #57 stone.
- Retaining components: Segmental blocks, caps, adhesives, and geogrid.
- Finish tools: Screed rails, paver compactor pad, soil rakes, and seeders/sod knives.
For a broad regional perspective on site preparation themes, this walkway and patio advice outlines common staging points many contractors consider. Another backyard transformation overview highlights how drainage and grading shape usable spaces. And a regional design ideas page shows sequencing’s role in circulation.
Mini case studies from Mississauga and the GTA
We’ve delivered slope corrections and walls across Mississauga by grading first to set water paths, then installing walls with drains and geogrid, and finally finishing with interlocking and planting. The result: drier foundations, safer steps, and surfaces that hold grade through the seasons.
1) Side yard wall and walkway tie-in (Mississauga)
- Challenge: Side yard swale was too flat, sending water toward the foundation.
- Approach: Re-graded to 2% fall, installed a 36-inch wall with 12 inches of washed stone and a 4-inch drain, then set a walkway with 1.5% slope to the street.
- Result: No ponding after storms; paver joints stayed tight through freeze-thaw.
2) Backyard terrace with clay subsoils (Regional Municipality of Peel)
- Challenge: Heavy clay held water; lawn remained spongy.
- Approach: Rough-graded to form a collection swale, built a two-tier wall with geogrid every 2 courses, installed a daylighted drain.
- Result: Firm lawn, clear water movement to the right-of-way.
3) Driveway expansion next to a retaining edge (GTA)
- Challenge: Needed driveway extension next to a grade drop.
- Approach: Set control elevation at the garage, graded the subbase, installed a reinforced edge wall, then paved the interlock with edge restraints.
- Result: Clean curb appeal and confident parking; no edge creep.
4) Pool surround retention and drainage (Mississauga)
- Challenge: New pool elevation created a cut that risked sloughing.
- Approach: Built retaining wall first to secure the cut, then returned to complete rough and fine grades and install a 2% patio slope.
- Result: Stable surround with predictable runoff to a catchment swale.
Thinking about your own project? Explore how we plan walls and drainage in our wall drainage explainer and retaining wall service page.
Frequently Asked Questions
Most properties benefit from rough grading first, then wall construction, and final grading last. Exceptions apply for failing banks or cut terraces. Below are concise answers to common planning questions from homeowners and site managers.
Should I install a retaining wall or do grading first?
Start with rough grading to set water paths, build the wall on a compacted base with a perforated drain, and finish with fine grading and surfaces. This sequence protects the wall from settlement and keeps patios and lawns draining at 1.5–2%.
What slope should I aim for around my home?
Aim for a consistent 1.5–2% fall away from the foundation. Swales can be steeper, typically 2–4%. These targets move water predictably without creating slip hazards or erosion.
Do I need geogrid in my retaining wall?
Use geogrid when wall height, surcharge loads, or soil conditions warrant reinforcement. Many walls over 3–4 feet or supporting driveways and patios require geogrid at 2–3 course intervals per design.
How do downspouts factor into grading and walls?
Direct downspouts 6–10 feet away from foundations and past the wall backfill zone. Tie them into swales or discharge piping so runoff doesn’t saturate subgrades or increase pressure behind the wall.
Conclusion and next steps
Set water paths first, build the retaining wall on a compacted, drained base, and finish with fine grading and surfaces. This order cuts rework, protects structures, and keeps patios and lawns stable. A site-specific plan ensures the sequence fits your soils and slopes.
Key takeaways
- Rough grading → wall → final grading is the reliable default sequence.
- Target 1.5–2% slopes away from structures; use 2–4% in swales.
- Drainage stone (8–12 inches) and a perforated pipe reduce back pressure.
- Embed the first course ~10% of wall height and compact base to ~95% Proctor.
Action steps
- Walk your yard after rain and note water paths and low spots.
- Define control elevations at doors, patios, and driveway edges.
- Book a site walk with our team to confirm the right order and details.
- Review our in-depth resources on wall design and wall drainage.