Deck and fence coordination: build order, alignment tips, and details that save rework
When decks and fences are planned in isolation, small misalignments can snowball into headaches: posts land where stairs should go, gates swing into traffic paths, or water sheds toward a patio. Thoughtful deck and fence coordination prevents these conflicts. This guide lays out practical decisions, sequences, and details so both elements work together functionally and look intentional as a single outdoor system.
Every property, design, and crew is different, and construction is subject to local requirements. Treat the frameworks below as durable planning patterns you can adapt. For site-specific structural or regulatory questions, consult qualified professionals and verify requirements with your local authority before you build.
Why deck and fence coordination matters
Coordinating these two structures early pays dividends during construction and for years afterward. The benefits are tangible:
- Cleaner circulation: Stairs, gates, and walkways line up, making everyday movement easy.
- Fewer clashes: Footings and posts don’t compete below grade or at the surface.
- Unified privacy: Rail heights and fence panels step together, avoiding awkward gaps.
- Better water management: Deck drainage, ground slope, and fence lines cooperate, not compete.
- Lower maintenance: Access points for future repairs remain clear and practical.
- Visual cohesion: Materials, colours, and rhythms feel deliberate from one edge of the yard to the other.
Plan the sequence before you dig
Build order is the backbone of deck and fence coordination. The right sequence reduces rework and protects completed work from damage.
- Confirm property lines and constraints. Understand boundaries, easements, and any site limitations. If in doubt, obtain a current site plan or survey.
- Locate underground utilities. Contact your local utility locate service before any excavation and mark keep-out zones.
- Rough grading first. Establish general slopes away from structures and define high/low areas. This helps set deck height and fence step-downs.
- Lay out the deck footprint. Snap lines for the deck outline, stair locations, and landing pads. Confirm finished-floor elevation relative to doors, thresholds, and existing patios.
- Place deck footings with fence in mind. Stagger pier locations so they don’t land in the same line as planned fence posts. Note conflicts near corners and stair landings.
- Frame the deck and set stairs/landings. With framing in place, you can verify exact gate swing clearances and walking paths before fencing locks things in.
- Set primary fence posts next. Start with corners and gate jambs. Align post spacing so panel seams and gate openings complement deck rail posts and stair geometry.
- Complete fence infill and finals. Install panels, gates, and any privacy screens, then return to deck finishes (surface boards, rails, skirting) without the risk of heavy fence work bumping them.
Alternate approach when privacy is urgently needed: Set only key fence posts (corners, ends, gate jambs) before deck framing, then finish fence panels after the deck is framed. This hybrid keeps critical references without boxing you in too early.
Alignment, dimensions, and heights
Small dimensional decisions upstream create big wins downstream. Use these alignment rules to avoid common pitfalls:
- Gate-to-stair alignment: Center a gate on the stair run or provide a comfortable offset with a clear landing. Avoid half-step misalignments that force sharp turns.
- Rhythm matching: If deck rail posts are at a fixed spacing, pick a fence panel/module that divides cleanly into that rhythm. Visible harmony beats ad hoc cuts at the end.
- Height transitions: Step fence heights at the same points deck elevations change. Where privacy screens meet railings, carry a consistent top line or intentionally offset with a reveal.
- Landing size and swing: For gates near stair tops or bottoms, confirm the swing arc clears handrails and gives at least one stable step on the latch side.
- Offset rules: Maintain a consistent offset between the deck edge and fence line. This creates a tidy planting or gravel strip and preserves space for maintenance.
Foundations and footings that don’t collide
Below-grade conflicts are among the costliest to fix after the fact. Coordinate foundations early:
- Separate load paths: Treat the deck and fence as independent structures with their own footings. Avoid sharing posts or footings unless a qualified professional has designed the connection.
- Stagger lines: If the fence runs parallel to a beam line, stagger footings so they do not sit in the same trench or bearing zone.
- Mind utilities and drainage: Keep footings clear of underground lines and existing drainage features. Preserve swales and avoid dams that trap water.
- Corner clearances: At deck corners near a perimeter fence, shift either the deck pier or the fence post so hardware and concrete don’t compete within the same dig area.
Structural choices and soil conditions vary widely. For specific load, footing, and connection designs, consult qualified professionals.
Materials, aesthetics, and privacy
Function is foundational, but the look and feel of both elements should also read as one coordinated composition.
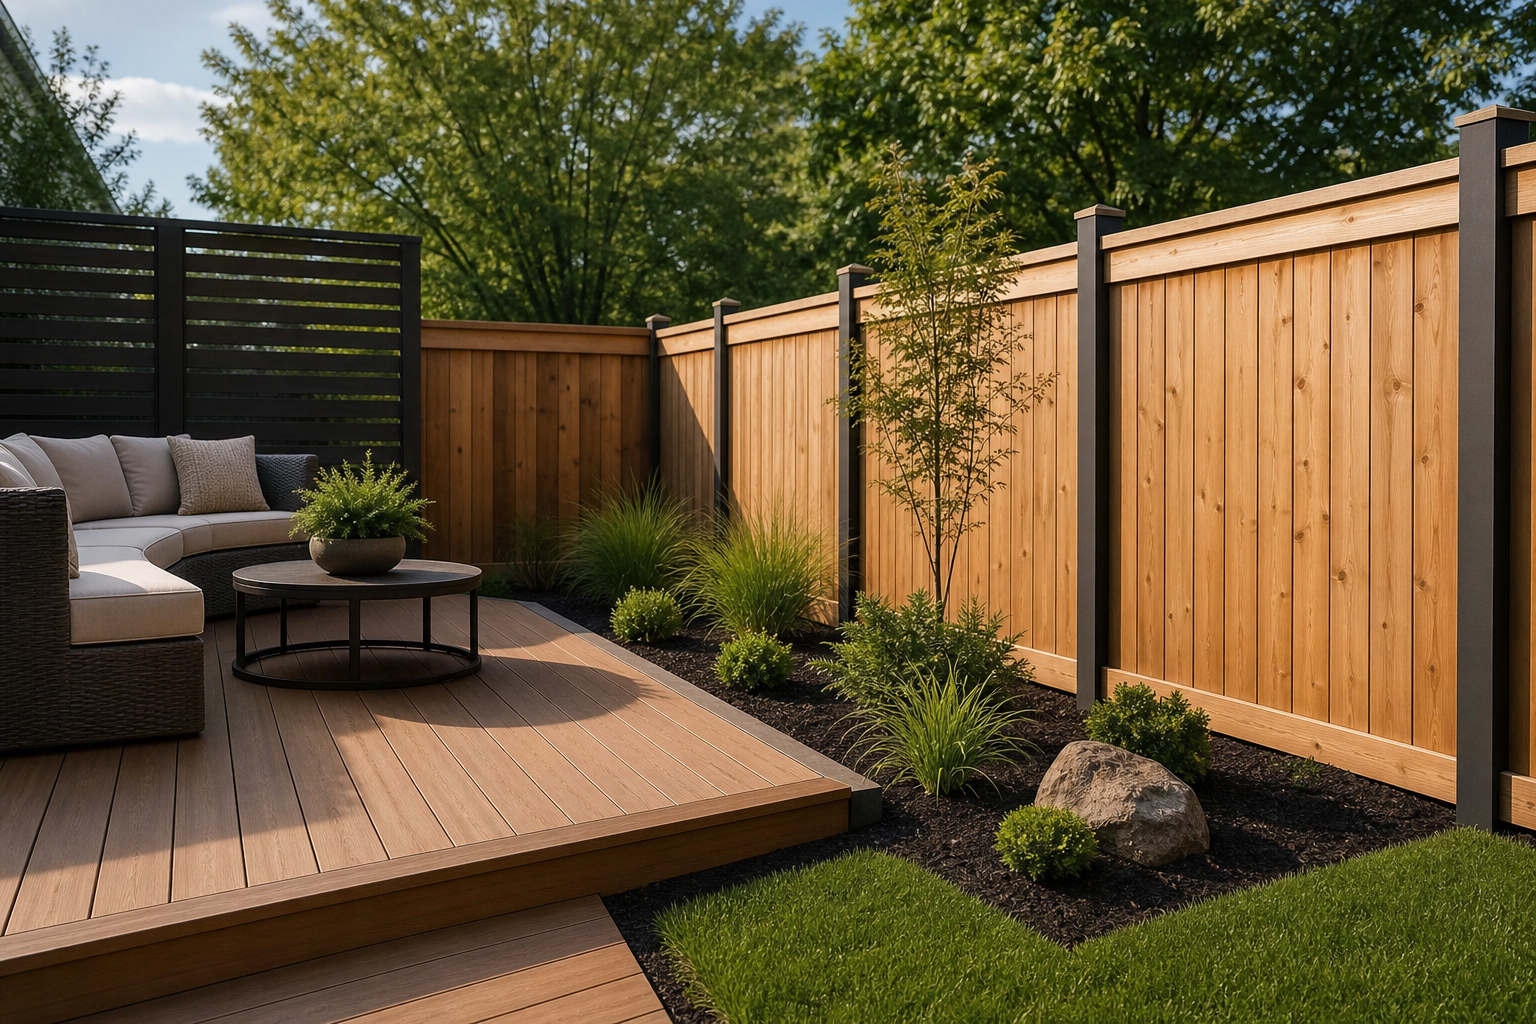
- Palette continuity: Repeat colours or textures from the deck surface or rails in the fence (or vice versa) to visually tie the space together.
- Board orientation: Align fence slats or lattice orientation with deck skirting for a continuous grain direction.
- Screening strategy: Use denser fence sections adjacent to seating areas and more open patterns near views or breezeways.
- Layer with planting: Place shrubs or ornamental grasses in the offset strip between deck and fence to soften edges and add depth without crowding walk zones.
- Accents and reveals: Introduce a consistent detail—like a shadow line at the top of skirting or a cap profile on the fence—to create a family resemblance.
Drainage, grading, and lawn edges
Water goes where gravity points it. Confirm your plan moves water away from structures and keeps surfaces usable.
- Deck drainage: Ensure gaps or drainage paths under and around the deck have clear exits that aren’t blocked by fence panels or posts.
- Perimeter swales: If a fence follows a low swale, step posts and panels to preserve the flow. Don’t bury panel bottoms into standing water zones.
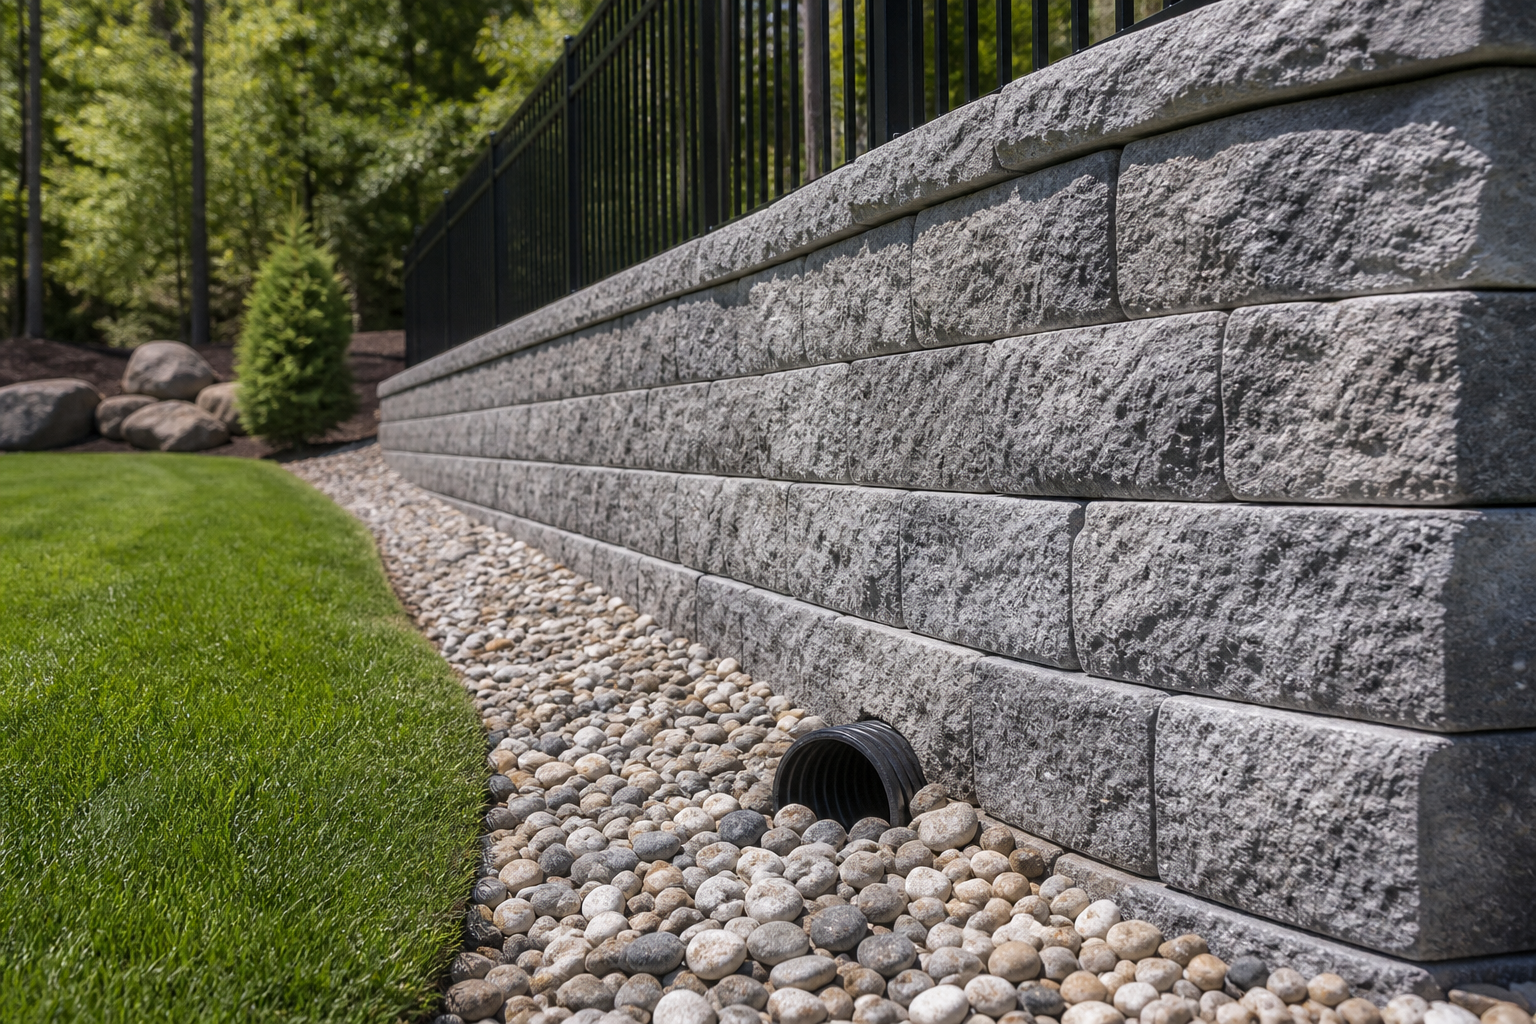
- Edge materials: A strip of gravel, pavers, or mulch along the fence base prevents splashback and makes trimming easier while protecting wood from constant contact with wet soil.
- Transition to lawn or patio: Where deck stairs meet turf or a hard surface, keep a stable, well-drained landing so mud doesn’t migrate onto treads.
Gates, stairs, and access
Daily convenience is won or lost here. Validate these details before you set posts in concrete:
- Clear sightlines: Align gates to visible cues like stair runs or main paths so visitors intuitively find their way.
- Push vs. pull: Choose gate swing based on traffic flow and grade. A gate swinging downhill may drag; a gate swinging into a narrow landing may block movement.
- Hardware space: Leave room for latches, closers, and hinges so they don’t interfere with rail posts or handrails.
- Service zones: Provide at least one wider gate for equipment access if you anticipate future projects or maintenance needs.
- Lighting and safety: Plan fixture locations and wiring routes before closing in skirting or panels, so illumination supports stairs and gate areas.
Maintenance and longevity
Good coordination anticipates future care without forcing disassembly of major parts.
- Removable sections: Use fasteners that allow selective removal of fence panels or deck skirting for access to utilities and under-deck spaces.
- Airflow under decks: Provide venting in skirting to discourage moisture buildup.
- Durable interfaces: Where the deck edge meets high-traffic fence gates, protect corners with robust trim or guards.
- Finish compatibility: If you plan to seal or stain, coordinate products so colours and sheens complement each other and schedules don’t overlap wet surfaces and soil.
- Vegetation clearance: Keep a clean strip at the fence base and deck perimeter to simplify mowing and cut down on moisture against wood.
Checklist to start your project
- Confirm property lines and any site constraints.
- Book utility locates and mark keep-out zones on the ground.
- Set a target deck elevation and verify door thresholds and step counts.
- Sketch stair positions and landing sizes; draw gate swing arcs on the plan.
- Choose a consistent module: deck post spacing and fence panel width that align.
- Lay out footing positions for both structures with staggered lines.
- Decide a build order and document it for everyone involved.
- Define drainage routes and preserve swales across fence runs.
- Pick materials and finishes that read as one palette.
- Plan removable access panels or sections for future maintenance.
FAQs
Should the fence or deck be built first?
For most projects, set the deck’s footprint and footings first, then frame the deck and stairs so you can confirm exact landings and clearances. Install key fence posts next (corners and gate jambs), and finish fence panels after deck framing. This sequence protects finished surfaces and prevents post/footing conflicts. If privacy is urgently needed, set only critical fence posts early, then return to panels later.
Can fence posts be used to support a deck?
As a general rule, treat the deck and fence as independent structures with their own dedicated supports. Combining loads into a single post or footing can introduce unintended stresses. For any shared structural element or connection, consult qualified professionals for site-specific design guidance.
How close can a fence be to a deck stair landing?
Keep enough space for safe movement, gate swing arcs if applicable, and hand clearance at railings. Provide a stable, level landing that doesn’t force sharp turns. Since minimum dimensions and clearances may be regulated locally, verify requirements with your authority having jurisdiction or a qualified professional before building.
What’s the best way to align gate openings with deck traffic?
Work from real movement patterns: line gates up with main stairs, kitchen doors, or primary paths to sheds and driveways. Centering a gate on a stair run or creating a generous offset with a straight approach usually feels natural. Test arcs and clearances on the ground with stakes and string before committing to post holes.
How do I prevent water from pooling along the fence line near a deck?
Preserve or create shallow swales that carry water away from structures, avoid burying panel bottoms in low spots, and add a drainage-friendly strip (gravel or similar) along the fence base. Confirm that any under-deck water paths have a clear exit that isn’t blocked by posts, landings, or hard edges.
A practical next step
To discuss the options that apply to your situation, contact HR Greenroots Landscaping and request the relevant details before moving forward.