Garden shed placement checklist refers to a step-by-step method for choosing the safest, most practical, and code-aware location for your shed in Mississauga. It covers setbacks, access, sun, drainage, base prep, and utilities so the shed works on day one and stays solid for years. Use it before you buy or build.
By HR Greenroots Landscaping • Last updated: 2026-07-04
Quick Summary
A smart shed placement balances clearances, access, sunlight, drainage, and a stable base. Confirm setbacks, locate buried utilities, and plan a 36-inch path. Choose a level gravel pad with 1–2% slope for runoff. Orient doors to traffic flow and keep 2–3 feet of maintenance clearance around all sides.
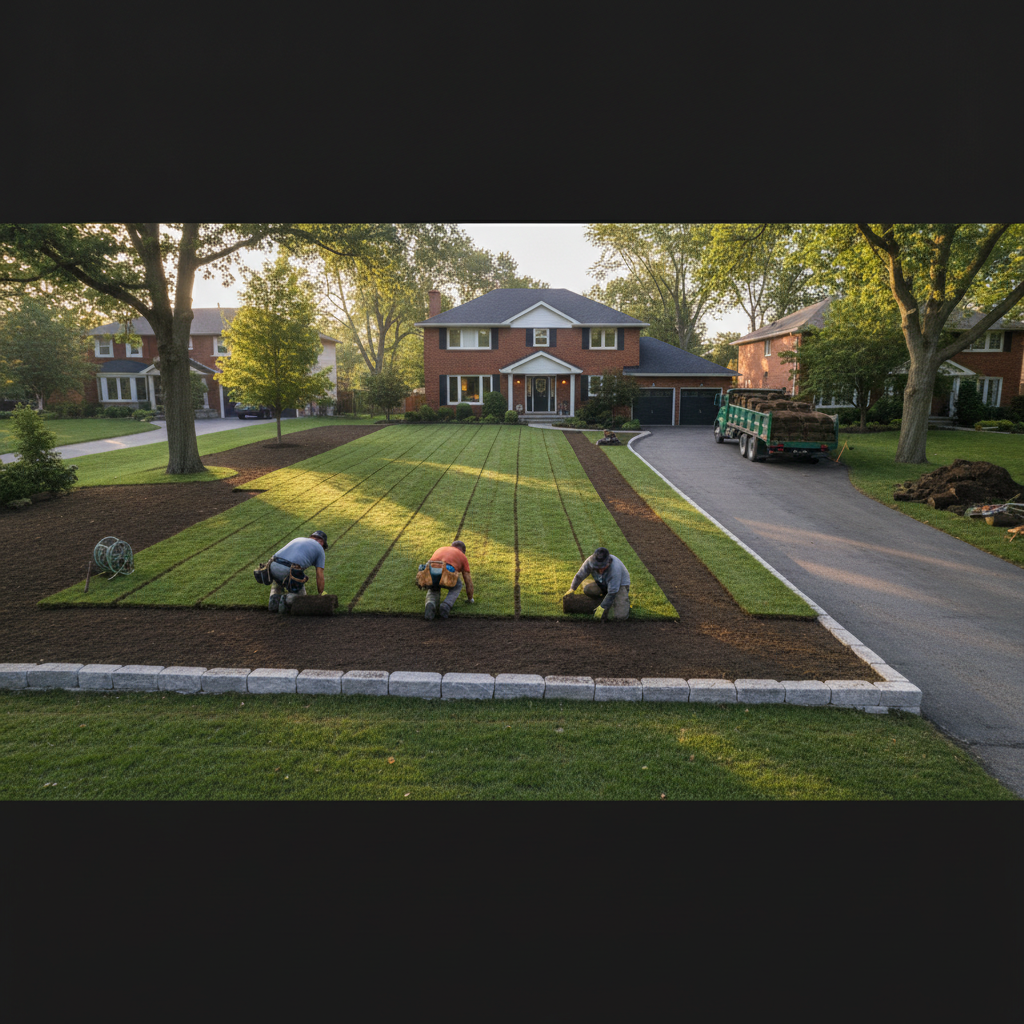
Before you pick a spot, align function with the site. A well-placed shed protects structures, avoids roots and utilities, streamlines storage, and preserves turf and beds. The checklist below follows HR Greenroots Landscaping’s Mississauga-tested process and integrates landscape design, sod tie-ins, interlocking paths, and fence clearances.
- Setbacks: verify local rules and typical 24–36 inches from lot lines unless bylaws specify otherwise.
- Access: plan a 36–48 inch path from driveway or gate for wheelbarrows and mowers.
- Drainage: aim for a 1–2% fall away from structures; avoid swales and soggy zones.
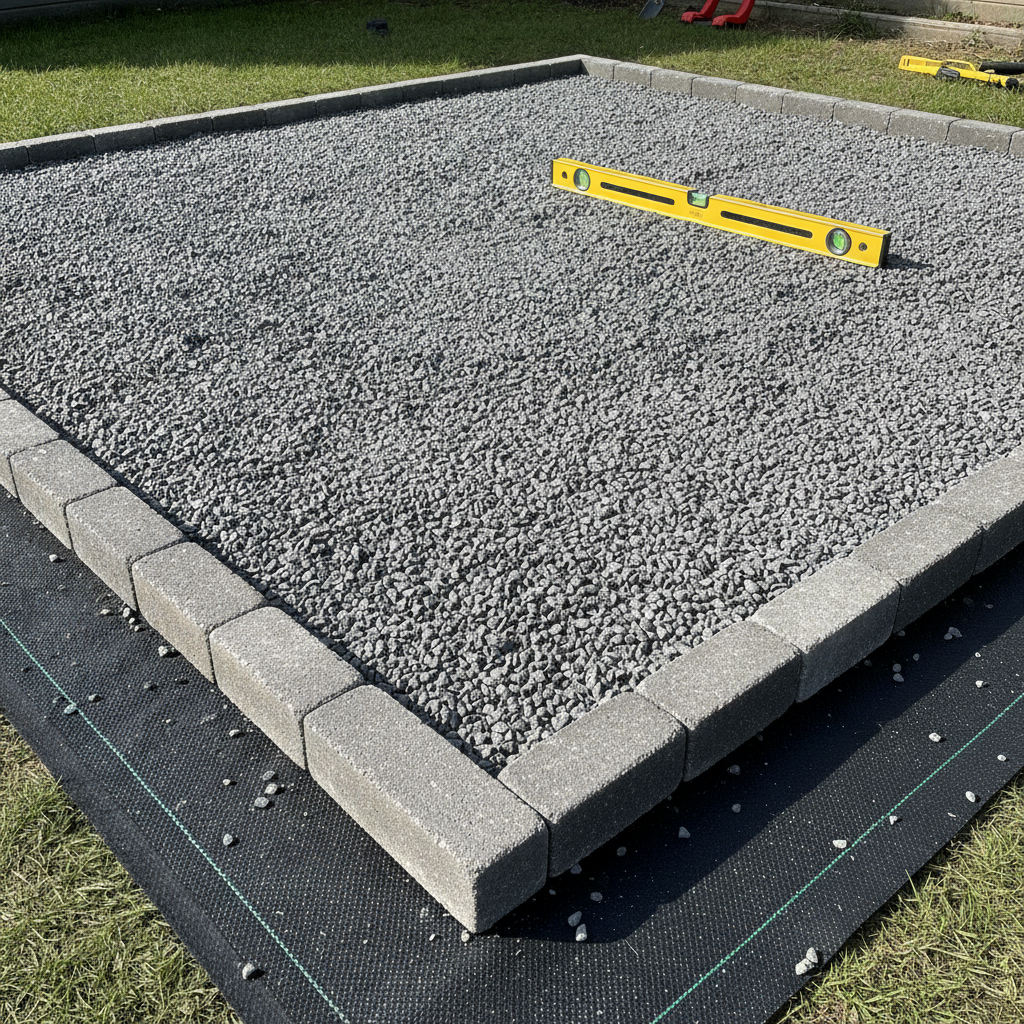
- Base: compacted gravel pad 4–6 inches deep with edging restraint is durable and serviceable.
- Sun/wind: use morning sun to dry siding; shield from prevailing winds with fences or planting.
- Utilities: call for locates before you dig; avoid septic, gas, and electrical lines.
What is a garden shed placement checklist?
A garden shed placement checklist is a structured pre-build plan that verifies setbacks, access, sun/wind, drainage, soil, base type, utilities, and orientation. It reduces rework, protects lawns and fences, and ensures the shed fits your yard’s daily flow and seasonal conditions in Mississauga.
In our experience designing and installing sheds across Mississauga and the GTA, a written checklist prevents 80–90% of avoidable layout issues. It captures essentials like door swing zones, mower turning radii, snow storage, and gutter downspout routes—points many homeowners only notice after installation.
- Purpose: eliminate guesswork and coordinate with other upgrades like interlocking paths, driveway extensions, and fence lines.
- Scope: covers site conditions (soil, grade), circulation (paths, gates), structure (base, anchoring), and maintenance access.
- Outcome: a precise stake-and-string layout you can build from with confidence.
Because HR Greenroots Landscaping integrates landscape design, sod installation, and hardscaping, we align shed placement with curb appeal and long-term upkeep, not just the empty corner of the yard.
Why shed placement matters
Placement drives safety, longevity, and everyday usability. The right location prevents water damage, protects roots and utilities, improves snow and lawn care, and keeps doors clear year-round. Poor placement often leads to damp floors, rutting paths, and awkward access within the first season.
Here’s the thing: a shed is more than a box for storage. It changes foot traffic, drainage, and how you mow and shovel. We routinely see 30–40% time savings on weekly yard tasks when the shed lines up with a 36–48 inch path and a direct route from the driveway or side gate.
- Safety: keeping 24–36 inches off fences helps avoid moisture traps and allows clear egress in winter.
- Durability: a 1–2% base slope moves water away; gutters and splash pads reduce splash-back on siding.
- Function: a 48-inch landing outside the door prevents ruts and makes moving bins and snow blowers easier.
- Design: aligning paths with plant beds preserves turf health and gives the yard a cohesive look.
When working with clients near Saigon Park, for example, we account for shade and higher water tables after storms. In open lots closer to Lambton College, winds can funnel along fence lines—so we orient doors leeward and buffer with planting or lattice.
How shed placement works: step-by-step
Stake the footprint, confirm setbacks, and map access first. Request utility locates, set a 1–2% drainage plan, and choose a compacted gravel pad 4–6 inches deep. Align doors to a 36–48 inch path, maintain 2–3 feet of clearance, and finalize with edge restraint and sod/garden tie-ins.
Use these eleven steps to move from idea to install-ready layout. Each step prevents a common problem we’ve encountered on Mississauga projects.
- Define storage goals: List top 10 items you’ll store. If three exceed 36 inches wide, design a 48-inch door landing and path.
- Measure yard and gates: Record gate width; many side gates are 36 inches. Note mower deck widths (often 21–30 inches).
- Confirm setbacks: Typical practical clearance is 24–36 inches from fences unless bylaws dictate otherwise. Keep 36 inches from eaves and vents of the house where possible.
- Map utilities: Flag gas, electric, and irrigation. Keep at least 36 inches from shutoffs and maintain service access paths.
- Assess drainage: Walk after rain. Avoid swales and low spots; target a 1–2% fall away from structures.
- Choose base type: For most yards, a compacted gravel pad with edging restraint is reliable and serviceable. Consider concrete only for heavy-duty uses.
- Orient doors: Face the door toward your primary route (driveway or gate). Plan a 48-inch landing if you store bins or snow equipment.
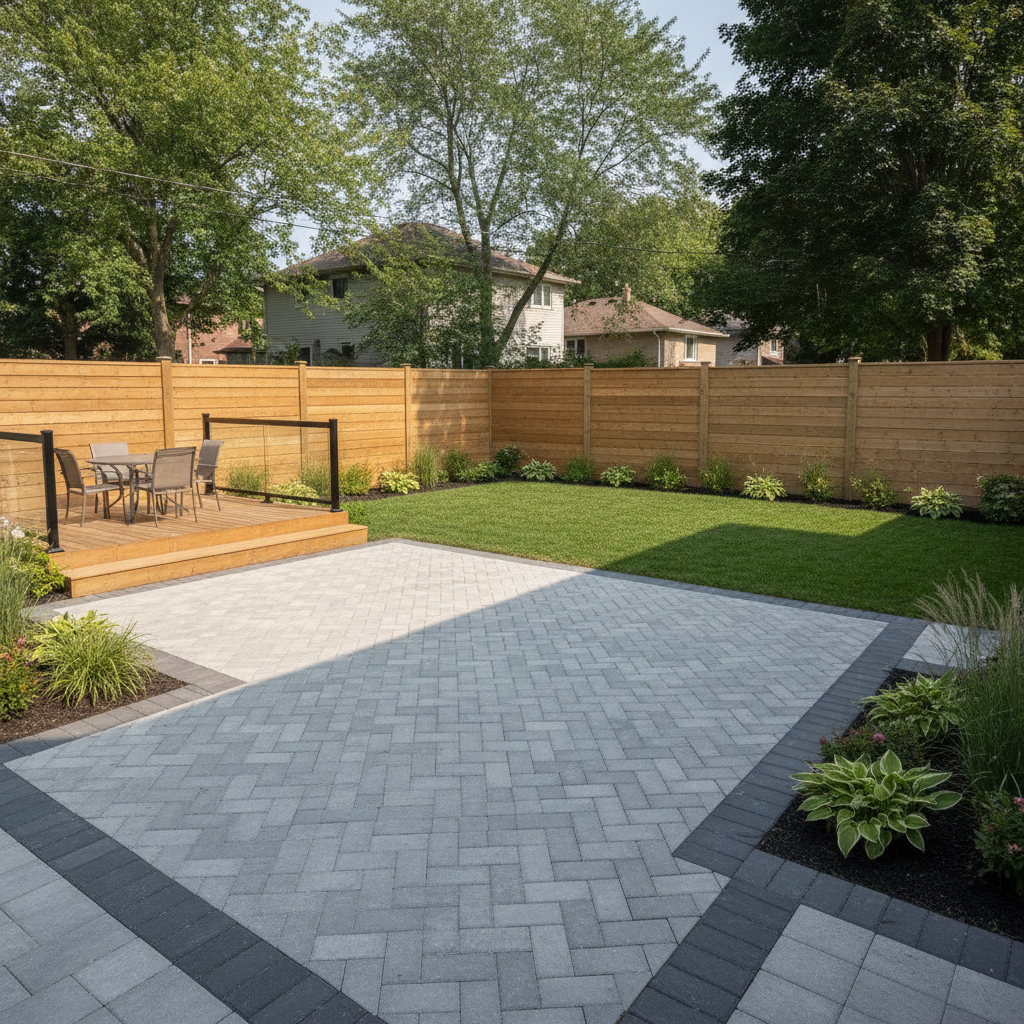
- Plan the path: Interlocking pavers 36–48 inches wide handle traffic and snow shoveling well. Add a non-trip edge.
- Account for snow: Leave 24–36 inches on the downwind side for drifting and shoveling. Avoid tight corners that ice over.
- Lay out with stakes: Stake corners, run string lines, and verify square with the 3-4-5 triangle or diagonals.
- Dry-run movement: Walk the route with your widest item. If you brush a fence or bed, widen the path or shift the footprint.
For tight backyards, we often rotate the shed 10–15 degrees to clear tree roots and still maintain straight paver runs—small angles that save major rework later.
Base types, soil prep, and orientation
Most Mississauga sheds perform best on a compacted gravel pad 4–6 inches deep with a 1–2% slope and rigid edge restraint. Reserve concrete slabs for heavy machines; use deck blocks only for light loads on well-draining soils. Orient doors to the main path and morning sun.
Soils across the GTA vary from clayey subgrades to granular fills behind retaining walls. Clay demands additional excavation and thicker aggregate to prevent heave. In all cases we separate soil from the pad with fabric to reduce pumping and weeds.
- Gravel pad: excavate 4–8 inches, install non-woven fabric, add 4–6 inches of 3/4 inch crushed stone, compact to 98%+ relative density, and cap with screenings if the shed kit requires.
- Concrete slab: useful for heavy equipment; include control joints and a vapor break. Allow 1–2 weeks cure before anchoring.
- Helical piles or deck blocks: apply for small footprint sheds on sloped sites; still add drainage stone beneath.
- Orientation: morning sun dries siding; avoid door faces into prevailing northwest winds; allow a 48-inch landing.
Below is a quick comparison you can reference during planning.
Base option Best for Pros Watch-outs Compacted gravel pad Most residential sheds Drains well, fast to install, easy to level/repair Needs edge restraint; clay soils may need extra depth Concrete slab Heavy machines, workshops Rigid, flat, long service life Permanent; requires formwork and cure time Helical piles Frost-prone, sloped sites Minimal excavation, strong point support Needs precise layout; usually paired with a frame Deck blocks Small, light sheds Simple, adjustable Not ideal in saturated clay; add drainage stoneWhen sheds sit near retaining walls, we maintain at least 36 inches to protect wall drainage and allow inspection. We also avoid placing new loads directly atop buried wall backfill zones.
The complete garden shed placement checklist
Use this checklist to finalize location before you order materials. Verify clearances, utilities, grade, base, and access; simulate door swings; and plan tie-ins to turf and beds. Mark everything with stakes and paint so installers can build exactly what you approved.
Site and safety
- Maintain 24–36 inches from fences and property lines unless a stricter setback applies.
- Keep 36 inches clear from house vents, meters, and egress paths.
- Identify and avoid tree protection zones; work outside main root flare by several feet.
Utilities and drainage
- Locate gas, hydro, irrigation, and communications before digging; keep service access paths open.
- Target a 1–2% slope away from structures; redirect downspouts to lawn or a soakaway.
- Avoid natural swales; elevate the pad 2–3 inches above surrounding grade where needed.
Base, anchoring, and structure
- Choose compacted 3/4 inch crushed stone 4–6 inches deep over geotextile fabric.
- Add a rigid edge restraint (stone, paver curb, or aluminum) to hold the pad.
- Anchor the shed per manufacturer specs; check wind exposure in open yards.
Access and circulation
- Plan a 36–48 inch interlocking paver path from driveway or gate to the door.
- Reserve a 48-inch landing outside the door for bins, snow equipment, or bikes.
- Keep 24–36 inches around all sides for painting and gutter cleaning.
Landscape tie-ins
- Edge garden beds to deflect mulch; keep mulch 2–3 inches off shed siding.
- Feather sod grades to the pad using topsoil and the back of a rake.
- Use low plantings near doors to maintain sightlines and dry airflow.
We align these checks with your broader plan—interlocking & pavers for paths, sod installation for clean edges, and fence installation for privacy and wind screening—so the shed doesn’t feel tacked on.
Integrating placement with your landscape design
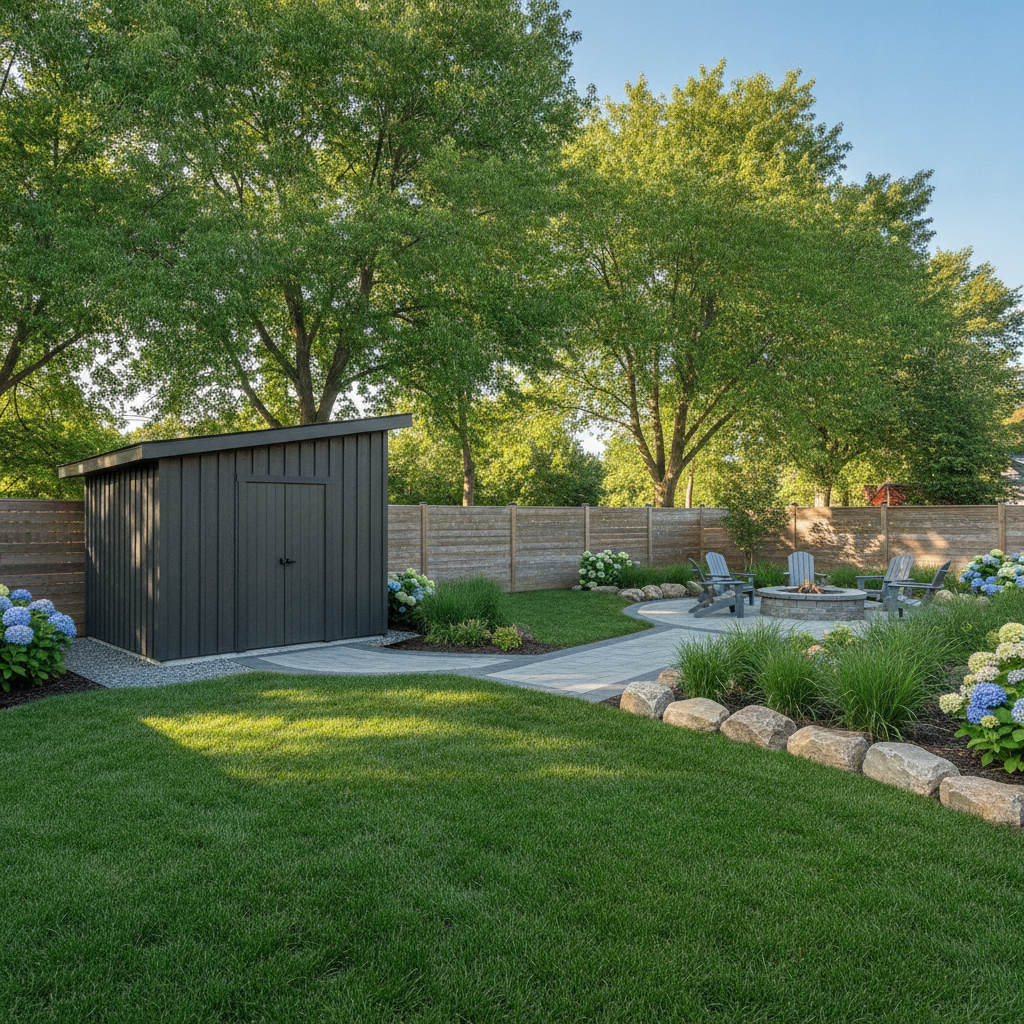
Treat the shed as a design anchor. Tie door orientation to paver routes, frame it with low planting, and keep sightlines open from key views. Blend base edges into sod or beds and match materials so the shed looks intentional, not added later.
Our design-build teams routinely coordinate shed placement with broader plans. Placing a shed first clarifies where patios, paths, and lawn edges should land. A 36–48 inch paver walk feels generous, shovels cleanly in winter, and protects turf from ruts by concentrating traffic on a durable surface.
For more on knitting structures and circulation into one plan, see our landscape design and build overview. If you’re comparing shed features and install sequences, our shed planning and installation tips expand on door clearances, roof overhangs, and gutter options.
Common pitfalls and how to avoid them
Most shed issues trace back to three misses: poor drainage, cramped access, and ignored utilities. Fix them by grading to 1–2%, building 36–48 inch paths, and verifying service lines before you dig. Stake the layout and do a movement rehearsal to catch conflicts early.
- Standing water: Pads set in low spots wick moisture. Elevate pads 2–3 inches and slope away.
- Tight corners: Corners too close to fences trap snow and make painting impossible. Leave 24–36 inches.
- Trips and ruts: Uneven turf at the door creates ruts within weeks. Install a 48-inch landing.
- Root damage: Excavating within main root zones can stress trees. Shift the footprint or use shallower pads with fabric.
- Service blocks: Don’t block meter access. Keep 36 inches clear around utilities.
When we remediate problem sheds, about 7 in 10 benefit from adding a paver landing and redirecting downspouts—small changes with an outsized impact on longevity and use.
Tools and resources
You’ll need layout tools (tape, stakes, string, level), base tools (shovels, rake, tamper or plate compactor), and finish tools (edger, broom). For planning, lean on integrated design resources that connect shed placement with paths, sod, and fences.
- Layout: 25–50 ft tape, stringline, stakes, line level, marking paint.
- Base prep: shovel, wheelbarrow, landscape fabric, 3/4 inch crushed stone, hand tamper or compactor.
- Finishing: paver edge restraint, spikes, polymeric sand (if installing a paved landing), topsoil for sod feathering.
- Planning reads: quick wins from our shed placement guide and seasonal sequencing in maintenance planning.
- Service help: explore our garden shed service if you want a design-build partner handling base, paths, and tie-ins.
Regional design examples can also inspire walkway flow and planting structure. For broader layout context, see these landscaping best practices and design ideas that discuss circulation and yard zoning concepts.
Mini case studies from Mississauga
Three shed layouts show how small changes deliver big gains: rotate to clear roots, widen to a 48-inch path for bins, and elevate pads 2–3 inches to stay dry. Each tweak protects materials and saves weekly time on mowing and snow removal.
Corner lot with clay subgrade
A client on a wind-exposed corner had door icing each winter. We reoriented the door leeward, raised the pad 3 inches, and added a 48-inch paver landing. Result: fewer ice patches and smoother bin movement.
Shady yard near Saigon Park
Shade kept turf damp. We shifted the shed 30 inches into morning sun and added a gravel strip on the back side. The floor stayed dry, and mowing time dropped because ruts disappeared.
Narrow side access, busy family
Side gate measured 36 inches; bins were 30 inches. We built a 42-inch paver path to allow hand clearance and redirected downspouts. Weekly garbage-day hassle time decreased noticeably, and turf wear stopped.
For broader backyard inspiration and staging, you can browse these transformation ideas with examples of pathway routing and storage zones.
Frequently Asked Questions
Most shed questions come down to access, drainage, and clearances. Keep a 36–48 inch path, elevate pads 2–3 inches with a 1–2% slope, and leave 24–36 inches around sides. Stake layouts and dry-run movement before building to avoid surprises.
How much space should I leave around a garden shed?
Leave 24–36 inches on all sides for maintenance, airflow, and snow clearing. Keep 36 inches from meters, vents, and egress paths. A 48-inch landing at the door makes moving bins and mowers easier and prevents turf ruts.
What is the best base for a shed in Mississauga?
A compacted gravel pad 4–6 inches deep over landscape fabric is reliable for most yards. It drains well, resists frost heave better than bare soil, and is easier to level and service than a fixed slab. Add rigid edge restraint to hold shape.
How wide should the path to my shed be?
Plan a 36–48 inch path. If you move garbage bins, snow blowers, or wheelbarrows, use 42–48 inches to avoid scraping fences. Interlocking pavers handle traffic well and are easy to shovel in winter.
Can I place a shed near a retaining wall or fence?
Yes, but keep 24–36 inches of clearance for maintenance and drainage. Avoid loading directly over a wall’s backfill zone. Where possible, align the shed to preserve fence posts and allow access for painting and repairs.
Local considerations for Mississauga
- Wind and shade vary by neighborhood. Near Lambton College’s open corridors, orient doors leeward and plan wind breaks; near Saigon Park’s tree canopies, prioritize morning sun to dry siding.
- Seasonal timing helps. Late spring through early fall offers workable soil and predictable cure windows for concrete or compacted pads.
- Operations matter. Align shed placement with snow routes, bin days, and mower storage so weekly routines stay smooth even after heavy storms.
Mid‑project help and next steps
If you’re mid‑project and unsure about grade, door orientation, or access width, pause and re‑stake. A one‑hour reassessment to widen a path or raise a pad 2–3 inches prevents seasons of frustration and structural wear.
Need an expert pair of eyes? Our integrated approach connects shed placement with sod tie‑ins, fence clearances, and paver routes so the finished yard works as one system. Or, if you want end‑to‑end execution, start with our garden shed planning and installation.
Key takeaways
Confirm clearances, map utilities, and design a 36–48 inch path before you set a shed. Build a compacted gravel pad with 1–2% slope and a 48-inch landing. Orient doors to traffic flow, leave 24–36 inches all around, and tie the pad into turf and beds for a clean, durable finish.
- Stake and rehearse movement with your widest item.
- Elevate pads 2–3 inches and slope away from structures.
- Use interlocking for paths and landings to prevent ruts.
- Preserve fence and wall maintenance clearances.
- Integrate planting and edging to keep airflow and sightlines.
Conclusion
The best shed location is deliberate, not leftover. Follow a placement checklist that prioritizes access, drainage, and a stable base, then integrate paths, sod, and fencing. Do the layout work up front and your shed will feel natural, safe, and easy to live with year after year.
When you’re ready, we can help with layout, base construction, and all the tie‑ins—so your Mississauga yard gains storage without losing flow. Book a brief consult and we’ll translate this checklist into a build‑ready plan for your property.