Garden bed renovation ideas for properties are the practical strategies and design choices that refresh tired beds with better soil, planting layers, edging, irrigation, and seasonal care. For properties in Mississauga near 100 Matheson Blvd E unit 202, HR Greenroots Landscaping plans and installs durable, low-maintenance beds that hold their shape and thrive in Ontario’s climate.
By HR Greenroots Landscaping • Last updated: 2026-06-06
Above-Fold Overview: What You’ll Learn
Use this complete guide to plan, rebuild, and maintain garden beds that look sharp and stay low-maintenance. You’ll learn bed types, soil upgrades, edging choices, step-by-step renovation, seasonal care, and local Mississauga tips—plus examples from HR Greenroots projects across the GTA you can model on your own property.
This guide is built for homeowners, property managers, and small-business owners who want a crisp, lasting refresh—not a quick weekend fix. We cover definitions, why it matters, how it works, design approaches, best practices, tools, local factors, and real examples.
- What is garden bed renovation?
- Why it matters in Mississauga and Peel
- How renovation works (step-by-step)
- Types, methods, and approaches
- Best practices for durability
- Tools, materials, and resources
- Case studies and examples
- Frequently asked questions
- Conclusion and next steps
What Is Garden Bed Renovation?
Garden bed renovation is the systematic rebuild of existing beds—improving soil structure, reshaping edges, re-layering plants, and dialing in irrigation and mulch. The goal is a cohesive, low-maintenance bed with strong structure, seasonal interest, and clean lines that support property circulation and curb appeal.
In our experience, most beds fail for three reasons: weak soil, no edge control, and crowded or mismatched plants. Renovation fixes those root problems before adding new color. HR Greenroots integrates grading, planting layers, and hard edges so beds hold form through freeze–thaw cycles.
- Structural base: Re-contour grades, set edges, and create defined bed lines.
- Soil health: Loosen compaction 8–12 inches, amend with organic matter, and set a drainage path.
- Planting plan: Right-size spacing, layer heights, and choose zone-appropriate species.
- Water strategy: Add drip, set zones, and meter output for soil type and exposure.
- Finish + upkeep: Mulch 2–3 inches, stake where needed, and schedule seasonal checks.
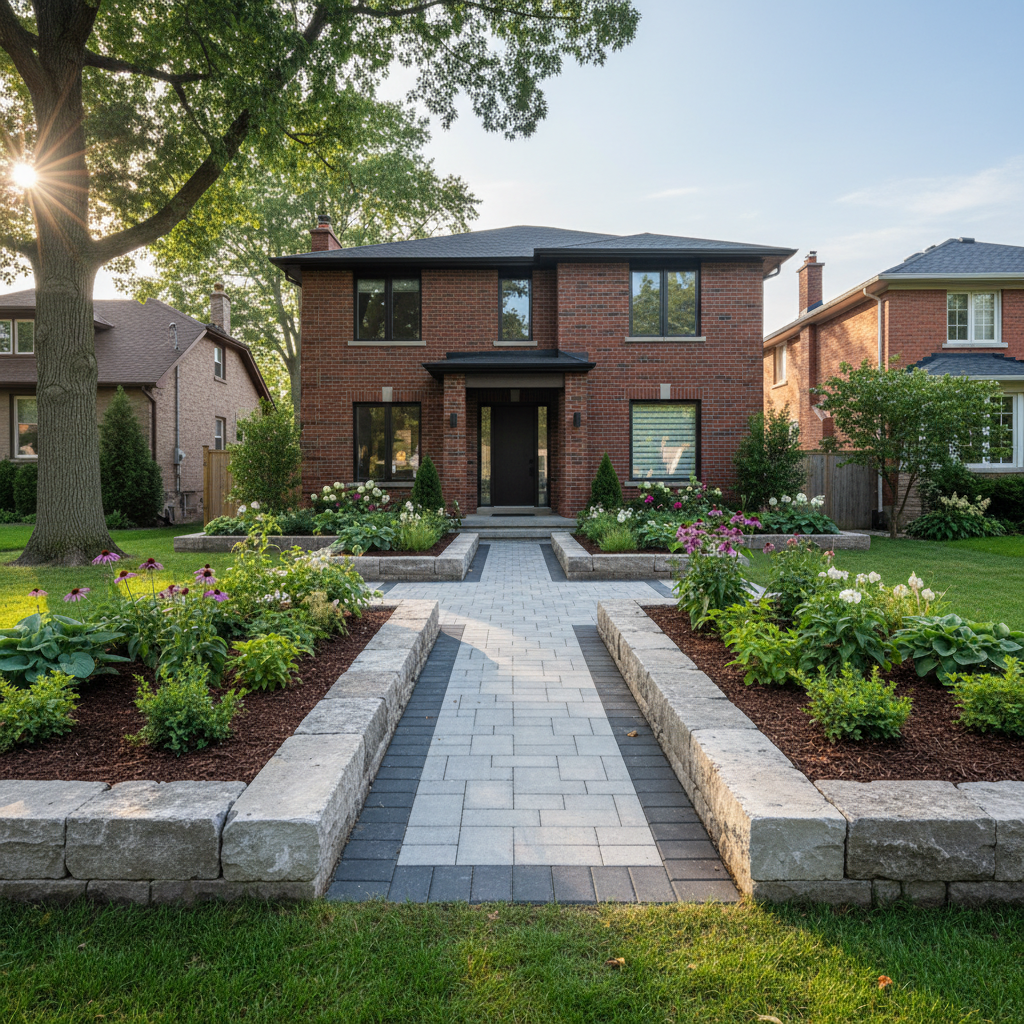
Garden bed renovation ideas for properties work best when tied to circulation features—walkways, decks, and driveways—so movement and views feel organized. That’s why we often pair bed refreshes with interlocking or sod work for a unified finish; see our landscape design-and-build overview for how we connect planting and hardscape.
Why Garden Bed Renovation Matters in Mississauga
In Mississauga and the Regional Municipality of Peel, garden bed renovation boosts curb appeal, drainage performance, and year-round usability. Structured beds resist heaving, hold mulch through spring storms, and create clear sightlines around entries and parking—all crucial for busy residential and light-commercial properties.
Local weather swings demand resilient layouts. Beds need clear edge control, smart plant selection, and maintenance-minded details. A thoughtful refresh tightens circulation near entries, simplifies mowing lines, and anchors views from the street and patio. It also solves high-traffic wear by placing bed edges where footpaths naturally form.
- Snow and salt tolerance: Choose edge plants and pavers that handle splash and freeze–thaw.
- Drainage reliability: Grade 2–5% away from structures and use soil that drains yet holds moisture.
- Four-season structure: Rely on evergreens, branch texture, and winter stems for off-season interest.
Local considerations for Mississauga
- Plan traffic flow if you’re near campuses like Lambton College; beds should guide students or visitors away from turf.
- Schedule major bed work after spring thaw and before summer heat; late summer is ideal for larger transplants.
- Use mulch and defined edges near Saigon Park wind corridors to keep beds tidy during gusty days.
For property managers balancing snow operations with spring clean-up, we recommend a maintenance plan aligned to seasonal tasks; see our Mississauga maintenance planning guide for a month-by-month checklist.
How Garden Bed Renovation Works: Step-by-Step
Successful renovation follows a repeatable sequence: assess site conditions, remove weeds and tired plants, correct grade, improve soil, install edging and irrigation, plant in layers, then mulch and maintain. This order prevents rework, protects roots, and locks in shape before finishing touches.
- Assess + map: Sun, slope, soil texture, roots, and utilities. Sketch bed lines and movement paths.
- Clear + cut: Strip weeds, prune or remove declining plants, and redefine the bed outline.
- Regrade: Establish 2–5% slope away from structures; create subtle mounding for interest.
- Amend: Loosen 8–12 inches; blend compost and mineral amendments to match soil type.
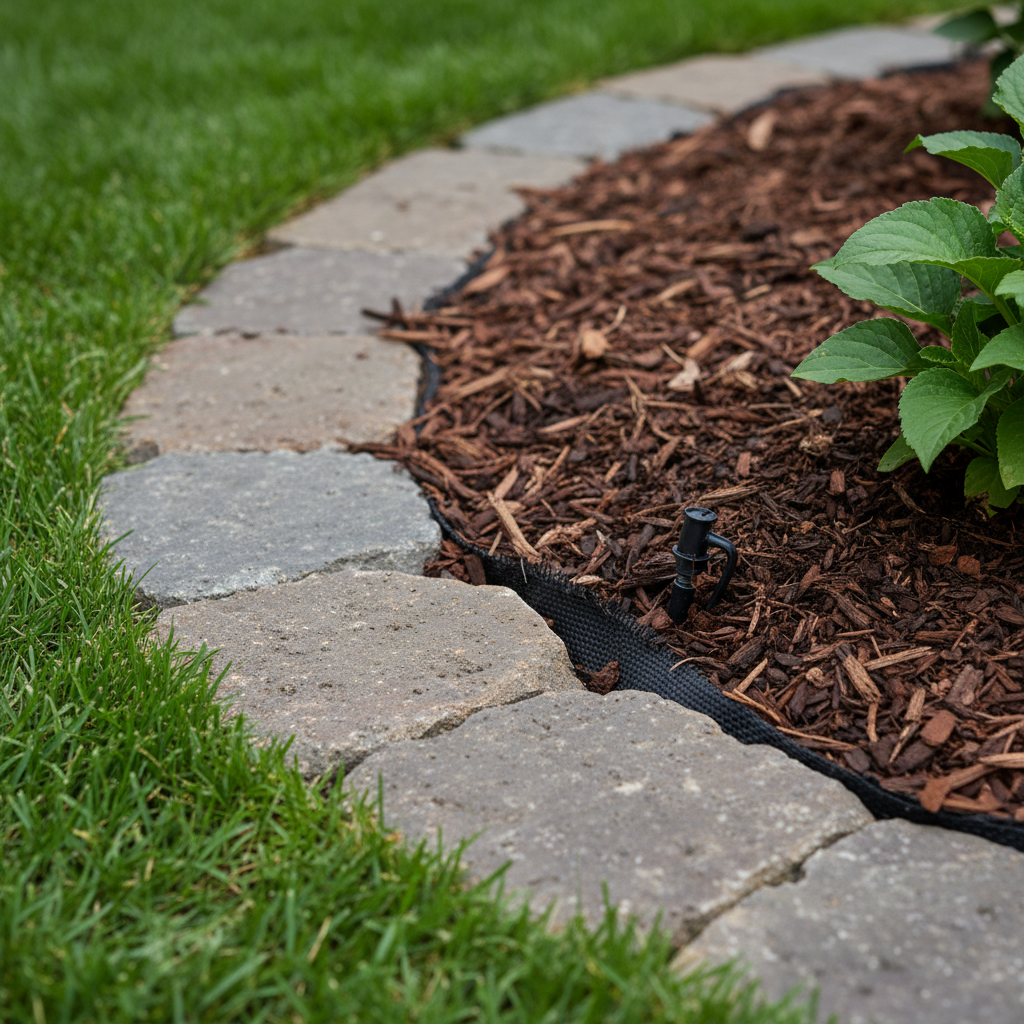
- Edge + contain: Install paver, steel, stone, or composite edging to lock the shape.
- Irrigate: Run drip along plant rows; set zones and timers; pressure-test before backfill.
- Plant layers: Place anchors first (shrubs/structurals), then fillers, then groundcovers.
- Mulch + finish: Add 2–3 inches of mulch, leaving donut gaps around stems; label zones.
- Maintain: Set seasonal tasks: top-up mulch, prune, deadhead, and monitor irrigation.
Renovations that include adjacent hardscapes read even cleaner. If you’re resetting bed lines next to a walkway or driveway, aligning the bed edge with a crisp paver border reduces string trimming and keeps mulch in place; see our garden bed edging tips for pro-grade details.
Soft CTA: Want help assessing grade, soil, and plant spacing on-site? Our Mississauga team can walk the property and map a phased plan that coordinates beds with your lawn and hardscapes. Start with our landscaping services in Mississauga overview and request an assessment.
Types, Methods, and Design Approaches
Choose a renovation approach that fits sun, soil, and use: raised beds for drainage, in-ground beds for natural lines, native and pollinator beds for ecology, and curb-facing beds for sightlines. Match edge materials and plant layers to foot traffic, snow loads, and mowing patterns.
Best Practices for Durable, Low-Maintenance Beds
The best garden bed renovation ideas for properties focus on structure first: establish edge control, fix grades, amend soil, and set irrigation. Then plant in layers with proper spacing and finish with 2–3 inches of mulch. Schedule seasonal touchpoints to keep form and color consistent.
Tools, Materials, and Resources
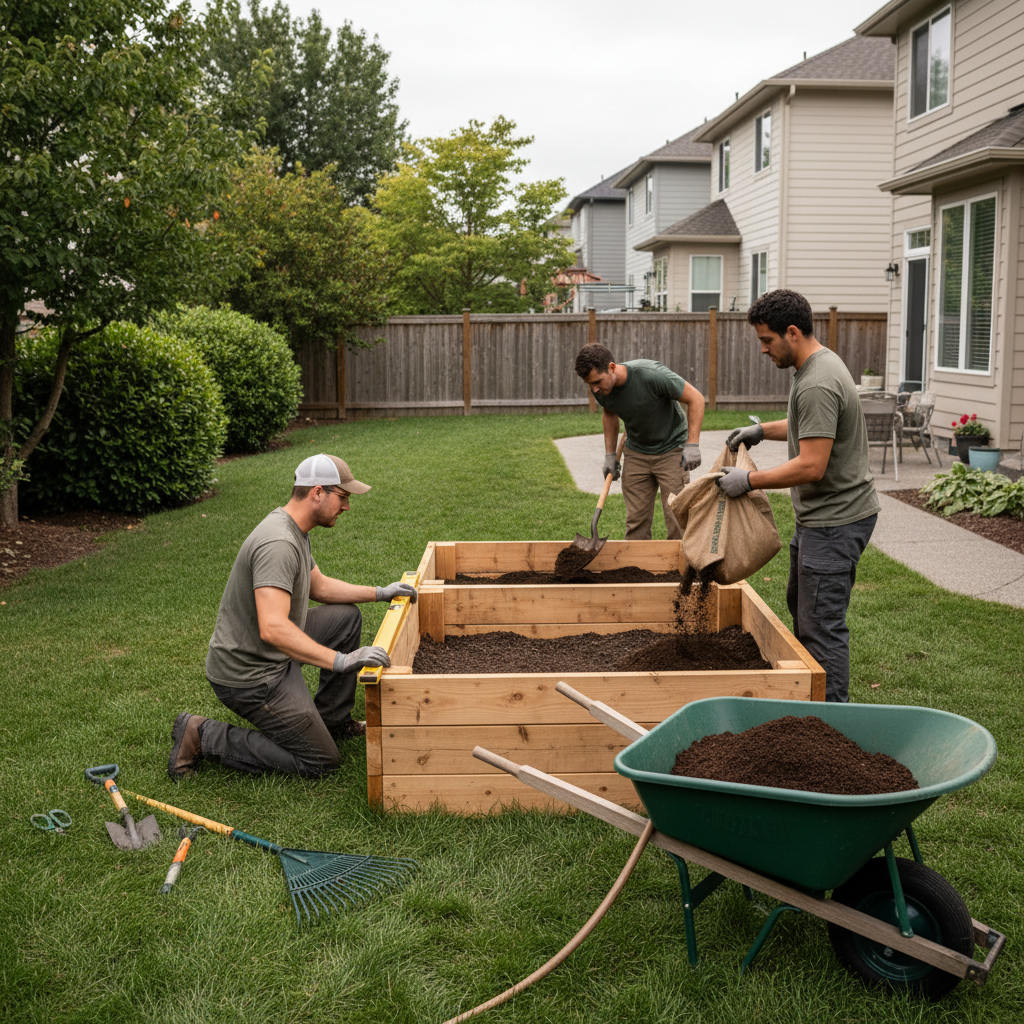
A solid kit covers clearing, soil work, shaping, and finishing: spade, transplanting shovel, cultivator, wheelbarrow, rake, line level, tamper, shears, landscape fabric for specific use-cases, drip components, edging, compost, and shredded mulch. Quality tools speed work and protect new plants.
We organize tools around the renovation phases so crews and homeowners can stage efficiently.
- Clearing: Pruners, loppers, tarp, contractor bags, and a sharp spade.
- Soil work: Broadfork or cultivator, compost, mineral amendments, and hose for percolation tests.
- Shaping: String line, line level, tamper, and chosen edging material.
- Irrigation: 1/2-inch poly drip line, emitters, filter/pressure reducer, and timer.
- Planting + finish: Transplant shovel, hand trowel, mulch fork, and kneeling pad.
Remember to group plants by water needs. A single zone with mismatched thirst levels is hard to maintain, while matched zones stay healthy with less fuss. If your lawn is also due for renewal, align timelines with a lawn replacement plan so irrigation and edges serve both turf and beds.
Case Studies and Examples
Real properties show how layered planting, edge control, and solid soil prep create lasting results. These three Mississauga-area scenarios highlight drainage fixes, mowing simplification, and curb-facing symmetry—the patterns you can reuse on your own site.
Front-yard reset near a busy entry
A compact frontage needed clearer movement and shoulder-season color. We regraded for a 2–3% fall from the stoop, installed paver edging, added drip, and layered evergreens with long-bloom perennials. The front walk reads cleaner, mowing time dropped, and mulch now stays in place during spring storms. See how we connect layouts in our GTA landscaping guide.
Side yard with slope and salt splash
Along a driveway extension, salt and runoff stressed plants. We added a low retaining edge, swapped species to salt-tolerant shrubs, pulled drip lines, and refreshed mulch to 2–3 inches. The bed now frames parking and guides foot traffic to the gate without scuffing turf.
Backyard sitting area with privacy
Patio seating needed enclosure without closing the yard. We placed a staggered privacy bed with mixed heights, added drip, and used stone edging to define the curve. The layered screen softens views and simplifies trimming around the patio. For broader planning context, review our design-and-build process.
Frequently Asked Questions
Answers to the most common renovation questions: timing, mulch depth, fabric use, raised vs. in-ground choices, and how long a refresh lasts. Each answer is concise so you can act with confidence.
When is the best season to renovate a garden bed?
In our climate, late spring and early fall are most forgiving. Soil is workable, heat stress is lower, and roots establish before extremes. Aim for after spring thaw or as summer cools—both windows support planting and mulch settling.
How much mulch should I use?
Maintain 2–3 inches of shredded mulch, leaving a gap around stems. That depth suppresses weeds, moderates soil temperature, and reduces evaporation without suffocating roots. Top up annually to keep coverage consistent.
Do I need landscape fabric under mulch?
Use fabric selectively. It can separate gravel from soil or stabilize a high-traffic edge, but fabric under organic mulch often creates water and rooting issues. We prefer proper edging, soil prep, and consistent mulch depth over blanket fabric.
Are raised beds better than in-ground beds?
Neither is universally better. Raised beds improve drainage and ergonomics on poor soils. In-ground beds look more natural and need fewer materials. Choose based on soil condition, water goals, and how the bed ties into paths, decks, and mowing lines.
How long does a renovation last?
With edge control, drip irrigation, and yearly mulch refresh, a renovated bed keeps its structure for many seasons. Expect small seasonal tune-ups—light pruning, top-dressing, and irrigation checks—to preserve the original look and plant health.
Conclusion and Next Steps
A durable refresh starts with structure—grade, soil, edging, and water—then adds layered plants and consistent mulch. Work in sequence, follow spacing rules, and schedule seasonal checks. The result is a clean, resilient bed that elevates curb appeal and simplifies maintenance for years.
- Key takeaways: Structure first, layers next, mulch last; match plants to site; protect edges; use drip.
- Action steps: Walk your beds, flag issues, map a phased plan, and schedule renovation windows.
- Get help: Book a local assessment to align beds with walkways, decks, and lawn care.
Ready to rebuild your beds? If you’re in Mississauga or the GTA, book a discovery walk-through and we’ll align your planting, lawn lines, and hardscapes for a clean, low-maintenance finish.