Choosing retaining wall materials is the process of matching soil conditions, slope, drainage, frost, and style to proven systems like concrete blocks, natural stone, or timber. In Mississauga near 100 Matheson Blvd E unit 202, HR Greenroots Landscaping designs and builds walls that hold grade and drain correctly. Use this guide to learn how to choose retaining wall materials confidently.
By HR Greenroots Landscaping · Last updated: 2026-06-09
Overview
The right retaining wall material balances structure, drainage, lifespan, and look. Assess soil, slope, and load, then pick a system—segmental blocks, natural or armor stone, poured concrete, or timber—that fits height, frost, and maintenance needs. Good base prep, geogrid, and back drainage keep any material performing for decades.
Retaining walls fail when materials are chosen without matching them to site forces. This article shows what to evaluate, how to compare options, and a step-by-step way to decide.
- What matters: soil type, water, height, loads, and frost
- Options compared: block, stone, poured concrete, timber
- Build science: base thickness, geogrid intervals, drainage stone
- Local factors in Mississauga and the Regional Municipality of Peel
- Action checklists, troubleshooting, and advanced tips
Introduction
Retaining walls are structures that hold back soil, create level space, and manage drainage. To choose materials well, start with site data—height, slope, water, and intended use—then match those demands to systems designed to resist earth pressure and freeze-thaw cycles common in Southern Ontario.
HR Greenroots Landscaping is a Mississauga- and GTA-focused design-build team that integrates engineering-minded base prep, grading, and maintenance planning. Our crew builds interlocking stone features, armor stone accents, decks, and fences alongside walls so your yard functions as one system, not disconnected parts.
Throughout this guide, we’ll reference real-world practices our crews apply daily—from compacted base depths to geogrid placement intervals—so you can evaluate options with confidence.
Before You Start (Prerequisites)
Gather key site information before picking materials: required wall height, slope angle, soil type, water sources, nearby structures, and access for equipment. Photograph the area, mark utilities, and sketch grades. This data determines whether you need geogrid, drainage stone, and a block system or heavier natural stone.
What to document on-site
- Target wall height: Many residential walls fall between 2–4 feet; taller walls typically need tiering or engineering.
- Slope and setback: Note grade change over 10 feet; a 10% slope (1 ft in 10 ft) increases lateral pressure measurably.
- Soil behavior: Clay holds water and swells; sandy loam drains faster. Waterlogged clay demands more drainage stone.
- Water patterns: Downspouts, sump discharge, or uphill runoff add hydrostatic pressure; plan perforated drain pipe and outlets every 6–8 feet.
- Frost depth: Southern Ontario frost can approach ~40 inches; base and drainage must keep the structure stable through freeze-thaw.
- Loads above the wall: Parking pads, sheds, decks, or hot tubs add surcharge loads; choose systems rated for added stress.
In our experience in Mississauga yards, capturing these facts upfront prevents redesign later. For example, a 3-foot segmental block wall may work until a client adds a shed at the top—now the surcharge requires geogrid layers extending 60–70% of wall height.
How to Choose Retaining Wall Materials: Step-by-Step
Decide in five steps: define the wall’s job, measure height and slope, profile soil and water, shortlist material systems, then validate constructability. Cross-check base, drainage, and reinforcement requirements. If height or loads exceed DIY limits, bring in a design-build crew to engineer and build safely.
- Define the function. Are you holding a bank, building raised beds, framing a patio, or creating parking width? Function guides height, tie-in points, and aesthetic targets.
- Measure geometry. Record rise, run, and wall length. A 30-foot run at 3 feet high means significant backfill volume; plan outlets every 6–8 feet.
- Assess soil and water. Squeeze soil for cohesion, dig a test hole, and watch drainage. Slow-draining soils call for at least 12 inches of clear stone behind the wall.
- Shortlist materials.
- Segmental concrete blocks (SRW): Modular, batter for stability; typical base 6–8 inches of compacted gravel.
- Natural or armor stone: Heavier mass resists movement; great for stepped, organic designs.
- Poured concrete: Monolithic strength; needs formwork, control joints, and robust drainage to relieve pressure.
- Timber: Fast to install; best for short garden terraces; plan for long-term replacement.
- Validate constructability. Can you access the area with a skid steer? Is there room for a 24-inch reinforced zone? Do you need tiering (offset by 2× wall height) to manage height within limits?
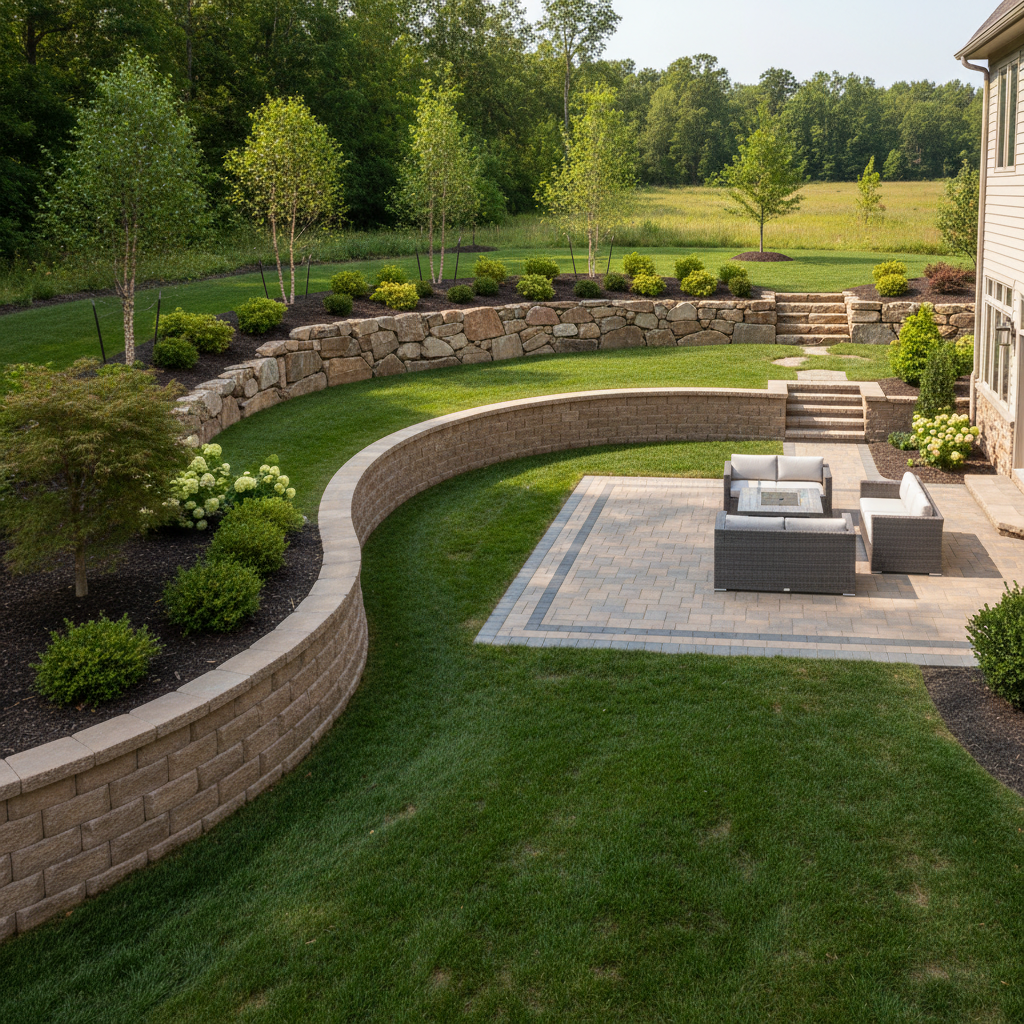
We often convert “single tall wall” ideas into two terraced walls with a planting bed between. Two 3-foot terraces typically behave better than a single 6-foot wall in residential settings and are friendlier to nearby roots and utilities.
Material Options Compared
Segmental block walls suit most residential heights and curves. Natural and armor stone offer weight and timeless texture. Poured concrete is strong but demands careful drainage. Timber installs quickly for low walls but weathers. Compare by height limits, maintenance, aesthetics, and how they tie into patios or decks.
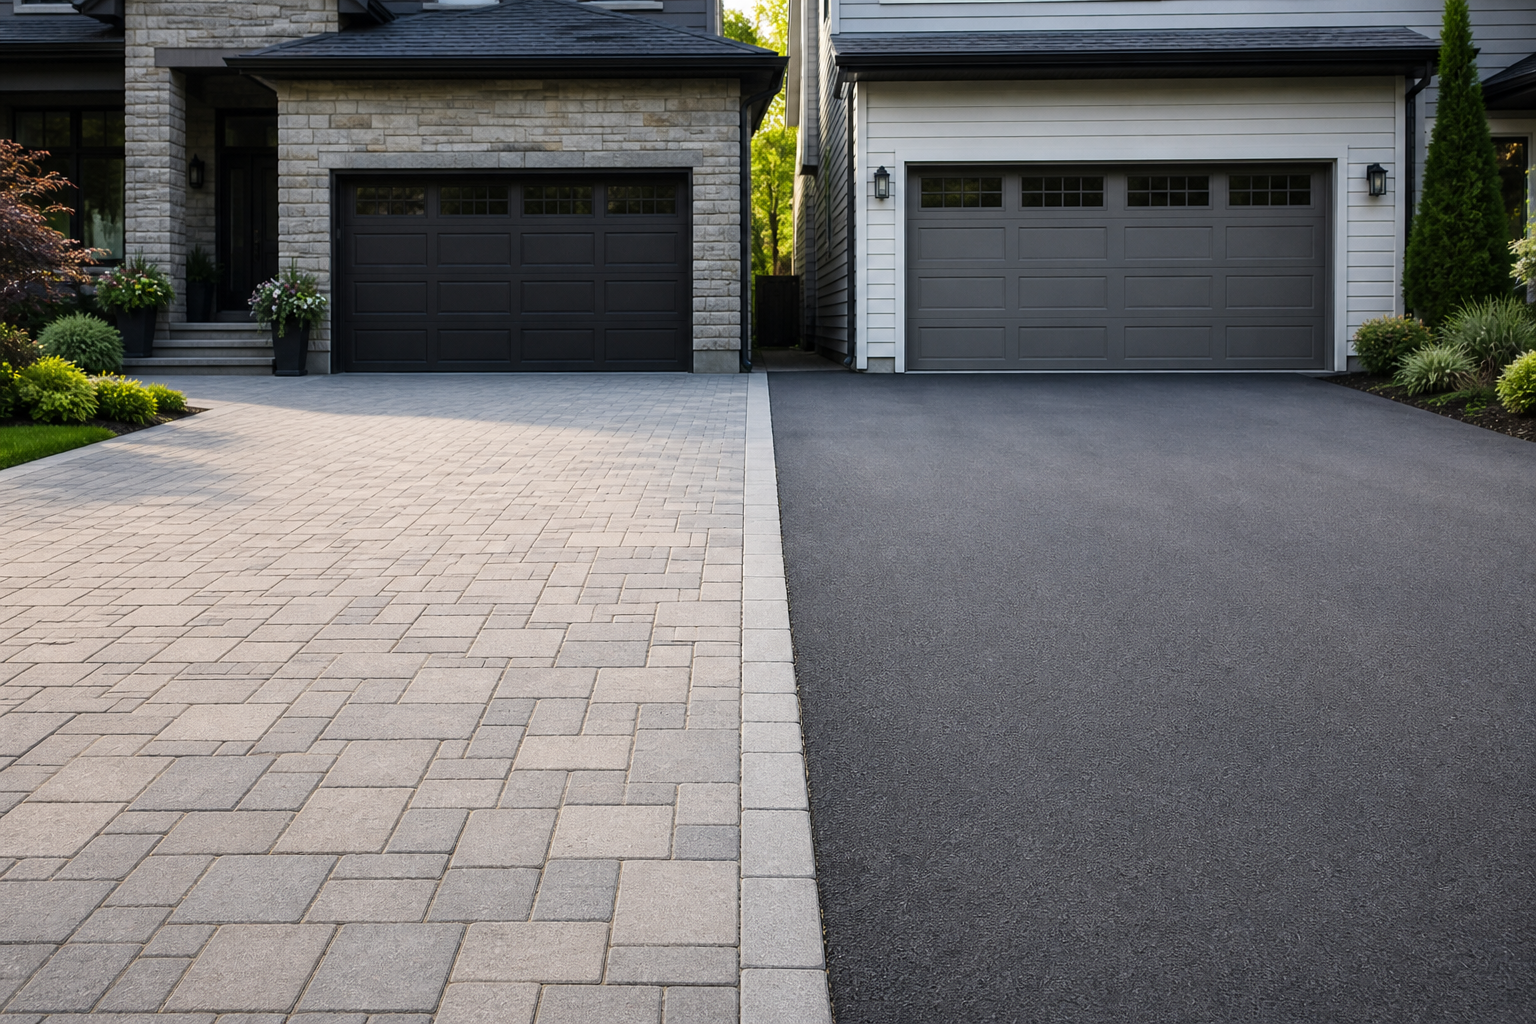
Material Typical Residential Height Longevity Maintenance Aesthetics Best For Notes Segmental concrete blocks (SRW) Up to 4 ft DIY; higher with geogrid/tiering Decades with proper drainage Low; inspect outlets and caps yearly Uniform or tumbled faces, curves possible Patios, walkways, drive edges Base 6–8 in; drainage stone 12+ in; geogrid every 2–3 courses Natural stone 2–4 ft typical; taller with design Very long; stone is durable Very low; repoint only if mortared Organic, timeless look Garden terraces, premium facades Hand-set; heavier equipment may be required Armor stone 2–6 ft in stepped courses Decades; massive units resist movement Very low Bold, sculptural presence Large slopes, steps, landings Requires machinery; granular base and drainage still critical Poured concrete 3–6 ft residential; engineer above High when drained and jointed Low; monitor cracks and weeps Sleek, modern planes Contemporary designs, narrow spaces Needs control joints; poor drainage risks cracking or tilt Timber 2–3 ft typical Moderate; wood weathers over time Moderate; rot checks and replacement cycles Warm, rustic feel Raised beds, quick terraces Separate soil with fabric; consider lifespan planningIf your plan includes an interlocking patio or walkway, integrate the wall cap elevation with the paver slope (1–2% pitch) to move water away from the house and across joints toward drains.
Local Factors: Mississauga and the Regional Municipality of Peel
Mississauga yards face clay-rich soils, freeze-thaw, and tight side yards. Choose materials and details—like geogrid, outlet spacing, and proper base depth—that handle local frost and drainage. Our design-build crews coordinate walls with patios, decks, and fences so the whole yard works together.
When we build near Mississauga’s clay lenses, we specify more free-draining aggregate (clean 3/4-inch stone) and clear outlets to daylight or dry wells. Frost heave is controlled by a dense, well-compacted base and keeping fines out of the drainage zone with geotextile fabric.
Local considerations for Mississauga
- Plan staging around narrow side yards; many homes near Saigon Park need compact loaders and phased material drops.
- Seasonal timing matters: early spring and late fall offer cooler compaction windows; summer heat can dry soils too quickly for proper lifts.
- Coordinate tie-ins with existing decks or fences; properties around Lambton College often need shared access scheduling and clear neighbor communication.
Construction Science That Drives Material Choice
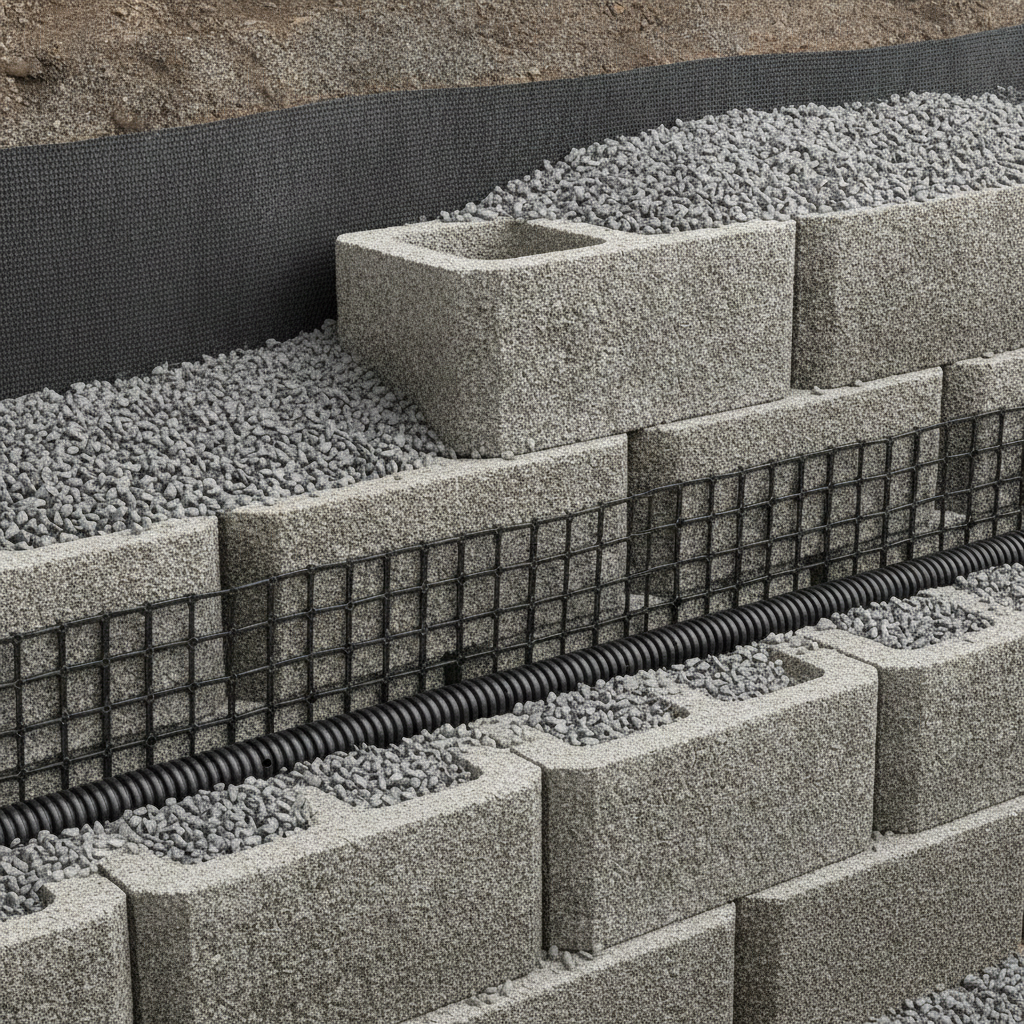
Material choice is only half the story—base, reinforcement, and drainage determine success. A typical section includes 6–8 inches of compacted gravel base, a 1-inch bedding layer, 12 inches of clear drainage stone, perforated pipe to daylight, and geogrid layers every 2–3 courses.
Base and bearing
- Base thickness: 6–8 inches of well-compacted 3/4-inch minus aggregate supports most residential SRWs.
- Bedding layer: 1 inch of manufactured sand or screenings levels the first course; keep it thin and consistent.
- Compaction: Compact in 2–3 inch lifts to 95% relative density for predictable performance.
Drainage and outlets
- Drainage stone: 12 inches of clear stone behind the wall relieves hydrostatic pressure and speeds drying.
- Pipe and weeps: Use perforated pipe at the base; outlet every 6–8 feet or to daylight where possible.
- Filter fabric: Separate fines from stone with geotextile to prevent clogging.
Reinforcement
- Geogrid length: Aim for 60–70% of wall height; overlap grids at least 12 inches and tension them before backfilling.
- Setback (batter): Typical block walls step back about 3/4 inch per course to lean into the retained soil.
- Tiering: For tall grades, set terrace spacing to at least 2× the lower wall’s height.
These numbers inform material choice. For example, armor stone’s mass may reduce reinforcement needs in a tight space, while SRW blocks enable graceful curves around a paver patio and offer predictable geogrid interfaces.
Troubleshooting and Common Mistakes
Most wall issues trace back to water and base prep. If caps shift or bulge appears, check for clogged outlets, missing drainage stone, or poor compaction. Rebuild sections with correct base depth, add pipe to daylight, and include geogrid layers at 2–3 course intervals for taller walls.
- Bulging mid-span: Often a sign of hydrostatic pressure; open the back, add 12 inches of clean stone, and extend outlets.
- Settled caps: Bedding layer too thick or un-compacted base; reset on 1 inch max screenings.
- Leaning forward: Insufficient batter or missing geogrid; rebuild with setback and reinforcement.
- Heave at corners: Frost working under thin base; rebuild with 6–8 inches of dense aggregate.
- Drainage staining: Weeps too far apart; add outlets every 6–8 feet to lower waterline.
We see many DIY attempts skip geotextile. Separating fines from drainage stone is small cost, big payoff—your outlets stay clear and the wall dries faster after storms.
Advanced Tips (Pro Moves)
Blend structure and style: stagger geogrid between tiers, coordinate wall cap heights with patio pitch, and use armor stone steps to bridge grade changes. Mock up cap colors on-site under daylight; subtle tones can change 10–15% between shade and sun.
- Integrate surfaces: Tie walls into landscape design plans so patios, walkways, and planting beds align.
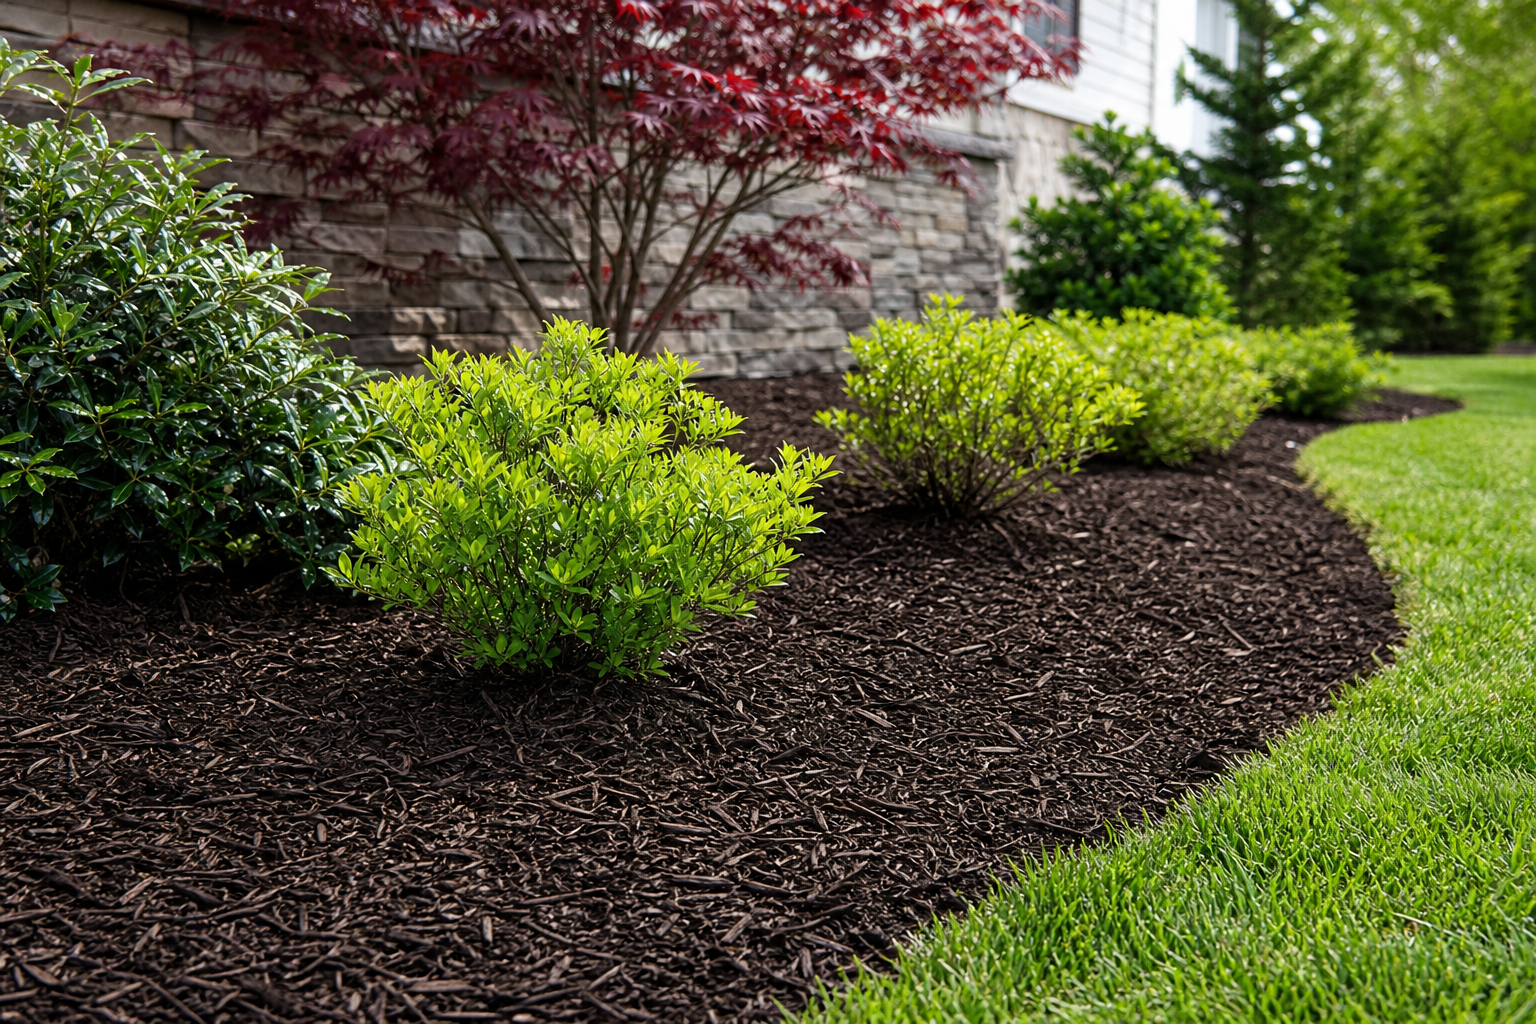
- Edge discipline: Keep clean edge control where pavers meet planting; a 90-degree shoulder looks crisp against mulch.
- Use armor stone for steps: Large treads feel solid and complement SRW faces.
- Cap coordination: Dry-fit several cap colors; view at morning and late-day light before committing.
- Future loads: If a shed or deck could arrive later, choose a system today that accepts future geogrid or wider base.
Plan It Right With a Local Crew
A quick on-site walkthrough clarifies height, drainage, and access realities. Our Mississauga team designs, builds, and maintains walls tied to patios, decks, fences, and beds—so everything drains and ages well together.
Ready to move from options to a build-ready plan? Explore our retaining wall service and see how design, base prep, and clean edge control come together. We can also align walls with drainage best practices and retaining wall design choices that match your home.
Trade-offs and a Selection Checklist
Use a checklist to test materials against your site: height, curvature, access, frost, water, loads, and tie-ins. If three or more factors push limits, terracing or a different material system usually produces a safer, longer-lasting result.
- Target height: Under 4 feet? SRW or timber. Over 4 feet? SRW with geogrid, armor stone, or poured concrete with design.
- Curves and corners: Tight curves favor SRW; broad sweeps favor armor or natural stone.
- Access limits: Narrow access leans to modular blocks; large access can accept heavy armor stone deliveries.
- Water exposure: Poor drainage calls for more stone, more outlets, and robust fabrics across the back.
- Surface tie-ins: Integrate with landscape design, sloped yard solutions, and paver layouts.
Frequently Asked Questions
Below are concise answers to common questions about selecting retaining wall materials, reinforcement, and drainage. Each answer is direct and field-tested, based on design-build work across Mississauga and the GTA.
What’s the most durable retaining wall material for a small backyard?
For most small residential spaces, segmental concrete blocks paired with proper base and drainage deliver predictable longevity. They curve cleanly, accept geogrid when needed, and integrate well with patios and walkways. Natural stone is equally durable but usually needs heavier handling and larger pieces.
How do I handle drainage behind any wall material?
Use 12 inches of clean drainage stone behind the wall with a perforated base pipe and outlets every 6–8 feet or to daylight. Separate soils with geotextile fabric to prevent clogging. Good drainage lowers hydrostatic pressure, which is a primary cause of bulging and leaning.
When should I terrace instead of building one tall wall?
If the grade change exceeds 4–6 feet or access is tight, two shorter terraces spaced at least 2× the lower wall’s height often perform better. Terracing reduces load per wall, creates planting pockets, and usually blends more naturally with decks and paver surfaces.
Are timber walls a good option in our climate?
Timber installs quickly and looks warm for low heights, but wood weathers and requires periodic replacement. In freeze-thaw climates, segmental blocks or stone typically outlast wood, especially where water is present and drainage is critical.
Additional Resources
Dive deeper into planning, surface tie-ins, and design thinking. These resources show how retaining walls connect with patios, fences, and planting for a cohesive landscape that drains and ages well across Ontario’s seasons.
For local options and integrated services, explore our retaining wall drainage guide, retaining wall design choices, and overall landscape design and build approach for Mississauga.
Conclusion
Choose retaining wall materials by matching site forces to system strengths. SRW blocks cover most residential needs; stone adds mass and character; concrete offers sleek planes; timber is quick for low heights. The right base, drainage, and geogrid make any choice last.
- Collect site data: height, slope, soil, water, loads.
- Shortlist based on height limits, access, and desired look.
- Engineer the section: base 6–8 in, drainage stone 12 in, outlets 6–8 ft.
- Integrate with patios, decks, fences, and planting for cohesive function.
Key Takeaways
Walls succeed when material, base, drainage, and reinforcement work as one system. If one factor is weak, performance suffers. Start with site data, pick the right material class, and verify the section details before you order blocks or stone.
- Good drainage solves most problems before they start.
- Geogrid every 2–3 courses stabilizes taller SRW walls.
- Armor stone shines on big slopes and as steps.
- Coordinate cap elevations with paver pitches to move water.
- When in doubt, terrace and plant between tiers.