
Garden shed installation process: what to expect at each stage
If you are planning a backyard storage shed in Mississauga or elsewhere in the GTA, knowing the typical garden shed installation process helps you make the right decisions at each step and compare contractor quotes confidently. This article walks through the stages a professional installer follows, which homeowner choices matter, the common foundation options for Ontario climates, and a practical checklist you can use during on-site quotes.
Quick overview and the stage sequence
A typical professional installation follows these stages: on-site consultation and scope decisions, municipal checks and permits, site preparation and grading, foundation selection and installation, delivery and assembly, finishing and landscape integration, and final inspection with follow-up. These stages are common across professional builds and are referenced in industry overviews such as the article on how to build a garden shed and municipal planning guides.
Timing varies with permit turnaround, weather and site complexity. This article does not promise fixed completion dates or pricing. For a tailored timeline and quote you will need an on-site assessment.
Stage 1: on-site consultation and scope decisions
The first step is an on-site consultation. A professional will measure the proposed footprint, note slope and access constraints, check for obvious utilities, and discuss intended use. Typical homeowner decisions during this visit include size and orientation of the shed, approximate location, material preferences for siding and roof, and whether internal shelving or electrical outlets are required.
What the contractor does at this stage:
- Take precise measurements and photos of the site.
- Confirm access for delivery equipment and crews.
- Discuss foundation options and recommend one based on site conditions.
- Provide a scoped estimate and a list of follow-up items, such as permit checks.
Before the visit, prepare a list of uses for the shed, preferred footprint, and photos of any access gates or narrow driveways. If you want more planning guidance, consult the HR Greenroots blog post on garden shed planning installation tips to gather the key information to share with a contractor.
Stage 2: permits, setbacks and municipal checks
Municipal rules about sheds vary by size, location and whether utilities are involved. Many homeowner guides recommend starting the permitting conversation early to avoid delays. For general planning and permit triggers see guidance such as the RONA planning guide, and check local building department pages for the City of Mississauga or your specific GTA municipality.
What to expect and do:
- Ask the contractor whether your planned shed size and placement typically require a permit in your municipality.
- Contact your local building department to confirm setback and permit thresholds for Mississauga or your specific GTA municipality, and follow their instructions for an application if needed. The RONA planning guide outlines common permit questions and application steps.
- If a permit is required, your contractor may prepare drawings and submit them on your behalf, or the municipality may require the homeowner to apply directly.
Do not treat this article as legal advice. Always confirm requirements with the City of Mississauga or the appropriate municipal building department and follow their directions for permits and inspections.
Stage 3: site preparation, grading and drainage
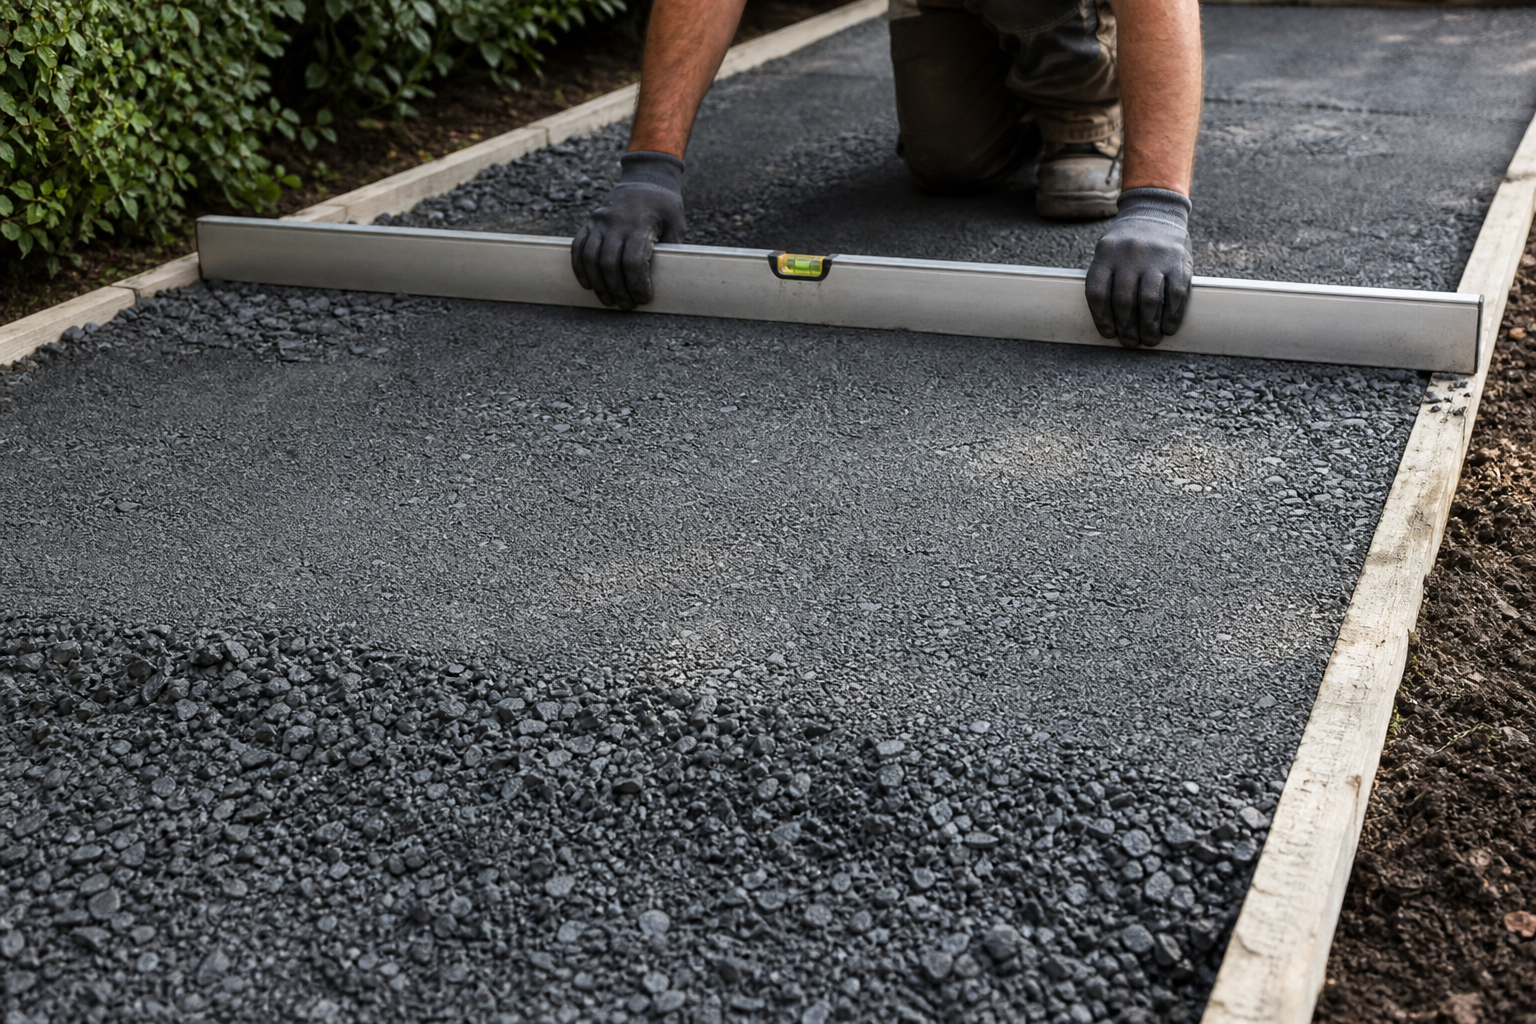
Good site preparation is the foundation of a durable shed. Professionals typically clear vegetation and roots, mark and avoid buried utilities, and adjust grade to ensure water moves away from the building. In Ontario’s climate, positive drainage away from the shed and a stable, well-compacted base reduce frost heave and future settlement risks.
Visible signs of thorough site prep you can verify:
- Vegetation and root removal to the depth recommended by the installer.
- Regrading to establish a slight slope away from the shed perimeter.
- Edge definition and compacted subbase where the foundation will sit.
- Utility locates completed and documented before digging.
Ask for photos or a brief report showing the site before assembly and the completed prepared base. Companies that emphasise base preparation and grading will typically document this step as part of project photo records. For practical construction steps and examples, industry how-to resources provide useful context on assembly and prep expectations.
Stage 4: foundation options for Ontario and how to choose
Common foundation options include a poured concrete slab, a compacted gravel pad, and pressure-treated timber sleepers or runners. Each option has trade-offs for permanence, drainage, cost and suitability on sloped sites.
- Concrete slab is durable and level. It is a long-term solution for heavy sheds and for uses that require rigid flooring. It is more permanent and typically more expensive to install.
- Compacted gravel pad provides excellent drainage and is easier to install and alter in the future. It is a practical choice for many homeowners who want good drainage and lower installation impact.
- Pressure-treated timber sleepers or deck-style runners create a raised base that is quick to install and can be adjusted for minor slopes. They may not be ideal for extremely wet sites unless combined with improved drainage.
Decision criteria for Mississauga and GTA sites include the intended permanence of the shed, existing grade and drainage, proximity to neighbouring structures, and expected loads inside the shed. Technical questions about frost depth and engineered footings should be directed to an engineer or the municipal building department when required for permit approvals.
Stage 5: delivery, assembly and installation day logistics
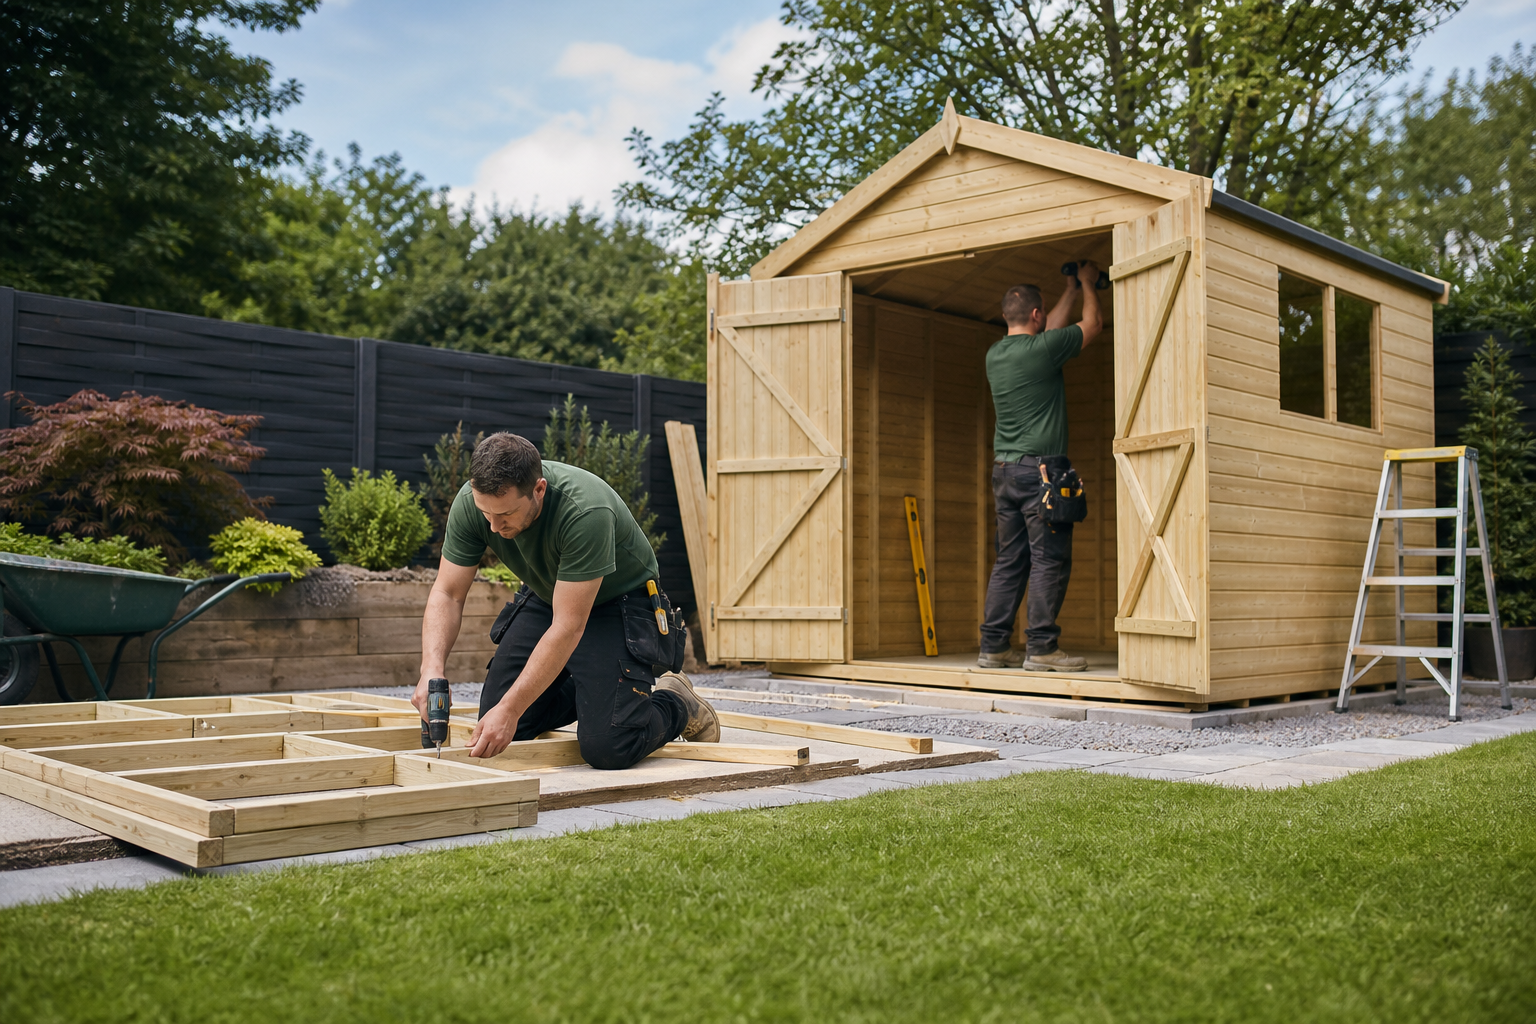
On installation day expect a coordinated delivery and assembly process. Professionals protect surrounding areas, use protective trackways or boards if driveways or lawns must be crossed, and position the shed on the prepared foundation. The crew will assemble walls, roof and cladding, install doors and windows, and secure trims and flashings. Weather protection measures are common if rain is forecast.
Typical homeowner responsibilities on the day:
- Ensure access gates are open and any pets are secured.
- Confirm the agreed placement and orientation with the crew before final siting.
- Provide contact details for quick decisions if minor adjustments are needed.
Access complications such as narrow lanes or steep driveways are common in established neighbourhoods. Professionals often mitigate these with temporary trackways, off-site crane placement when needed, or by assembling larger components on site rather than transporting a full unit through tight access.
Stage 6: finishing touches and integration with landscaping
After assembly, finishing tasks include trim, flashing, paint or stain, threshold sealing, and any gutter or downspout connections required to manage roof runoff. Good installers will tie the shed visually and functionally into adjacent landscaping with clean edge control, mulch or stone transitions, and plant placement that does not block access or encourage moisture buildup against the walls.
Because HR Greenroots Landscaping integrates planting, hardscape and maintenance planning, they emphasise final details that reduce long-term upkeep and help the shed sit comfortably in the yard setting. Ask your contractor how they will protect adjacent planting and how they will restore any disturbed surfaces.
Stage 7: final inspection, follow-up and quality assurance
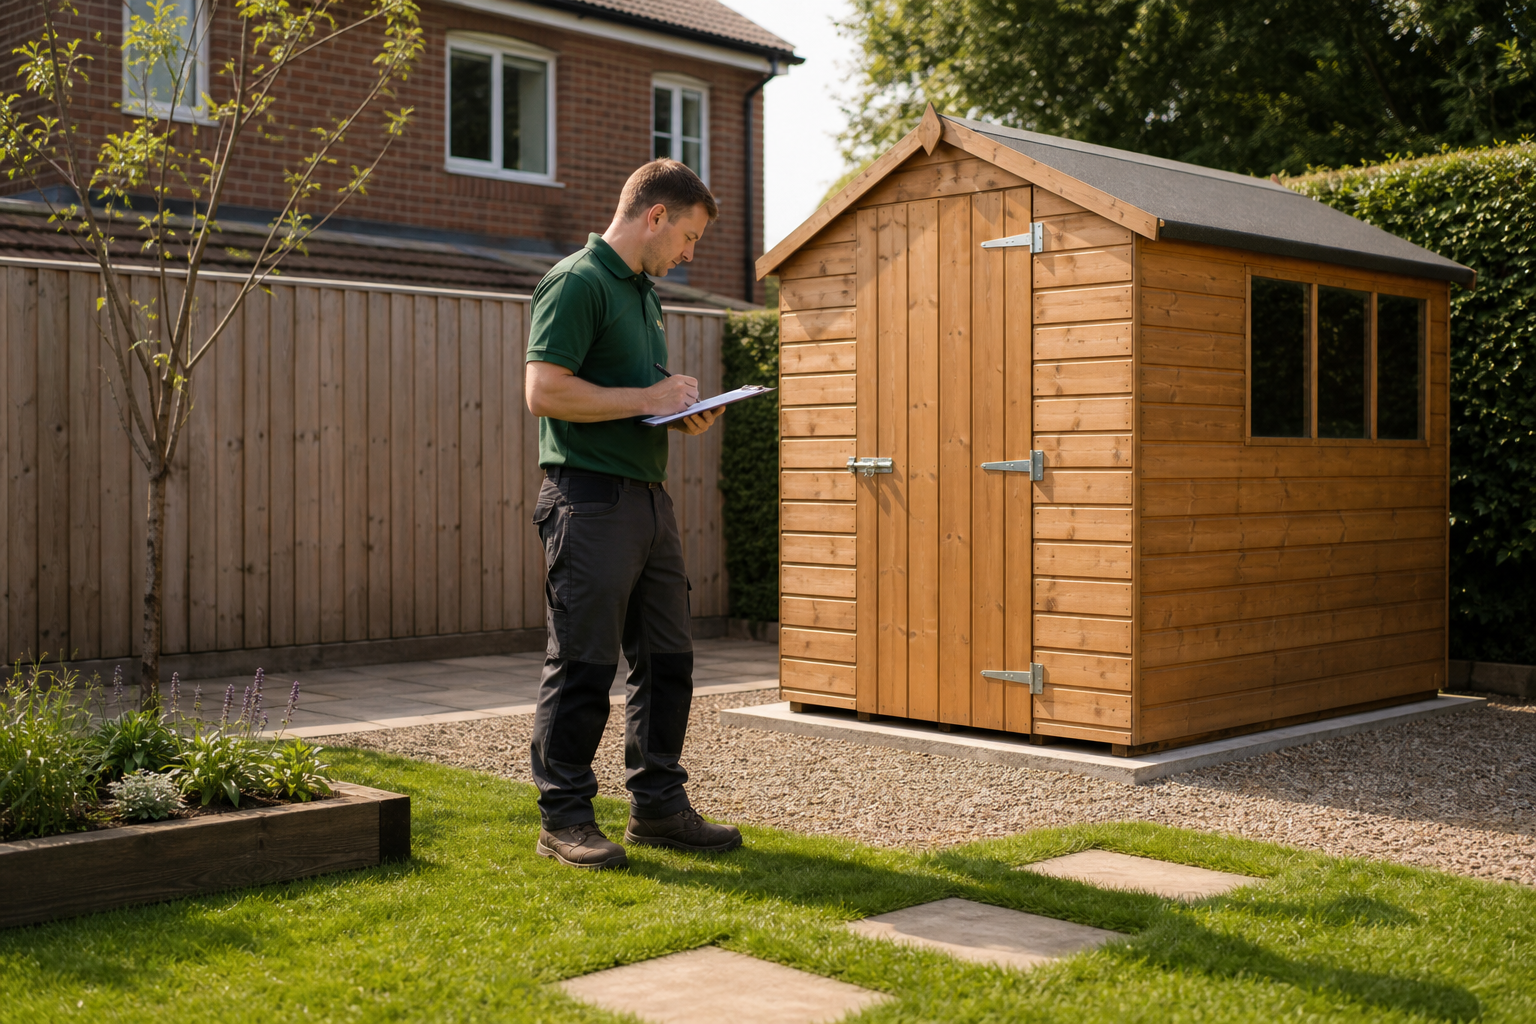
The installation should conclude with a walk-through and a documented punch list for any small items that require follow-up. Professional firms provide photo documentation of the finished work and a commitment window for completing punch-list items. Confirm who is the post-install contact and what response time you can expect for warranty or repair requests.
Suggested follow-up expectations:
- A walk-through to confirm placement, level and finish.
- Written punch list and a completion timeline for outstanding items.
- Photo records of before, during and after installation.
- Clear contact for any warranty or service needs after the project.
Contractor vetting checklist and homeowner decisions to make
Use this checklist when comparing quotes during on-site visits:
- Verify base-prep methods and ask for the exact steps the crew will take on your site.
- Confirm the recommended foundation option and why it fits your site and use.
- Request a drainage plan and an explanation of how surface water will be routed away from the shed.
- Check the delivery plan for access constraints and protective measures.
- Get written commitments on post-install follow-up and the expected response window for punch-list items.
- Ask for references and local project photos showing similar installations.
- Confirm insurance, workplace safety coverage, and whether the contractor will obtain permits or assist with the application.
For more planning details you can bring to a consultation, review the HR Greenroots garden shed planning installation tips page to prepare a concise packet of photos and site notes.
Common objections and how professionals mitigate them
Common concerns include limited site access, slope and drainage problems, neighbour objections about setbacks, and disruption during work. Professional installers mitigate these by using temporary trackways, crushed-stone access pads, retaining or leveling solutions for sloped sites, and by communicating with neighbours and the homeowner about timing and noise. Asking contractors about these mitigation strategies during the quote helps you judge experience and foresight.
Decision criteria for foundation choice and contractor selection
Prioritise drainage-first base selection, prefer firms that document base-prep and edge control, require written timelines and follow-up commitments, and validate references and project photos from similar local installs. A contractor who explains trade-offs clearly and shows examples of their workmanship on comparable Mississauga or GTA sites is easier to evaluate and more likely to produce durable results.
Frequently asked questions
Do I need a permit to install a garden shed in Mississauga or the GTA
Permit requirements depend on shed size, location and whether utilities will be connected. Contact your municipal building department to confirm local rules. General planning resources recommend starting the permit conversation early to avoid delays and to learn what documents the city requires for an application. See the RONA planning guide for common permit considerations.
What foundation is best for my garden shed in Ontario
The right foundation depends on permanence, drainage and site slope. Concrete slabs are durable and level. Compacted gravel pads drain well and are easier to alter later. Pressure-treated timber sleepers are quick to install and work on minor slopes. Have your contractor explain why a recommended option fits your specific site.
How should I prepare my yard before the contractor arrives
Clear a path to the site, secure pets, remove obstacles and provide gate keys or access codes if needed. Provide photos of access points to your contractor before the scheduled installation so they can plan protective measures for lawns and driveways.
What questions should I ask during an on-site shed quote
Ask about base-prep steps, drainage measures, foundation alternatives, delivery logistics, timeline expectations, post-install follow-up, and whether the contractor will manage permits. Request references and before-and-after photos of similar installs in the GTA.
How do professionals handle drainage and slope issues before shed installation
Pros usually regrade the local area to direct water away from the shed, add a crushed-stone subbase for drainage, use raised sleepers if needed, and install gutters or downspouts when roof runoff is likely to affect adjacent areas. Ask for a simple sketch of the planned drainage flow during the consultation.
Next steps: prepare your preferred shed footprint, take photos of the proposed location and access routes, and gather any municipal records you have about property setbacks. For additional planning resources and a downloadable checklist, see the HR Greenroots garden shed planning installation tips article before booking an on-site quote.
Contact HR Greenroots Landscaping to request an on-site consultation and a tailored installation plan. HR Greenroots Landscaping
Selected references: How to Build a Garden Shed, RONA planning guide on choosing the right storage shed.


